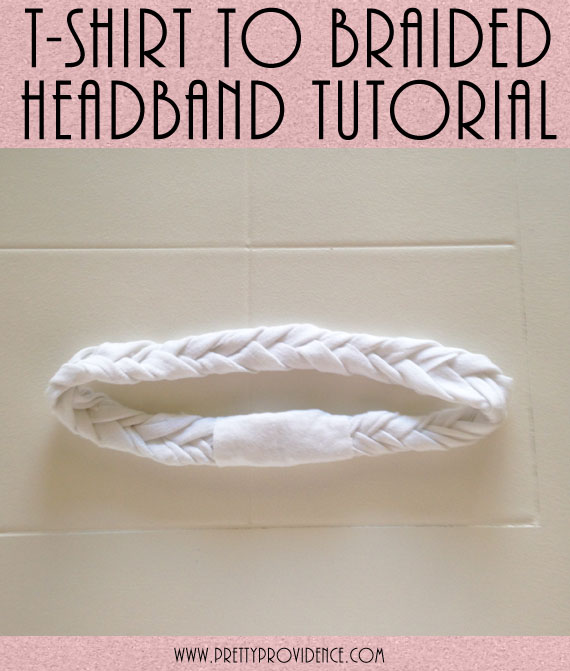
T-Shirt to 5 Strand Braided Headband Tutorial
 I mentioned awhile back that I got the privilege of attending girls camp with some of the young women in my church! It was so much fun. One of the other leaders who was there (who also happens to be my friend!) taught us how to make these adorable 5 strand braid headbands out of old t-shirts. They are fun and easy to make, cost essentially nothing, and are super cute. It has been a perfect solution for sweet Nora's mane of hair! I plan on making her one in like, every single color... lol.
So are you guys ready for the tutorial??
Here's what you need:
1 old t-shirt
needle and thread in appropriate color (or a sewing machine, if you prefer)
cost = free! 

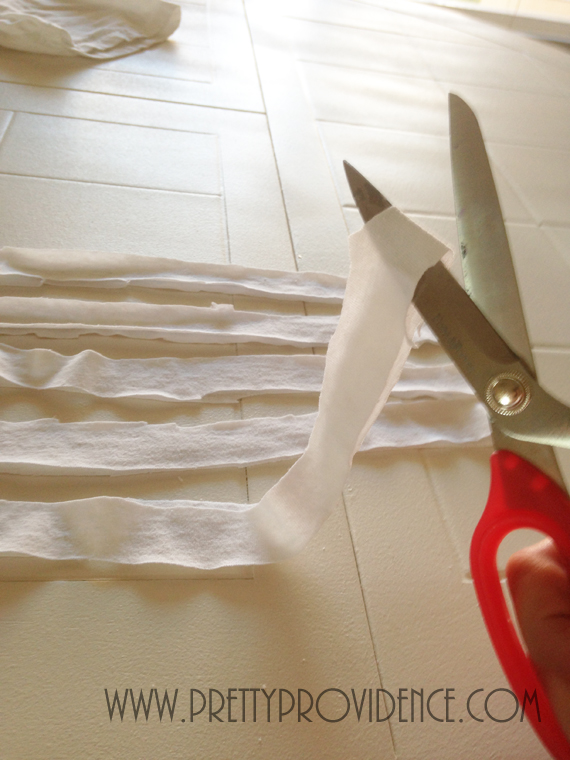
The first thing you need to do is cut the hem off of the bottom of your tee.

Then, cut five strips (about one inch wide) off the bottom of your t-shirt. These strips should include the front and the back of your shirt, so they will really be big circles.

After you have your five rings you will snip them each once to make them long strips instead of circles.
Gather your five strips by one end and flatten the ends out.
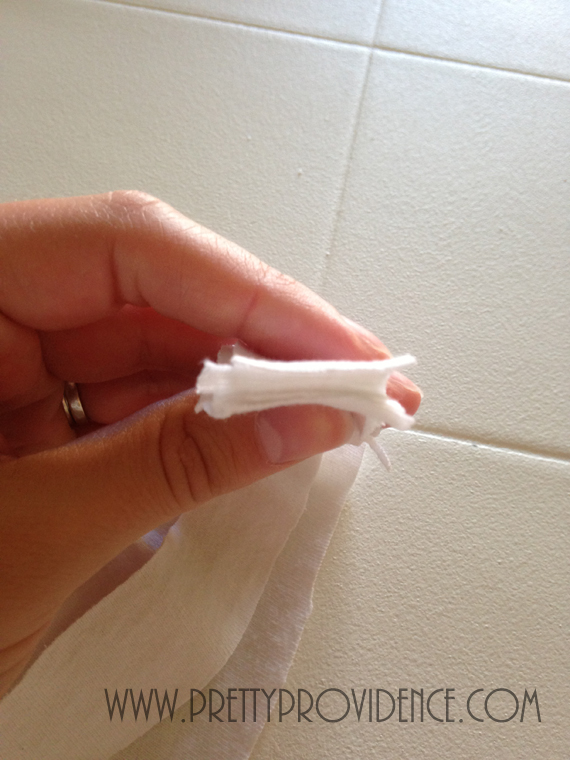
Now, thread your needle and tie a knot at the end of your string. Then sew across your five pieces, to tie them together. If you have a sewing machine handy you can just quickly sew a quick line across your five strands. It doesn't have to be pretty.. no one will see it!

Next, take each of your strands one by one and stretch them out between your hands so that they roll up a bit and look more like strings.

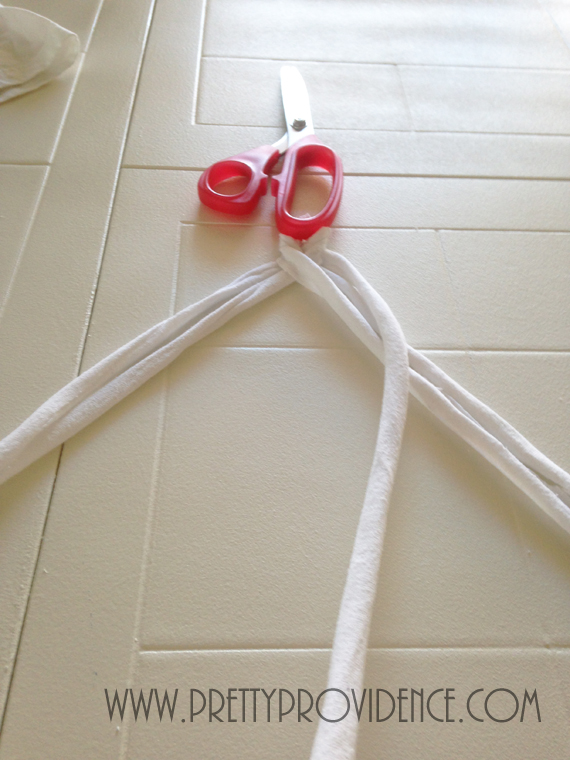
Separate your five strings and put something heavy on the end to hold your strands steady while you braid.
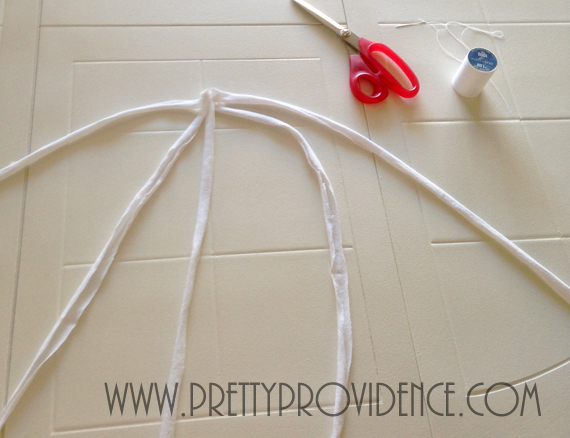
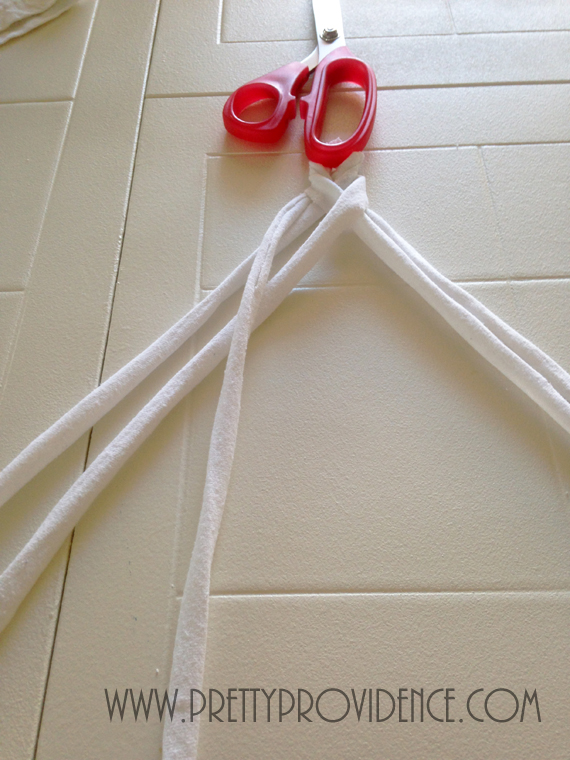
Now, here's how you do it. It's very simple. Start with the outside right strand and go OVER the two strands closest. The strand that you pull over will then join the strands on the left.
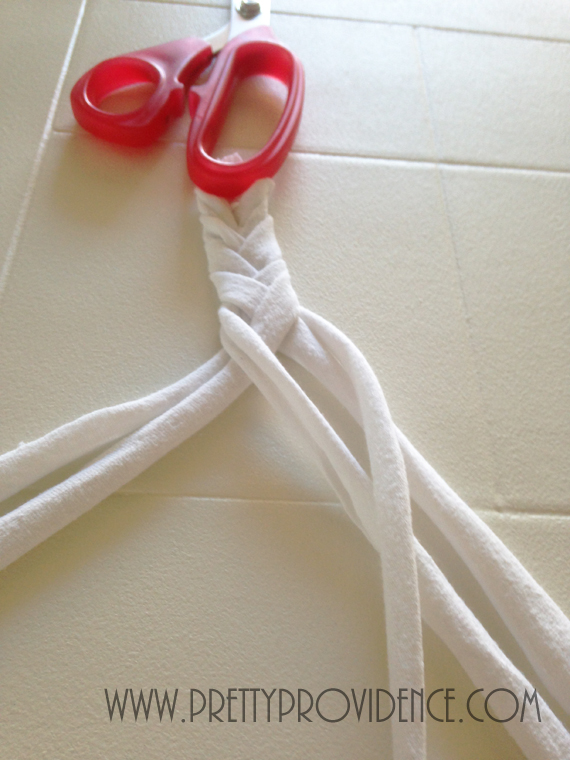
Then, you go to the outside left strand and go OVER (it's always over) the closest two strands (it's always two strands.) Repeat. Repeat. Repeat. Repeat.
You can either do your braid fast and loose (like is demonstrated in these photos) or tight and careful (keep reading for picture). Fast and lose will look more like a traditional braid. Tight and careful allows you to see the cool detail in the five strand method.
Once you feel like your braid is long enough, measure around your subjects head. T-shirt material is stretchy, so you will want it to be tight. After you get the correct measurement, add an inch or two of overlap to sew your ends together.

Take your needle and thread again and sew your ends together. It still doesn't need to be neat!

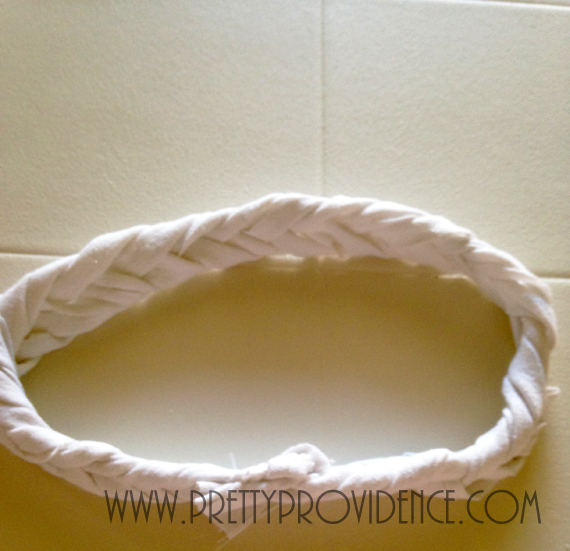
This is what your headband will look like at this point.
Now cut a small rectangle out of the excess of your t-shirt. This piece will be wrapped around your messy ends so everything looks nice and (sorta) profesh.

Wrap your piece over your ends.

Stitch your cover closed and you are finished!

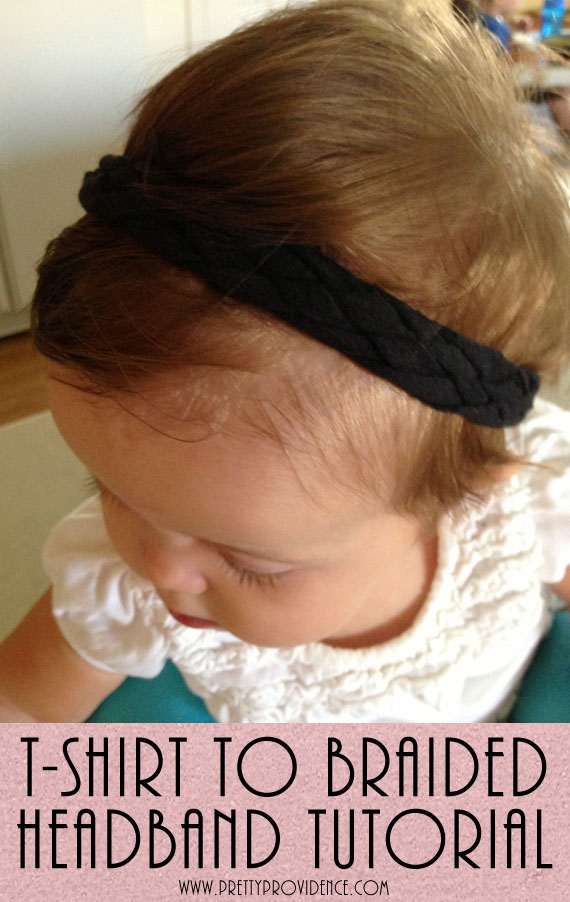
If you want to see what it looks like when you pull your strands a little tighter, here is a picture of baby girl wearing one of hers.
Well, there you have it folks! I hope that was enough detail for you, haha. Now run to your closet and pull out all your old t-shirts.

If you loved this post make sure you check out how to take in a shirt that's too big and his to hers t-shirt transformation!
This post may be linked up.


this is just what I was looking for …
DIY head bands … I can't wait to get t shirts from thrift shop and get started !