iIf you're considering buying a Cricut, read our full Cricut Maker review, complete with information about the differences between Cricut machines.
Hello friends! I am so excited about today's post. Not only do I have a full Cricut Maker Review, but I'm also going to show you a fun gift I made using the maker.
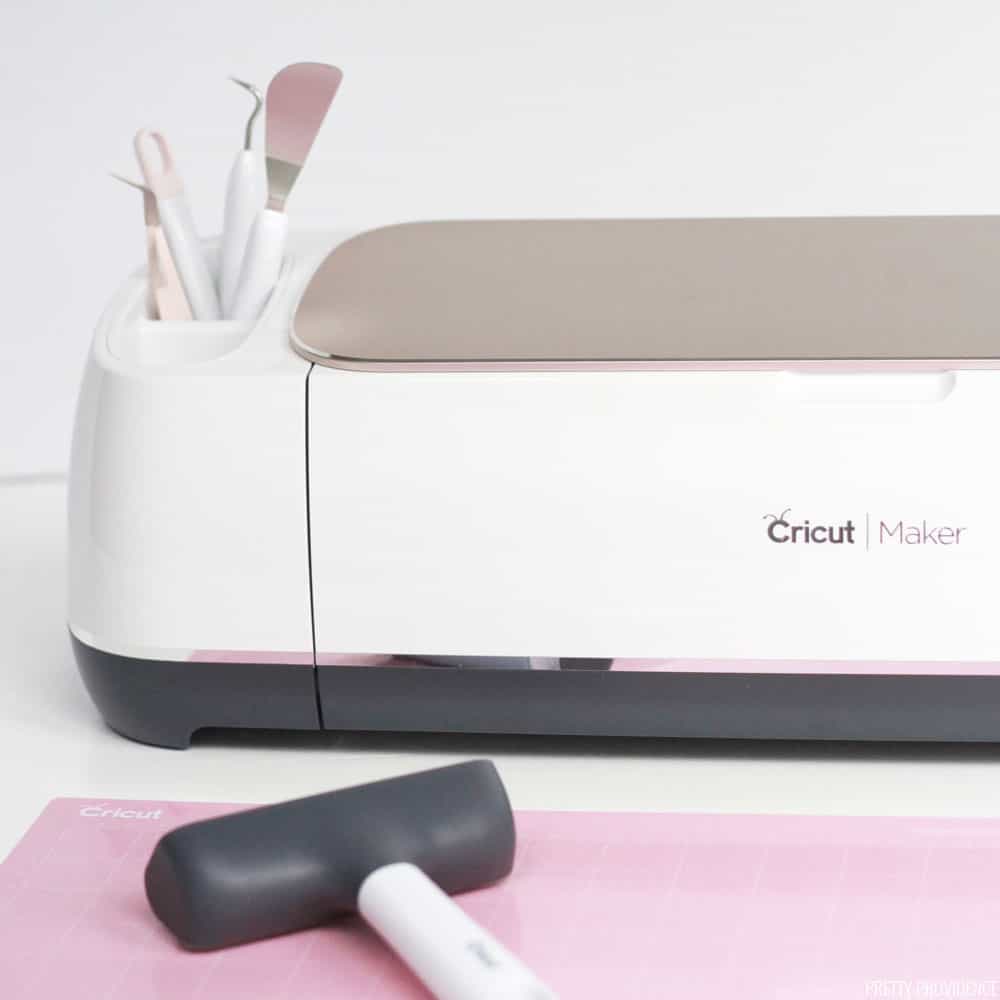
Cricut Maker Review
Okay, first I will go ahead and say that I have LOVED my Cricut Maker so far! Before this, I had a Cricut Explore Air 2 and I honestly love that machine as well.
When the Maker first came out I didn't really intend on getting one because I loved my Explore and felt like it fit all my needs. I don't use my Cricut for sewing and I wasn't sure I'd want to cut crazy materials. Eventually I caved and I am so glad I did! If you want to check out some easy crafts to start out with try these 10 Fun Cricut Maker Project Ideas!
The Cricut Maker definitely pushed me outside of my comfort zone and made me a better crafter.
The new functions are addicting and really fun to use. I love cutting chipboard with the knife blade and fabric with the rotary blade. The possibilities for projects are truly endless now!
I kept my Explore Air 2 as well. It has actually been really nice to have both so that when I am in project mode I can have my maker cutting chipboard with the knife blade, while my Explore cuts vinyl at the same time. Having two machines is obviously not a need, but I've really enjoyed it!
Cricut Maker FAQ's
Now that you have seen my glowing Cricut Maker review, here are some of the questions we keep getting asked.
Will I use the machine enough to justify the price?
When I got my first Cricut machine years ago it sat in a closet for months before I was brave enough to pull it out and use it. For some reason I was so intimidated!
As soon as I did finally use it, I became addicted! It is honestly so easy to use and it's so freeing to be able to create exactly what I wanted that I couldn't find in stores.
I now use my Cricut all the time. It has paid for itself dozens of times over. If you are a person who loves to craft and is competent enough to type "how do I do ...... on a Cricut Maker?" into a google search, then you are going to love this machine and use it all the time.
What materials can I cut with the Cricut Maker?
The short answer is that the Cricut Maker can cut just about anything other than food (like fondant). The things I was most excited to use my Maker to cut were thicker materials like leather, chipboard, Balsa wood, Basswood, all kinds of fabrics and batting, magnetic sheets and more! For a complete list of materials the Cricut Maker can cut, along with the recommended blade time and cutting pressure for each material click here.
Can I upload my own images (SVGs, jpg, png etc.)?
Yes, absolutely! I do this all the time and it is super simple. That being said, there is also tons of awesome art available in Cricut Design Space to use as well!
Typically if I want to make something and I have an idea in my mind of what I want it to look like (like for the front of the baskets in this post) I will search Cricut Design Space first and see if there is something I like. If there isn't, I design my own in photoshop and upload the file! Lots of times I find things there that I like better than what I would have designed.
What makes the Maker different from other Cricut machines?
The biggest difference between the Cricut Maker and other Cricut machines is actually the technology built into the machine.
The Cricut Maker has an "adaptive tool system" which means that it will allow for the Cricut team to expand the suite of tools available as things change. The adaptive tool system is what allows the machine to "cut from side-to-side, move up and down, and lift and turn, so you can cut more materials with more pressure than ever before.
This is what makes it easy to cut through fabric without a backer (right off of the bolt) using the all-new Rotary Blade. We’ll talk more about the Rotary Blade below. Cricut Maker can cut hundreds of materials from delicate papers and fabrics to denser materials like leather, chipboard and balsa wood."
So, what tools work with what machine?
All the tools you use and love with your Explore, like the pens and the fine point blade still work with the Cricut Maker! But the new tools designed specifically for the maker include the knife blade, the rotary blade and the single and double scoring wheels.
Read more about the differences between the machines.
What kind of DIY projects can I make with the Maker?
Literally the sky is the limit! Or rather, your imagination is! You saw up above all the materials this thing can cut, it honestly is amazing! We are just getting started on our Cricut Maker journeys, but we already have so many Cricut projects that we love and are proud of! Here are just a few of our favorites:
DIY Princess Costumes | Funny DIY Socks | Gift Card Wreath | Paper Flowers Cake Topper | Chipboard Christmas Ornaments | All the T-Shirts | Laundry Hamper Labels | Easy Personalized Plates
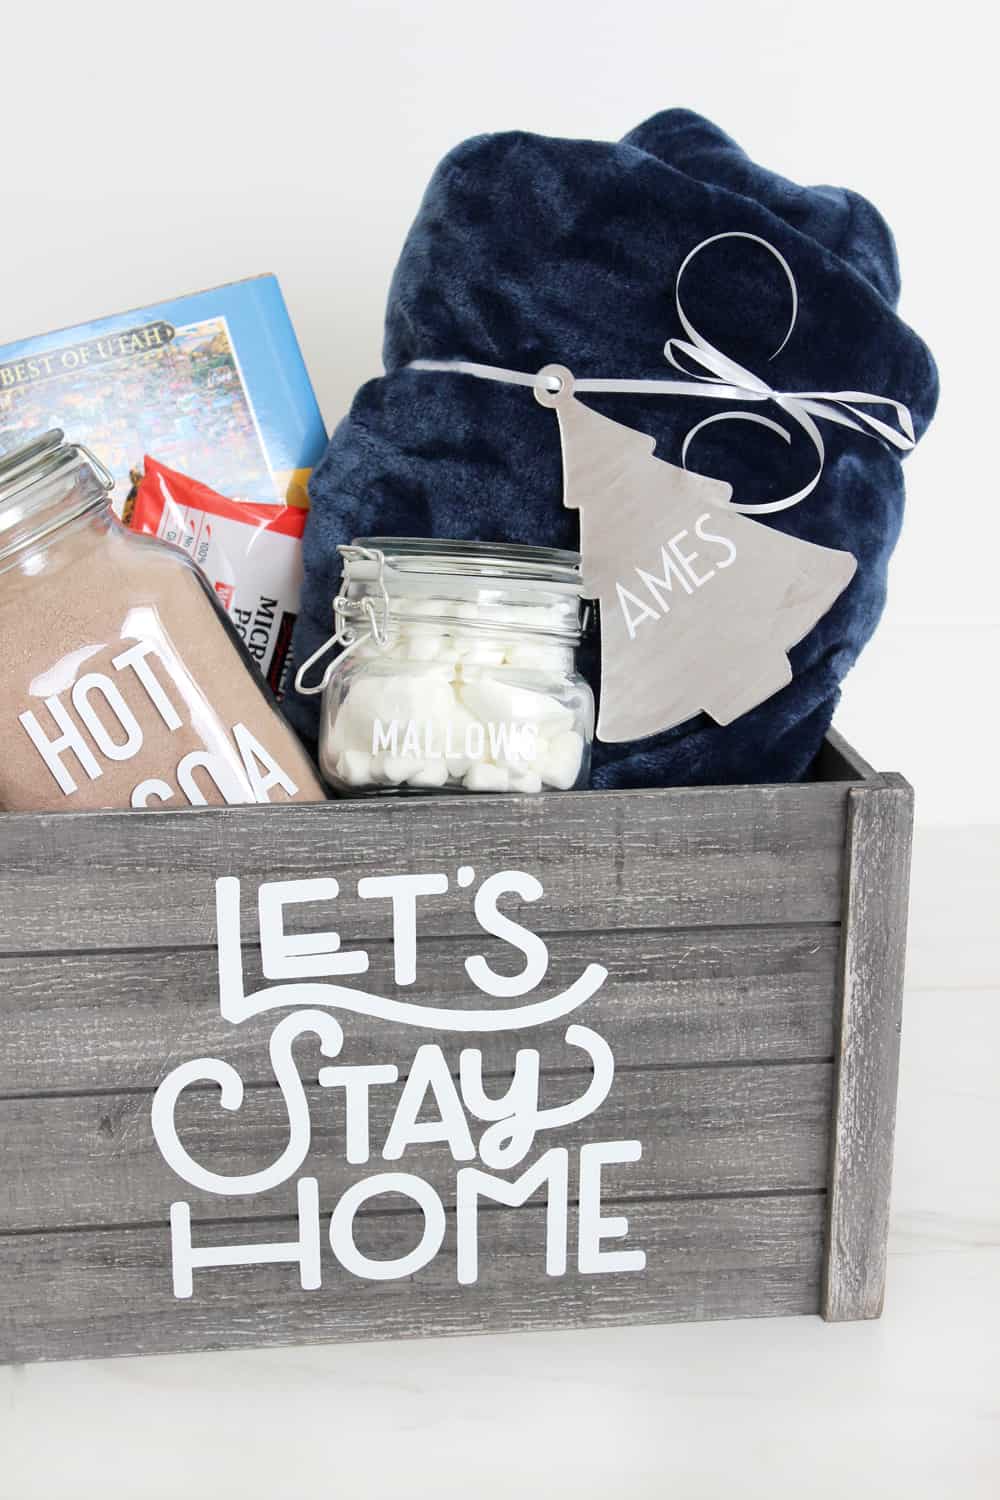
Night In Gift Basket Idea
We don't live nearby any family but we have been so blessed to have good friends who take care of us when we are sick, watch our kids during doctor appointments, and do extra carpool runs when we need it. I wanted to give something a little nicer to a few family friends who have really helped us out a lot this year.
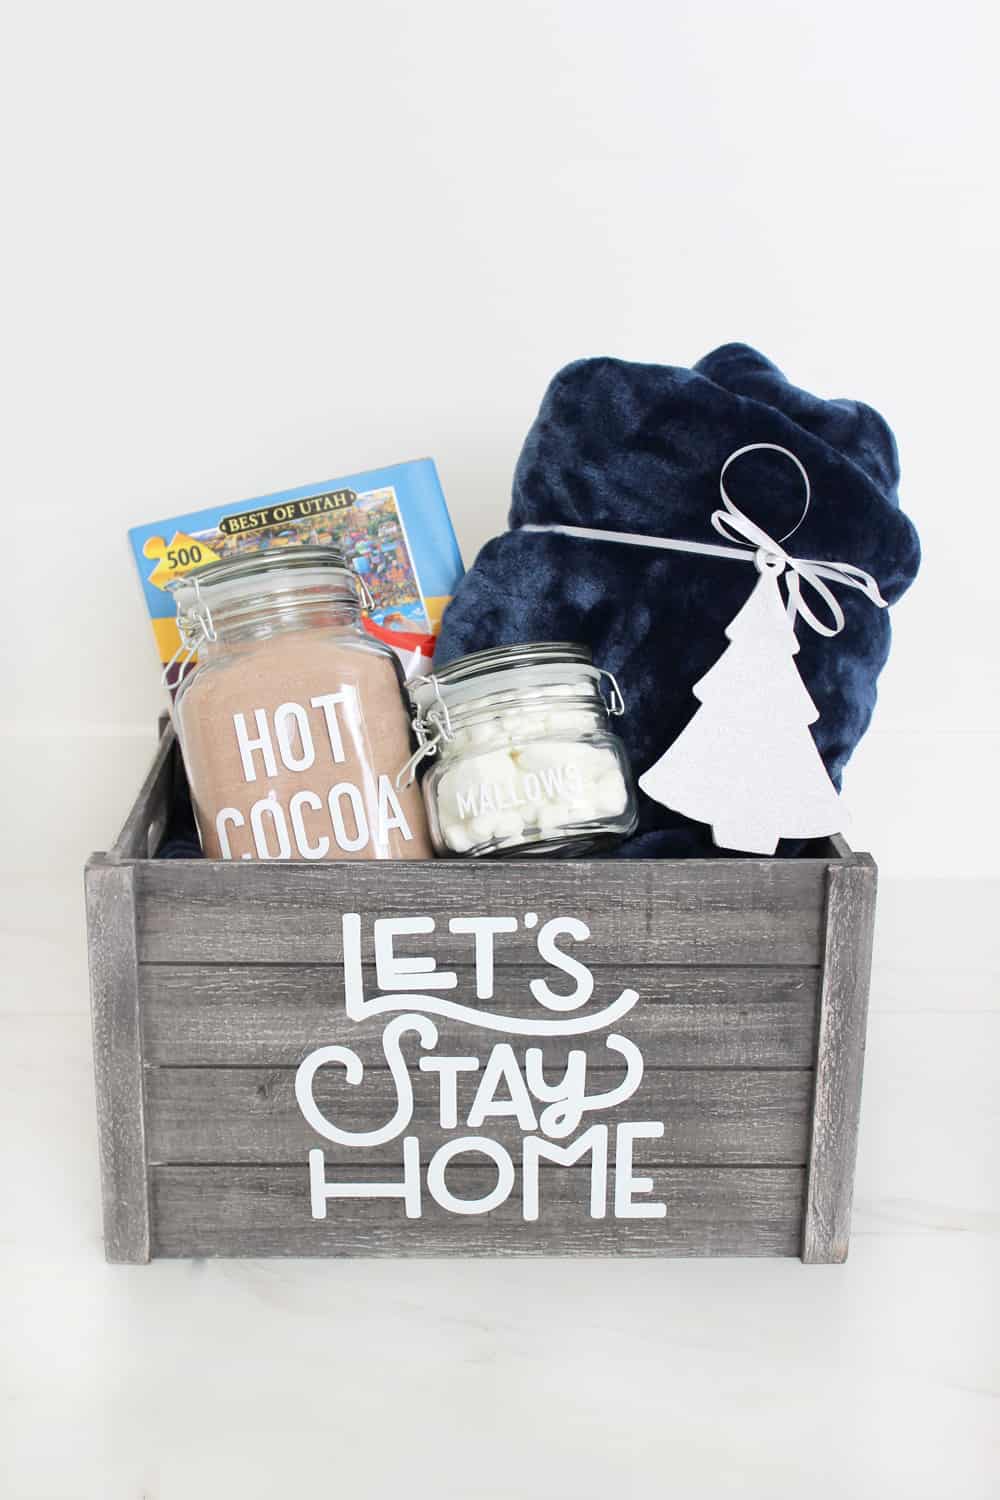
I wanted the gift to be something the whole family could enjoy together, and eventually I decided on a cozy "night in" gift basket! Hopefully it will be a meaningful gift for those friends we love so much!
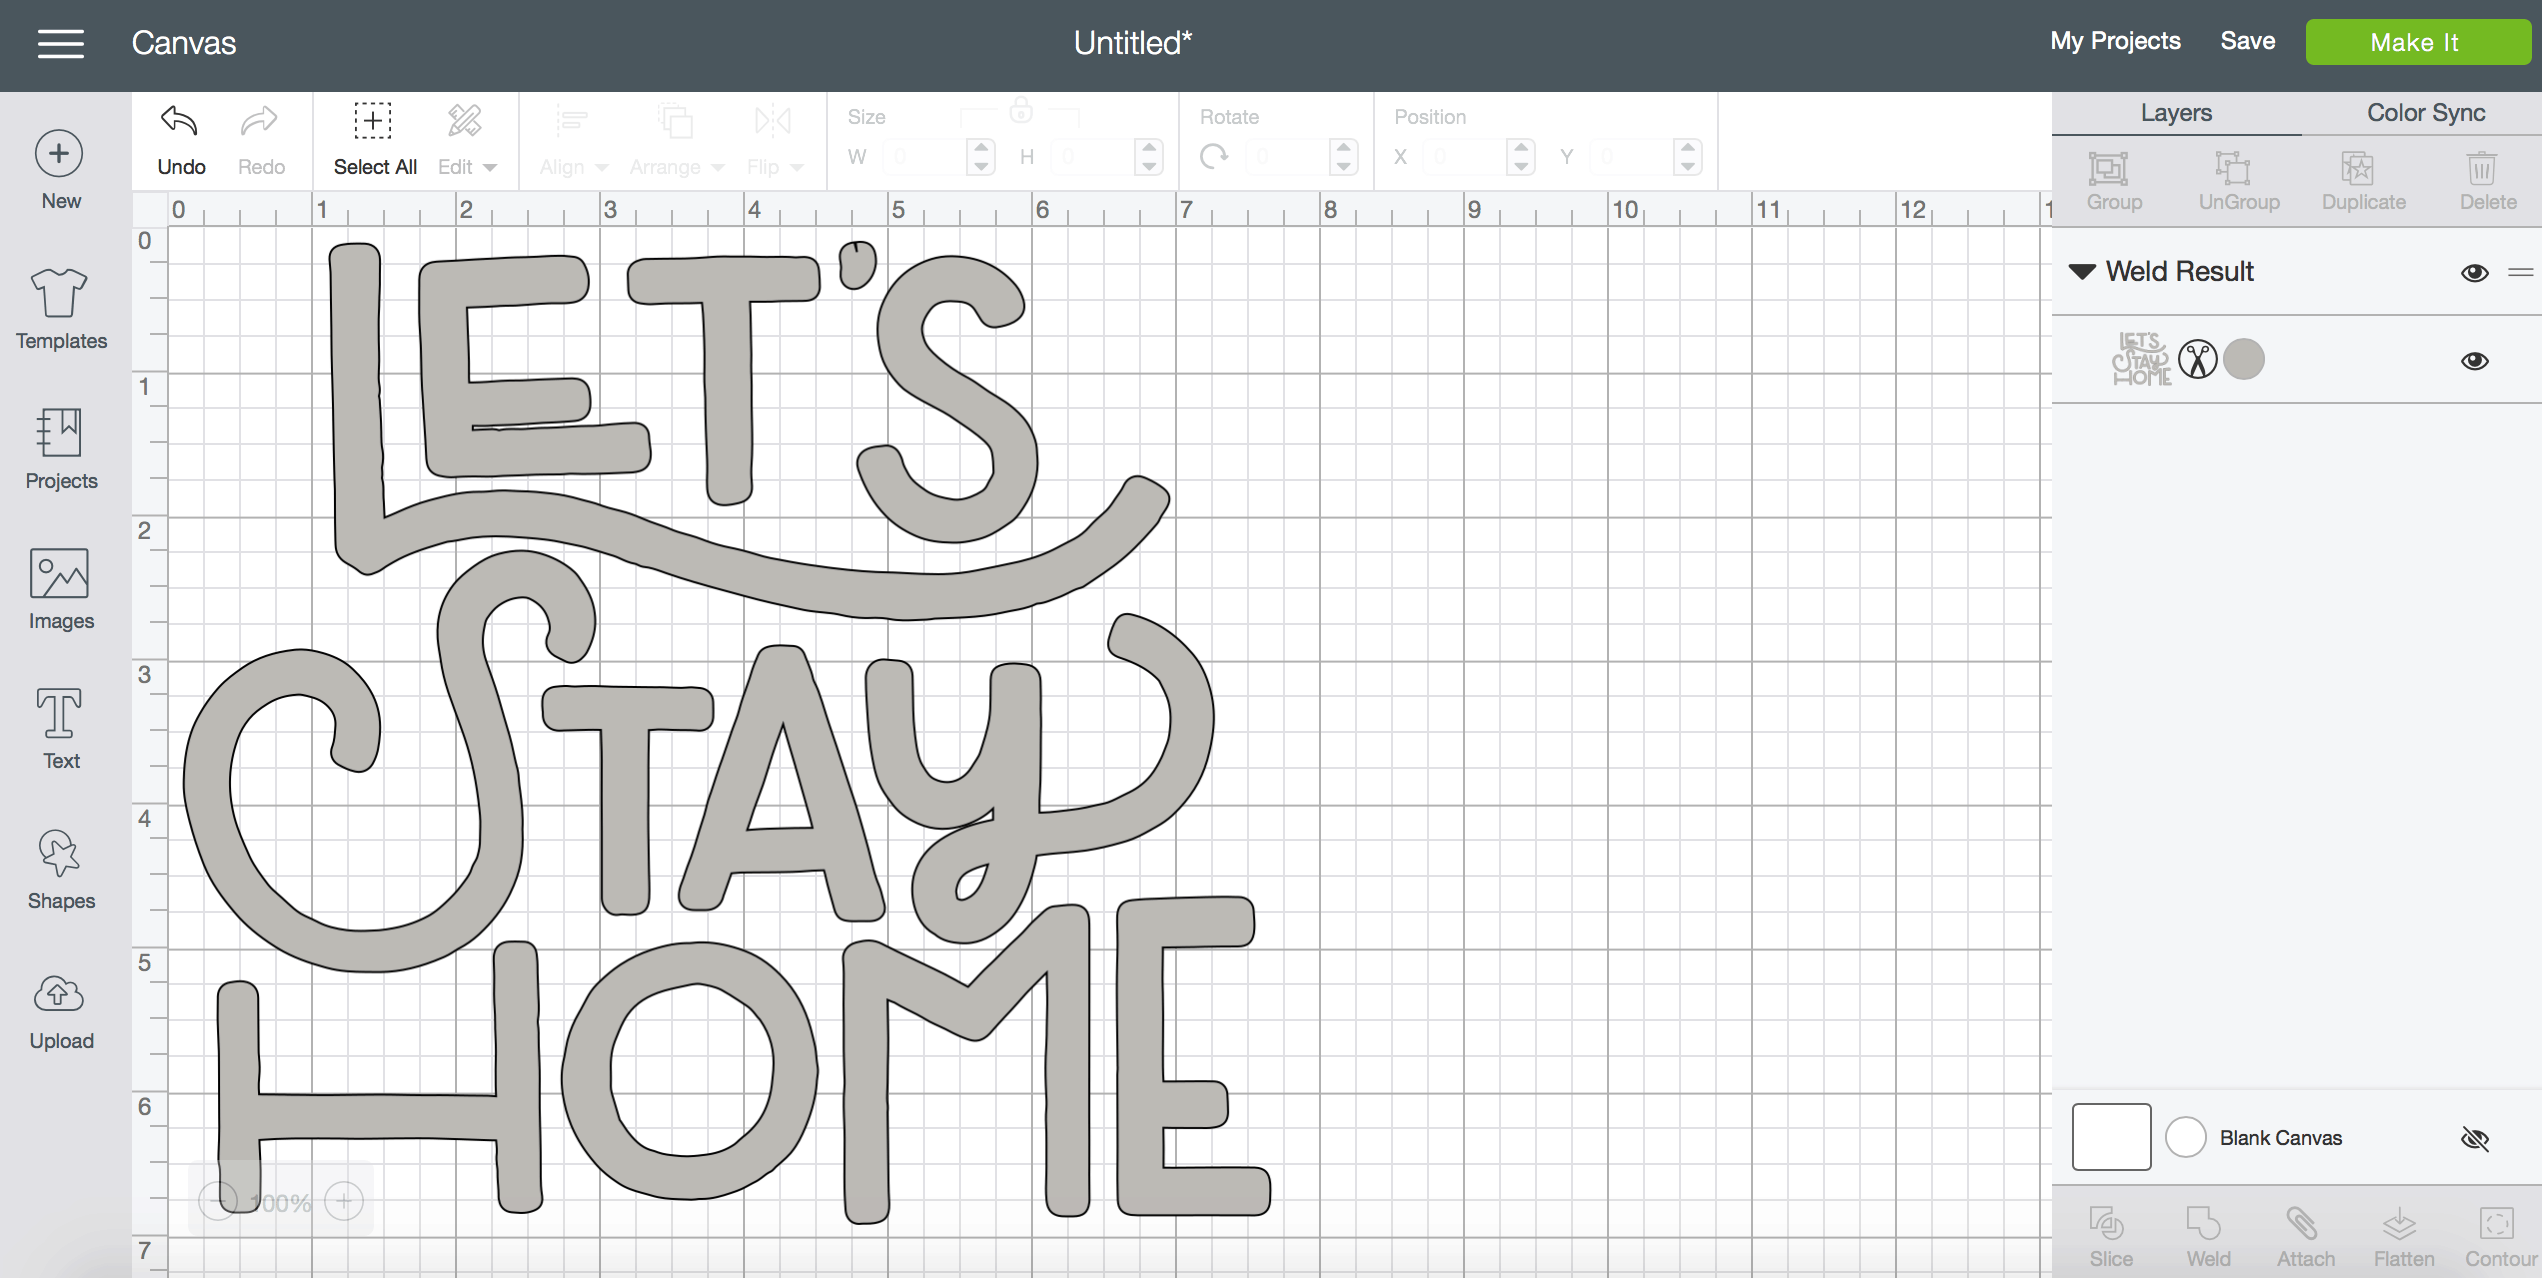
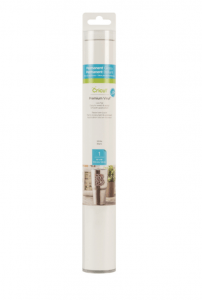
I found the plain crate at Ross and then I cut the Let's Stay Home file on my Cricut Maker in permanent white vinyl and applied it to the side. To use this same image click here, or type "lets stay home" in the image search in Cricut Design Space! Once you see it just click the insert image button on the bottom right.
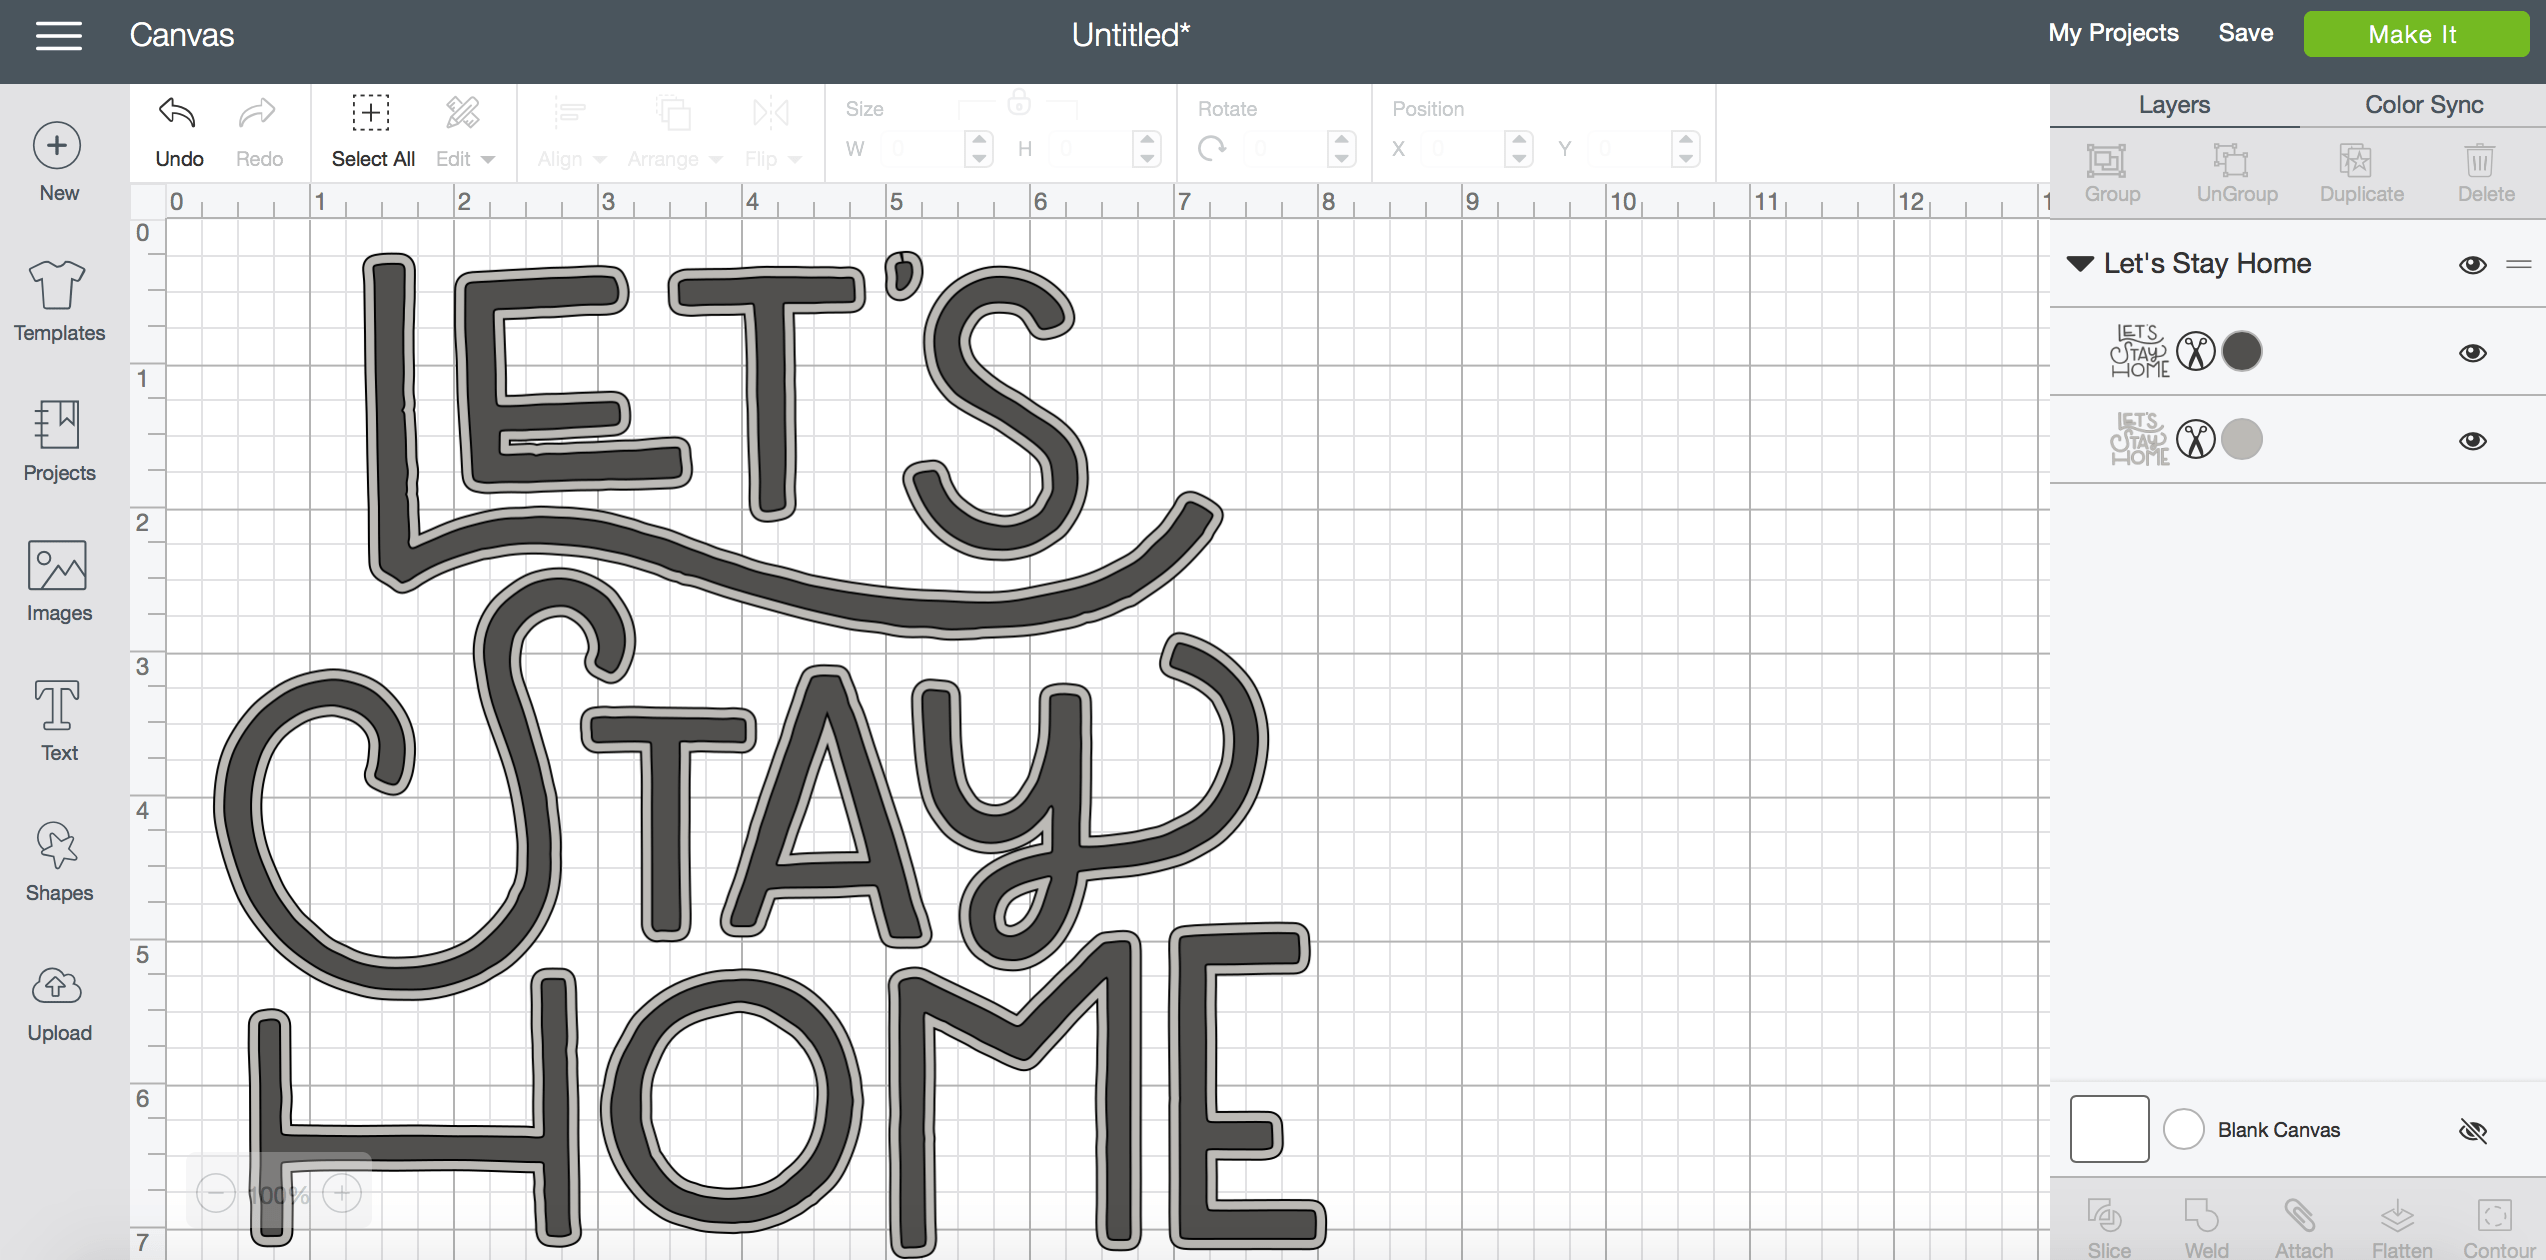
Once you have the image pulled up, resize it to the appropriate size for your crate or basket. I used the weld tool to bind the layers together so that I didn't have the outline, but I think it is cute either way! Then click the make it button in the top right.
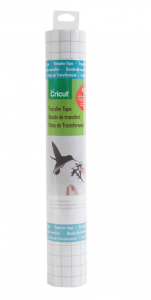
Once you see your project click continue. Select the type of material you want to use which for me was permanent vinyl. Then go ahead and make your cut. If you are using a Cricut Maker you can do this in fast mode which is so nice when you are working on other projects too! Once your project is cut use transfer tape to transfer your design onto your crate. If you have never used transfer tape before, we have a great post on how to use it. Once your crate or basket is embellished you are ready to fill it up!
Gift Basket Fillers
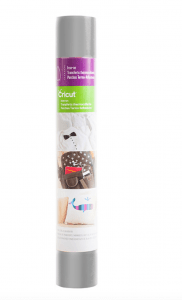
- Cozy Blanket monogrammed using Iron On Vinyl
- Decorative and functional jars full of hot cocoa and marshmallows, labeled with Permanent Vinyl
- A fun puzzle to do as a family We love all the Dowdle puzzles and try to collect them from everywhere we've been!
- Popcorn
- A Redbox Gift Card
- An ornament made with my Cricut Maker that doubles as a name tag for the gift
Okay, now you are ready for a few more details for the basket fillers if you are wanting to make your own!
Hot Cocoa and Mallow Jar Labels
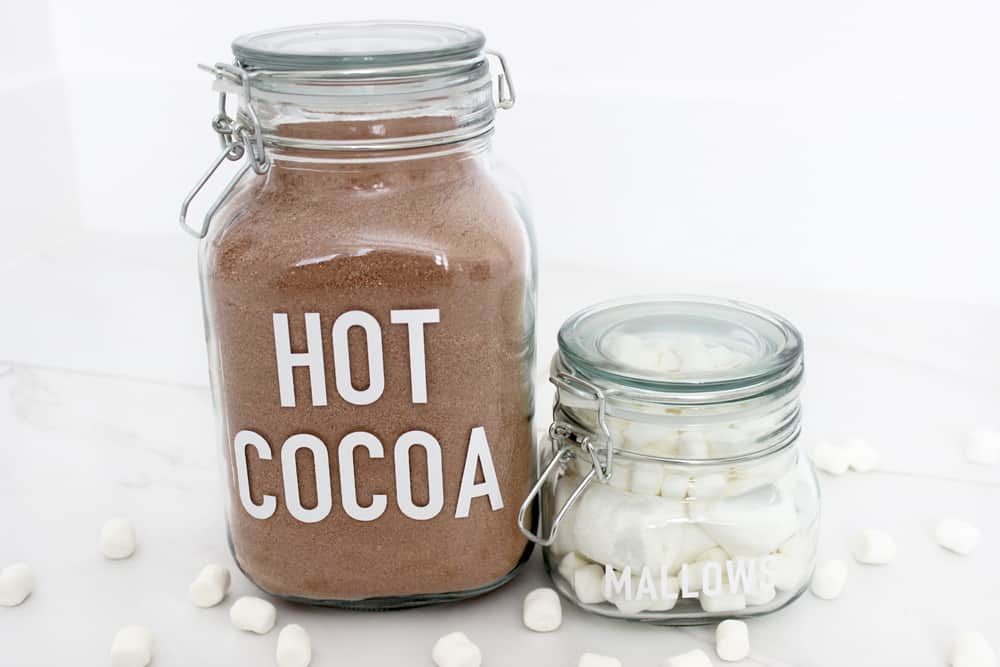
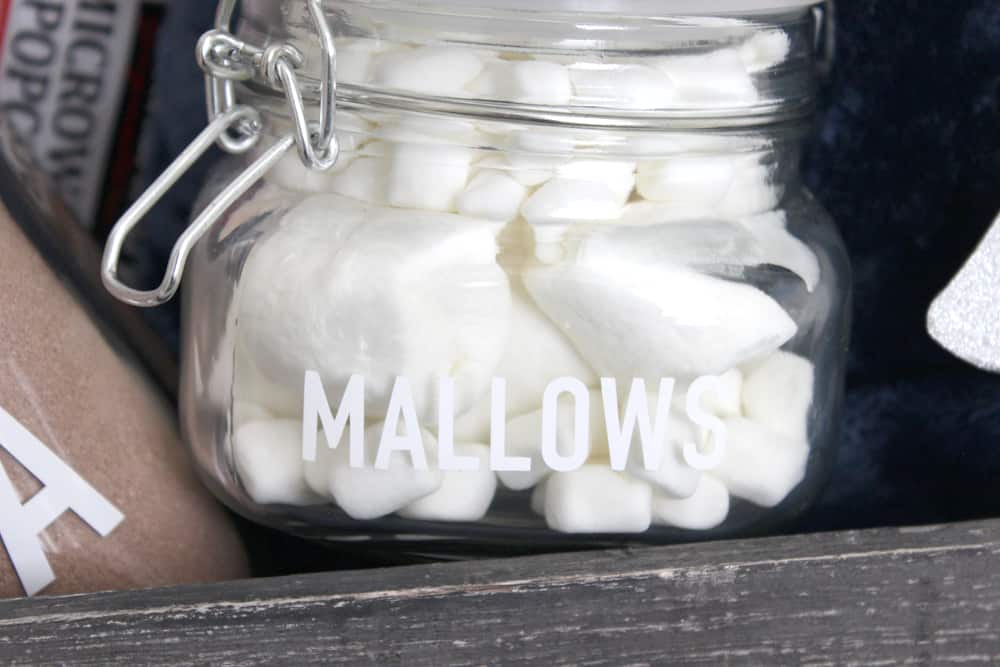
Last year I saw a friend who had the fixings for hot cocoa displayed in her kitchen all winter season and I thought it was so cute and fun! So, I decided to incorporate some fun labeled jars in my baskets. Creating the jar labels was super easy! All I did was type "Hot Cocoa" and "Mallows" in all caps using the font DIN 1451, which is one of the Cricut fonts.
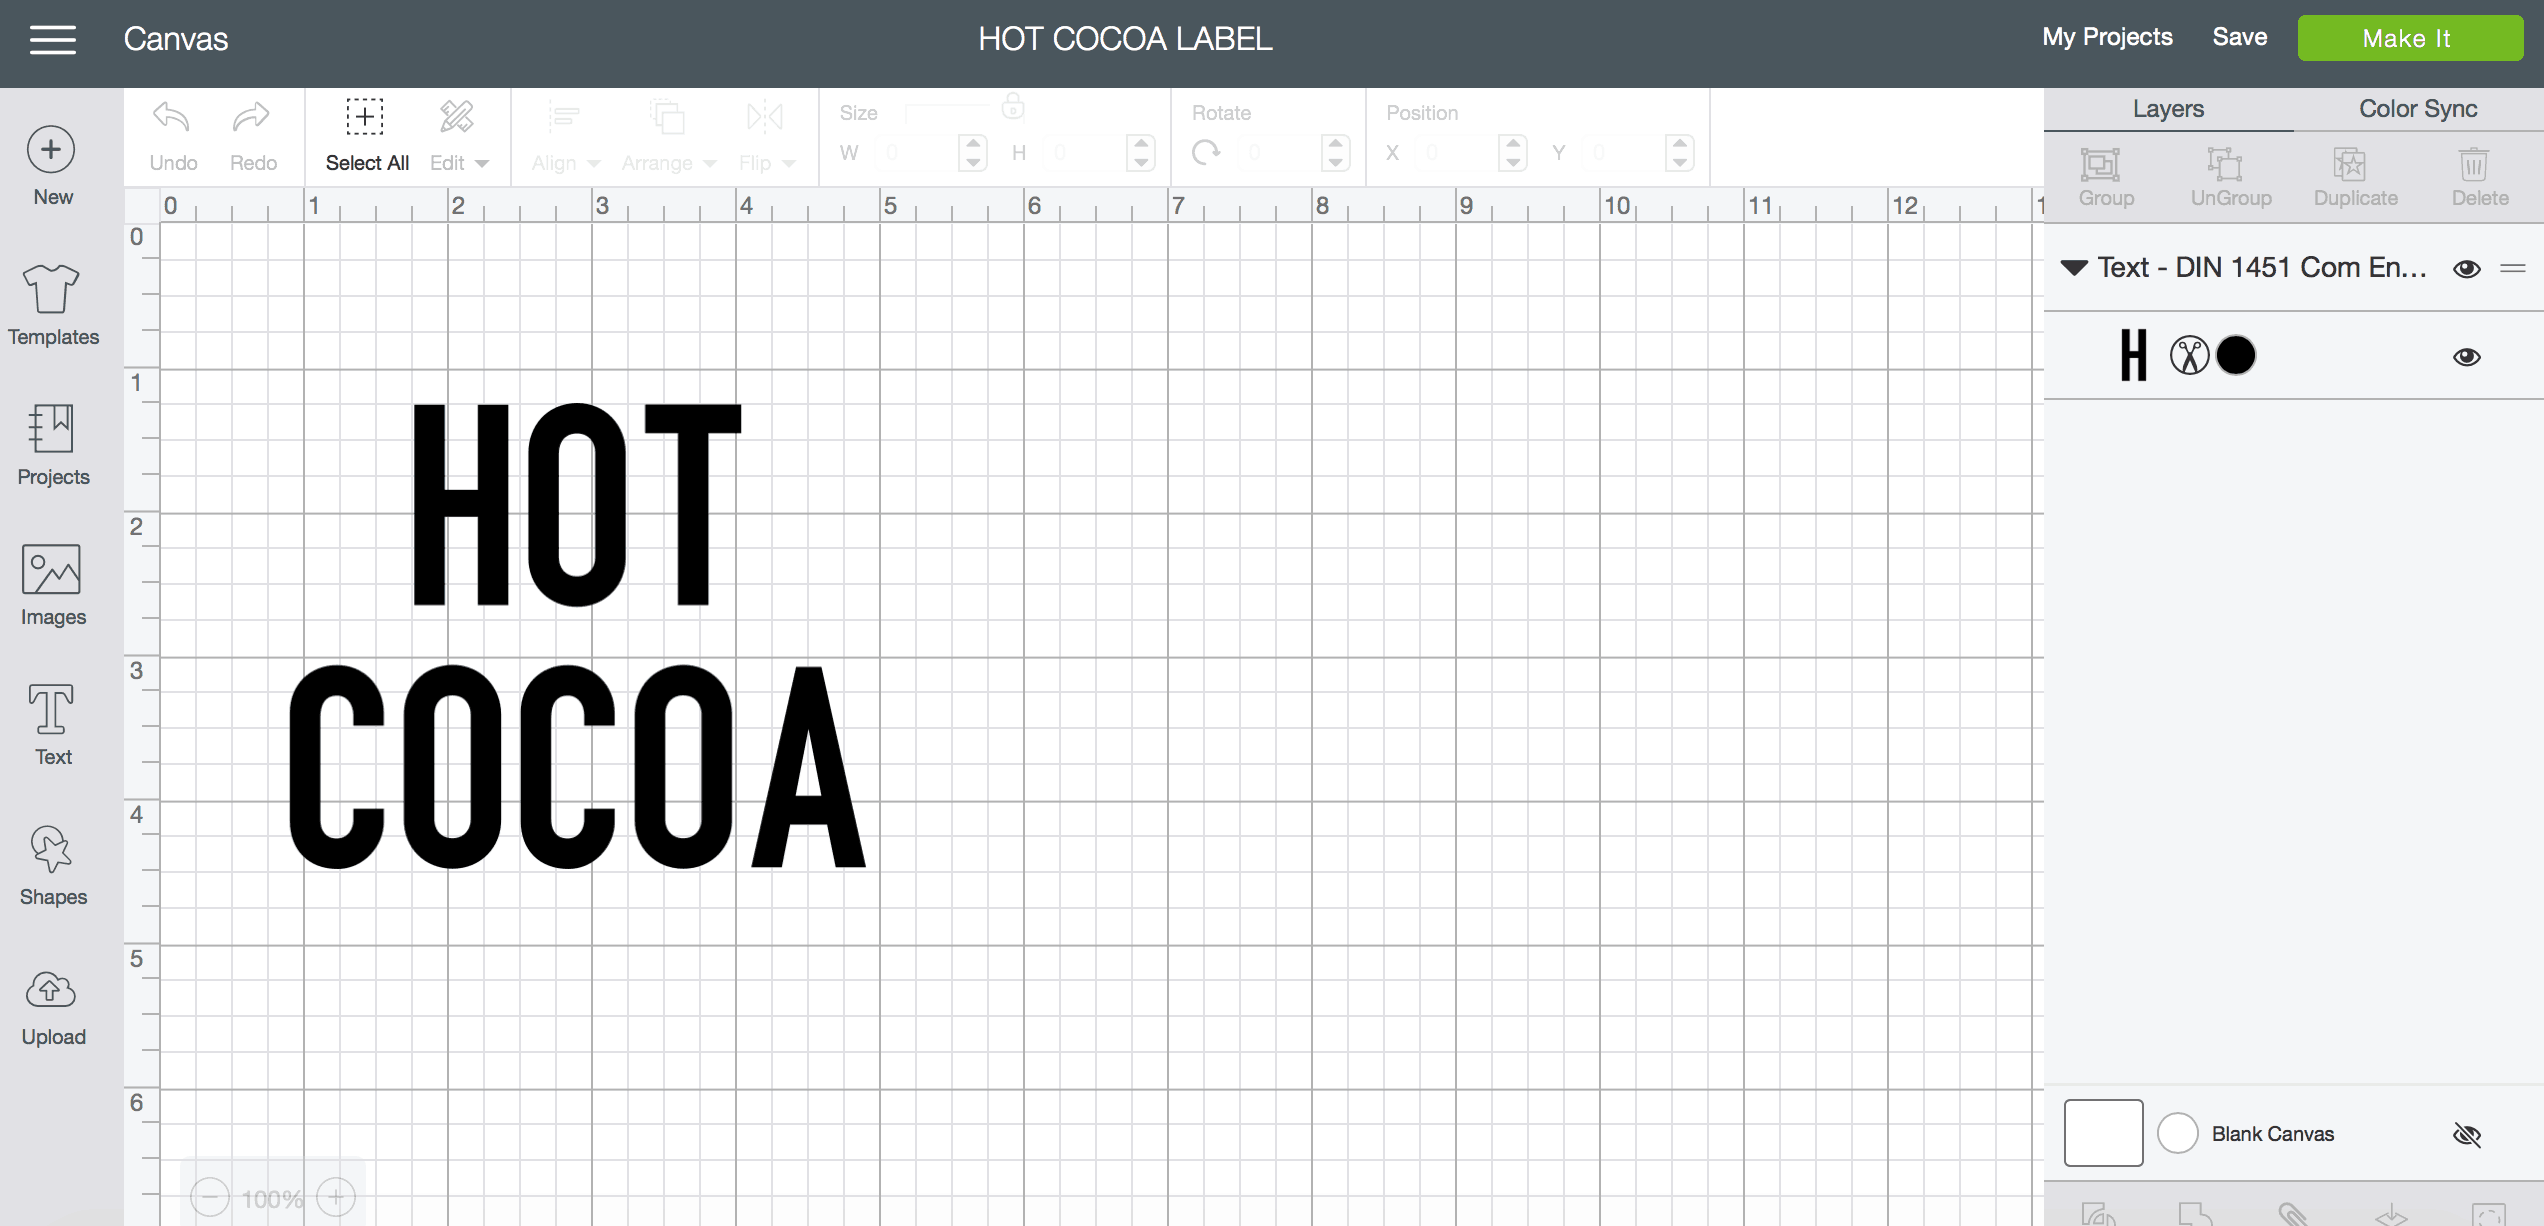
You can use my labels by clicking here (Hot Cocoa + Mallows) or make your own! If you do use mine click customize so that you can re-size them to fit the jars you have if needed.
Once you have your text at the size you want click the 'make it' button in the top right corner. Just like with the crate, once you see your project, click 'continue.'
Select the type of material you want to use which for me was permanent vinyl. Then go ahead and make your cut.
Once your project is cut use transfer tape to transfer your design onto your jars.
If you have never used transfer tape, we have a great tutorial on how to use cricut transfer tape.
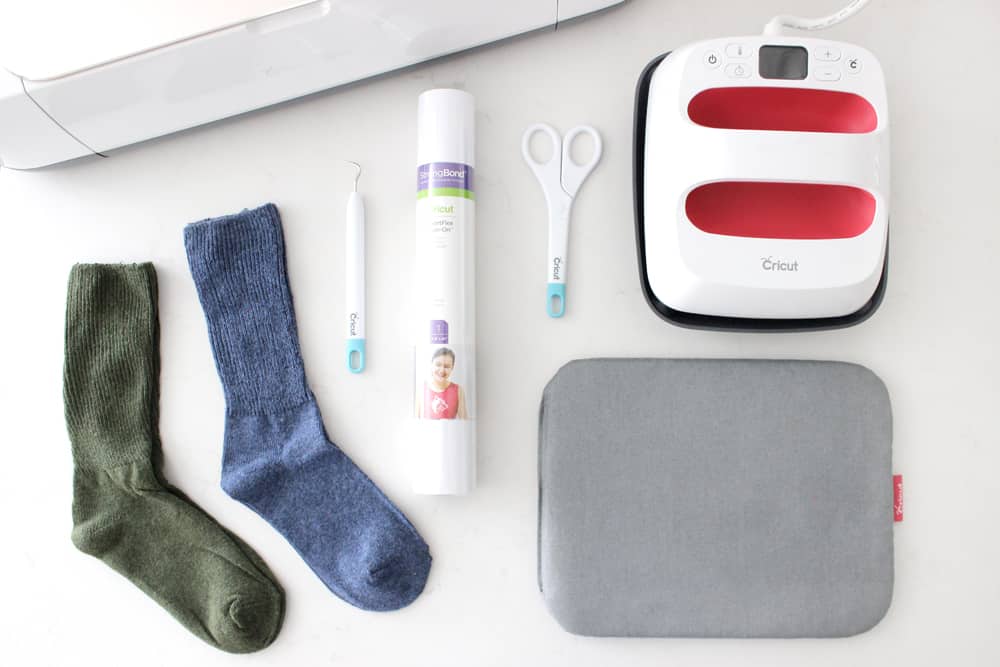
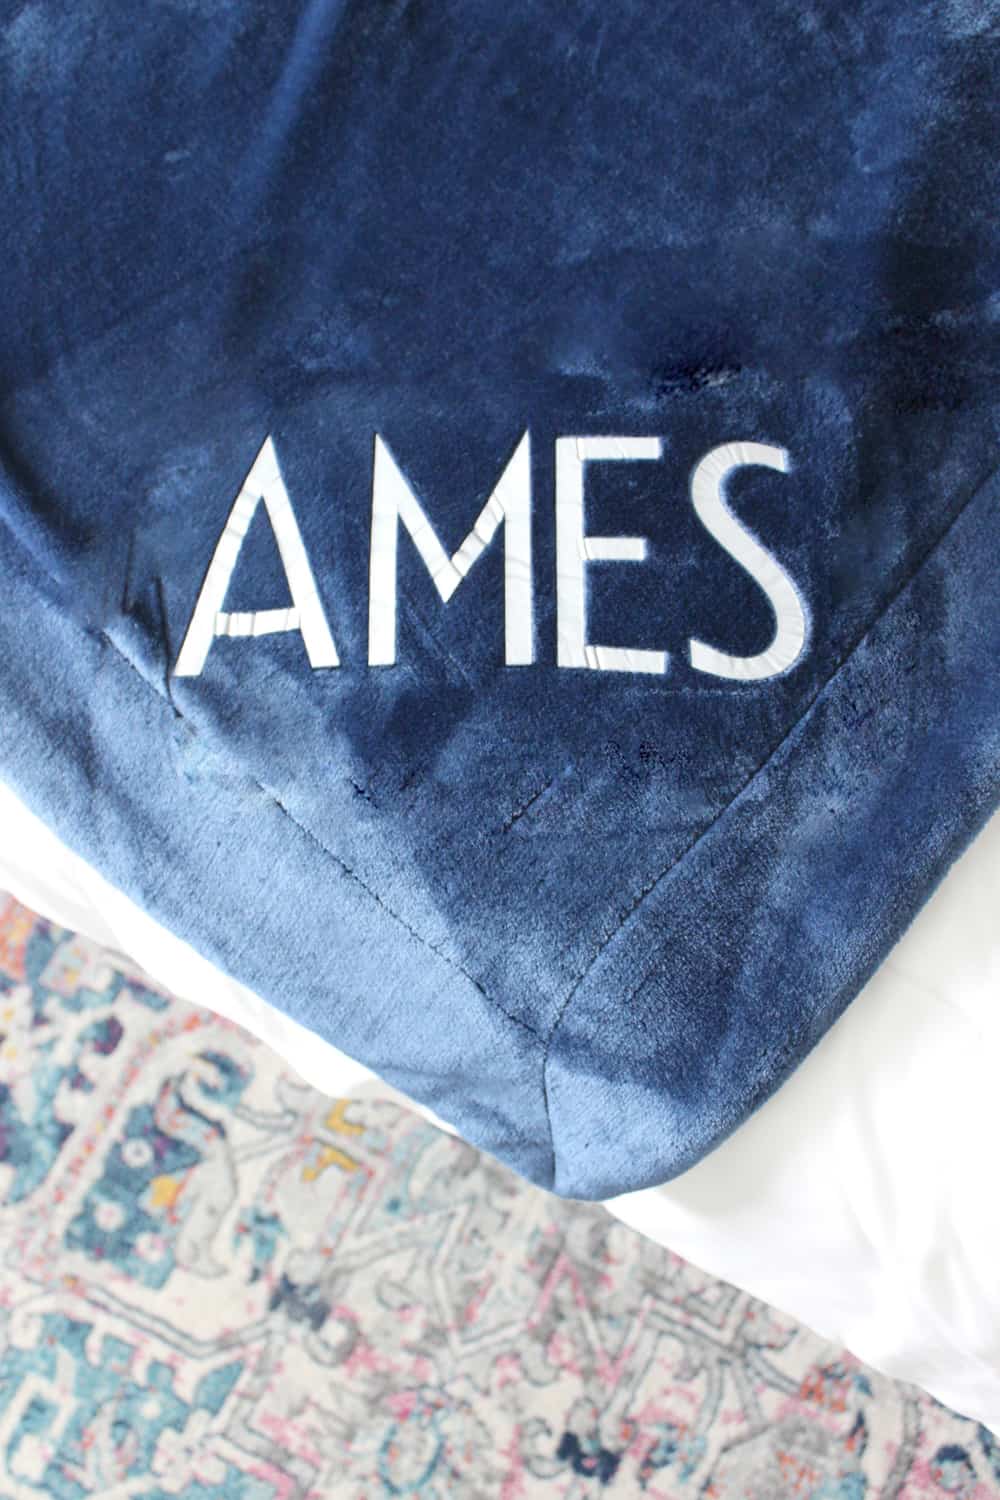
Monogrammed Blanket DIY
You guys KNOW from our many t-shirt tutorials that we are basically obsessed with Cricut's Iron on Vinyl! I love customizing things, and my kids love it too!
I decided to do monogrammed blankets for the baskets and I loved how they turned out! With a soft fleece blanket, I knew that the iron-on wouldn't lay completely flat, but it still turned out to look nice.
The blankets have washed really well, too! If you do want your letters to be free of wrinkles, make sure you choose a flat blanket!
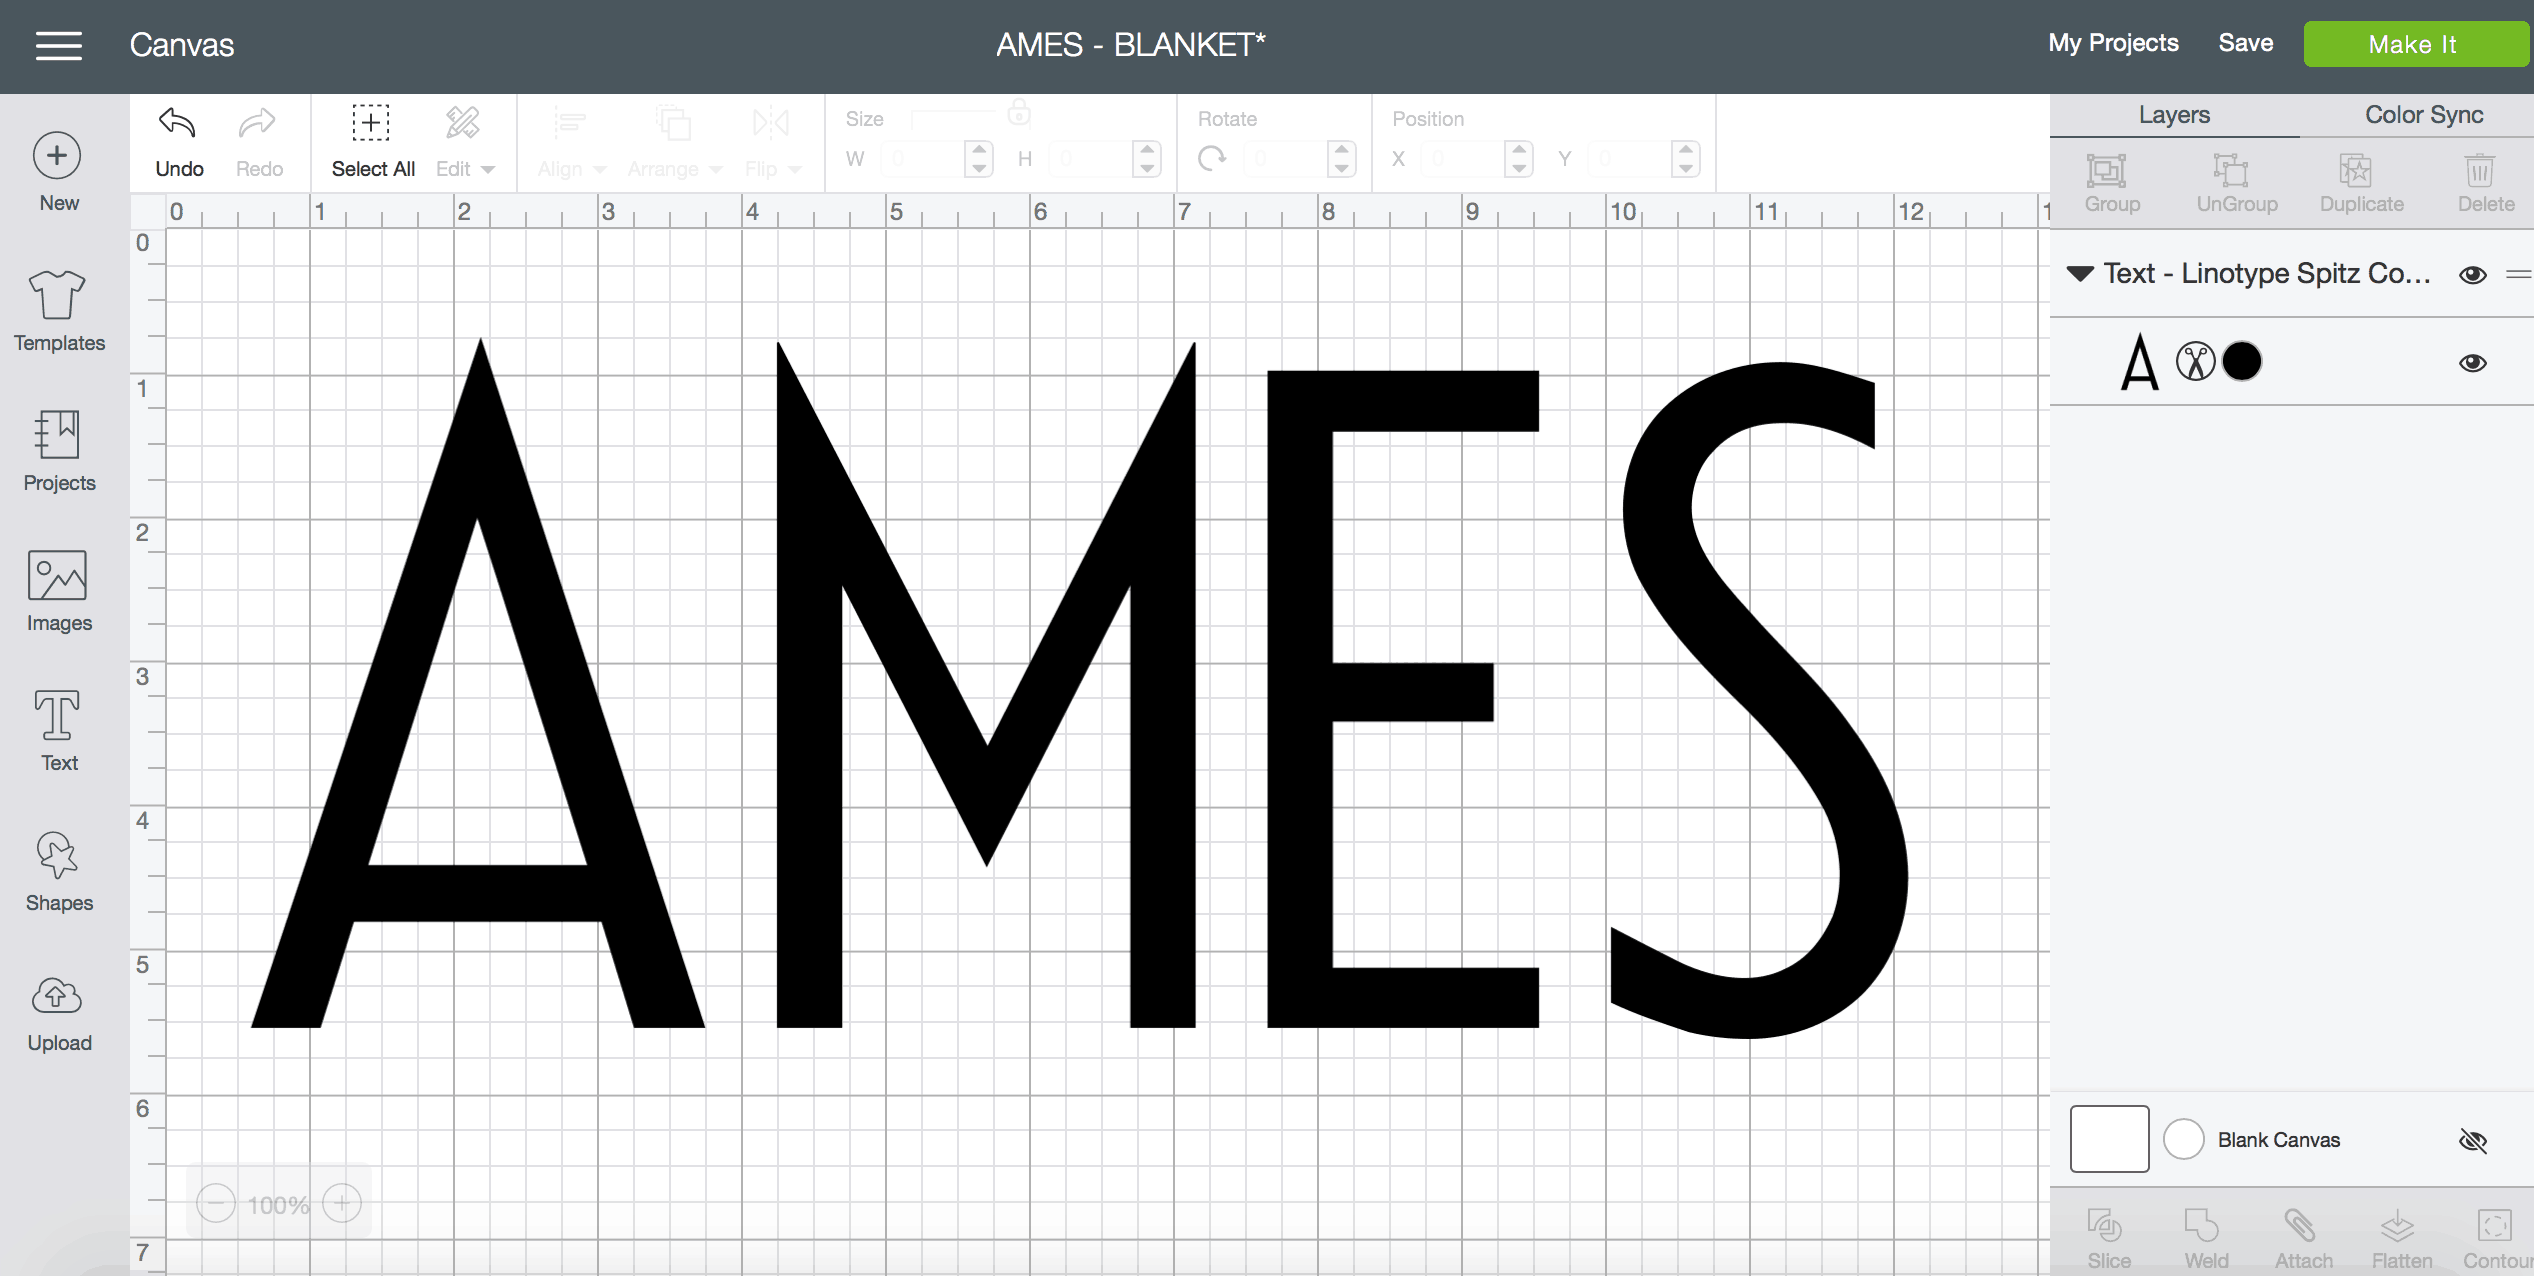
The first step to making your monogrammed blanket is to choose a font you like in Cricut Design Space and type out your name! There are so many good fonts to choose from, but for mine I used Linotype Spits Com Light. Then you will resize your name to whatever you want it to be. I wanted my names to be as large as possible without having to use two mats, so I sized all of mine at 11.5 inches!
Next, place your iron on vinyl shiny side down on your mat and turn the dial on your machine to Iron-on. Then click ‘Cut’! MAKE SURE you click ‘Mirror image for Iron-On’ before hitting ‘Go’ or your design will be backwards on your blanket!
After the cut is done, remove the excess vinyl around the edges. Use your weeding tool to take out the little pieces in the letters. Now you are ready to iron on your design! I used my amazing large EasyPress, but if you don't have an EasyPress a regular iron will work as well!
Cricut has a great new interactive tool on their website where you can select which type of materials you are working with (ie blanket fabric and type of vinyl) and it will tell you what to set your temperature at and how long to apply pressure! It is so fantastic. Find that tool here.
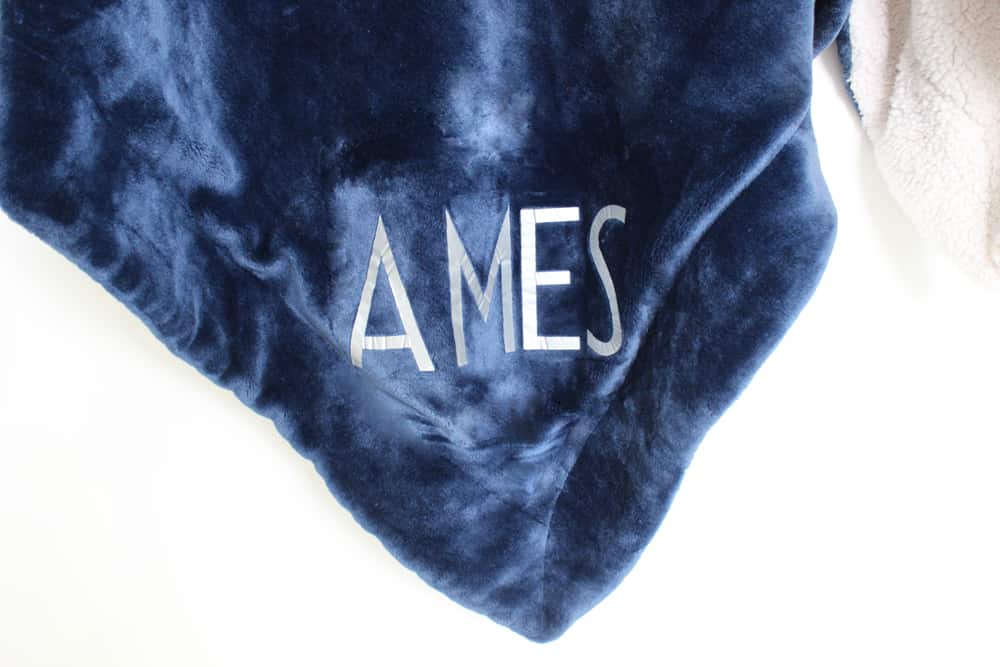
My blanket was 100% polyester, and I was using regular iron on, so I set my temperature at 315 degrees. Make sure your blanket is pre-washed before you iron anything onto it. Then once your iron or EasyPress is heated up you will want to preheat your blanket for 5-1o seconds so the material is warm. Place your vinyl on the blanket where you'd like it to go. I did mine on the bottom corner.
Put a press cloth or an Iron-On protective sheet on top of the plastic.
Put your iron or Easypress on top of the cloth and press firmly for about 30 seconds. Flip the blanket over and do the same thing from the back side.
Now you can peel off the sticky plastic and separate it from the vinyl.
You want to do this while it is still warm. If a piece isn't coming off, you may need to place the iron directly on the part that is pulling up and put on a little more heat and pressure, then it should come right off.
After the plastic is off I like to put the press cloth back on and do one more run with my iron EasyPress to seal on the design.
Now you're done, so easy!
You will want to wait at least 24 hours after application before washing your blanket. When you do wash, wash cold with like colors, and tumble dry on low.
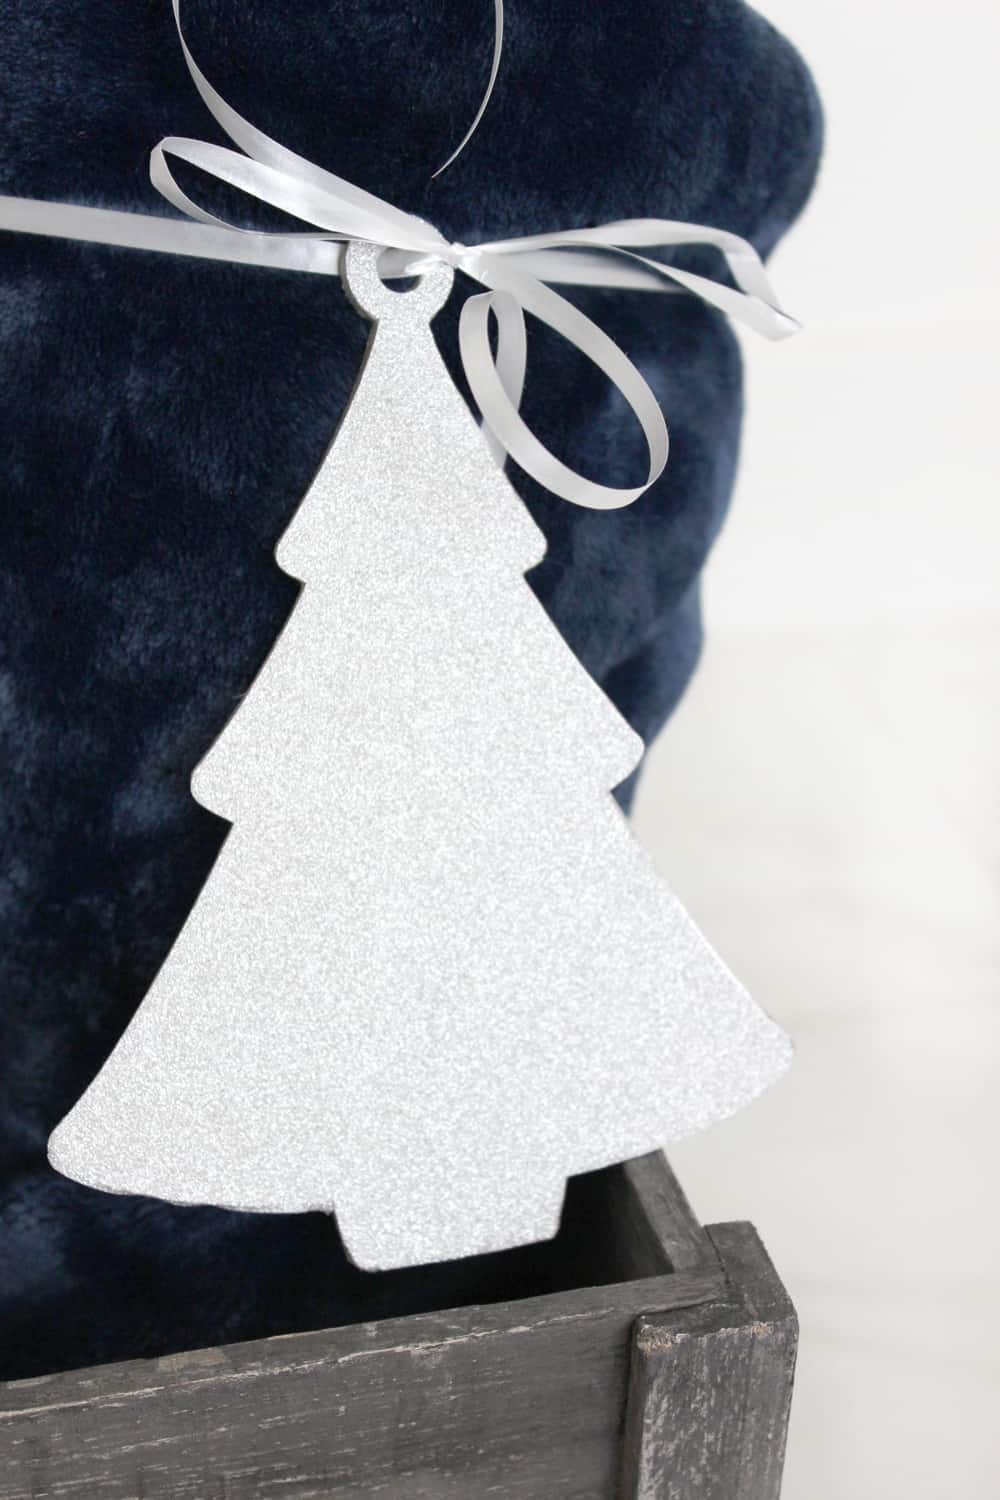
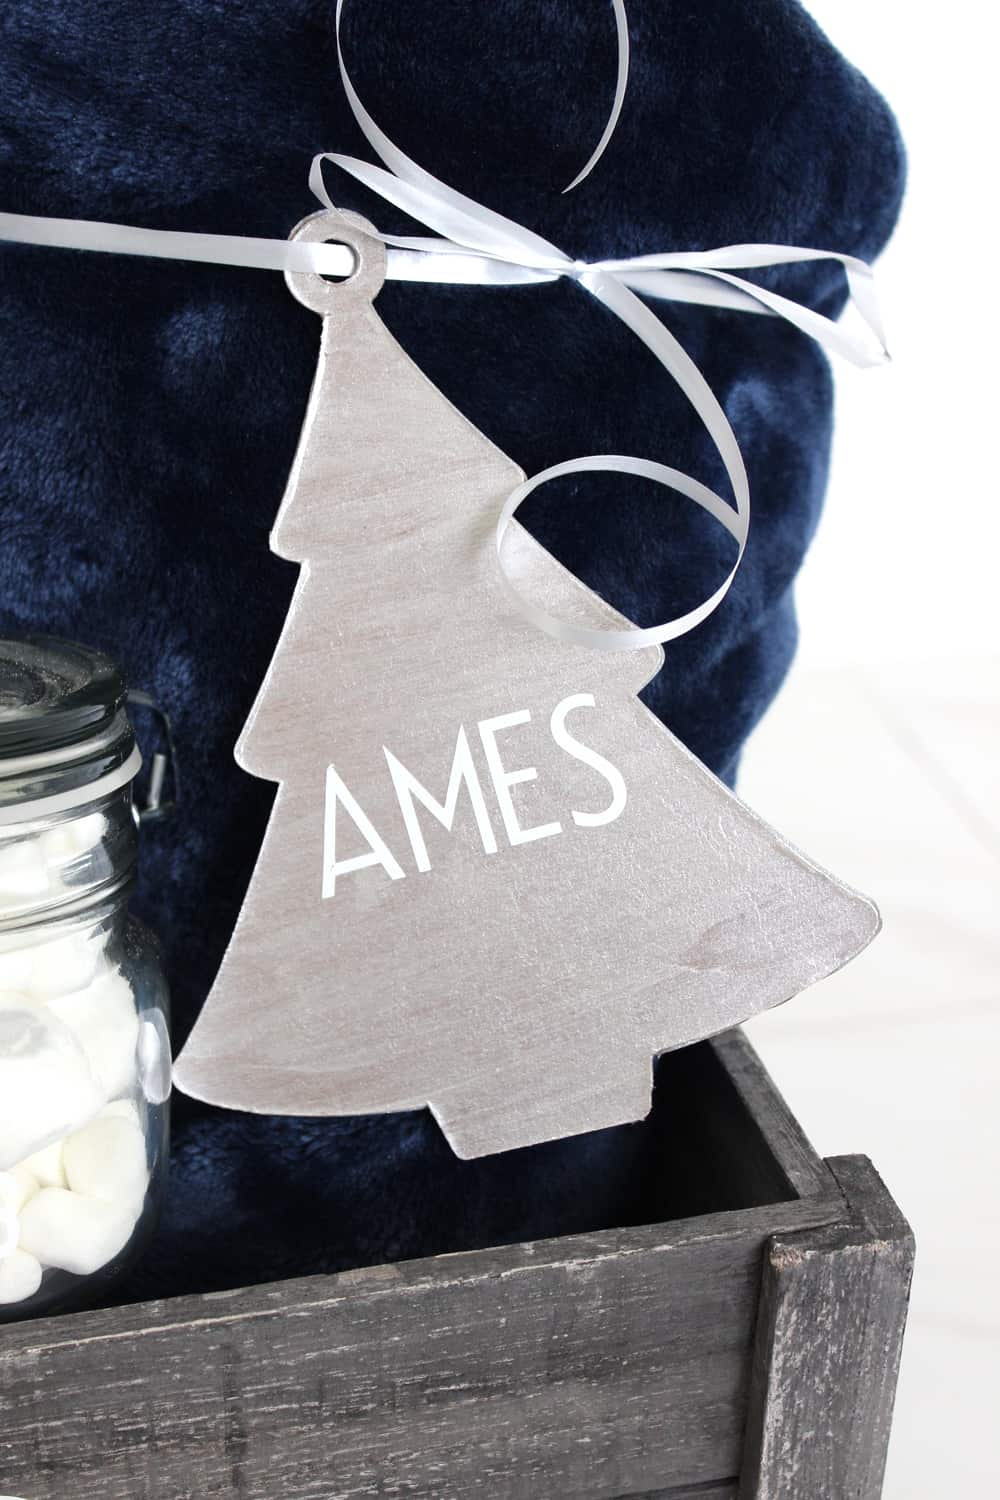
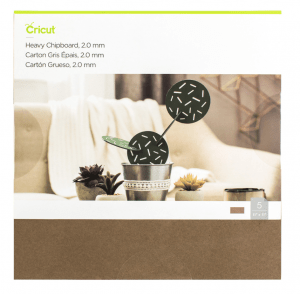
Chipboard Ornament made with Cricut Maker
Okay last but not least, the chipboard ornament! After Sarah's tutorial for DIY chipboard ornaments for her tree, I knew I had to make some of my own!
A little ornament makes a fun gift tag, then they can hang it on their tree if they want to after!
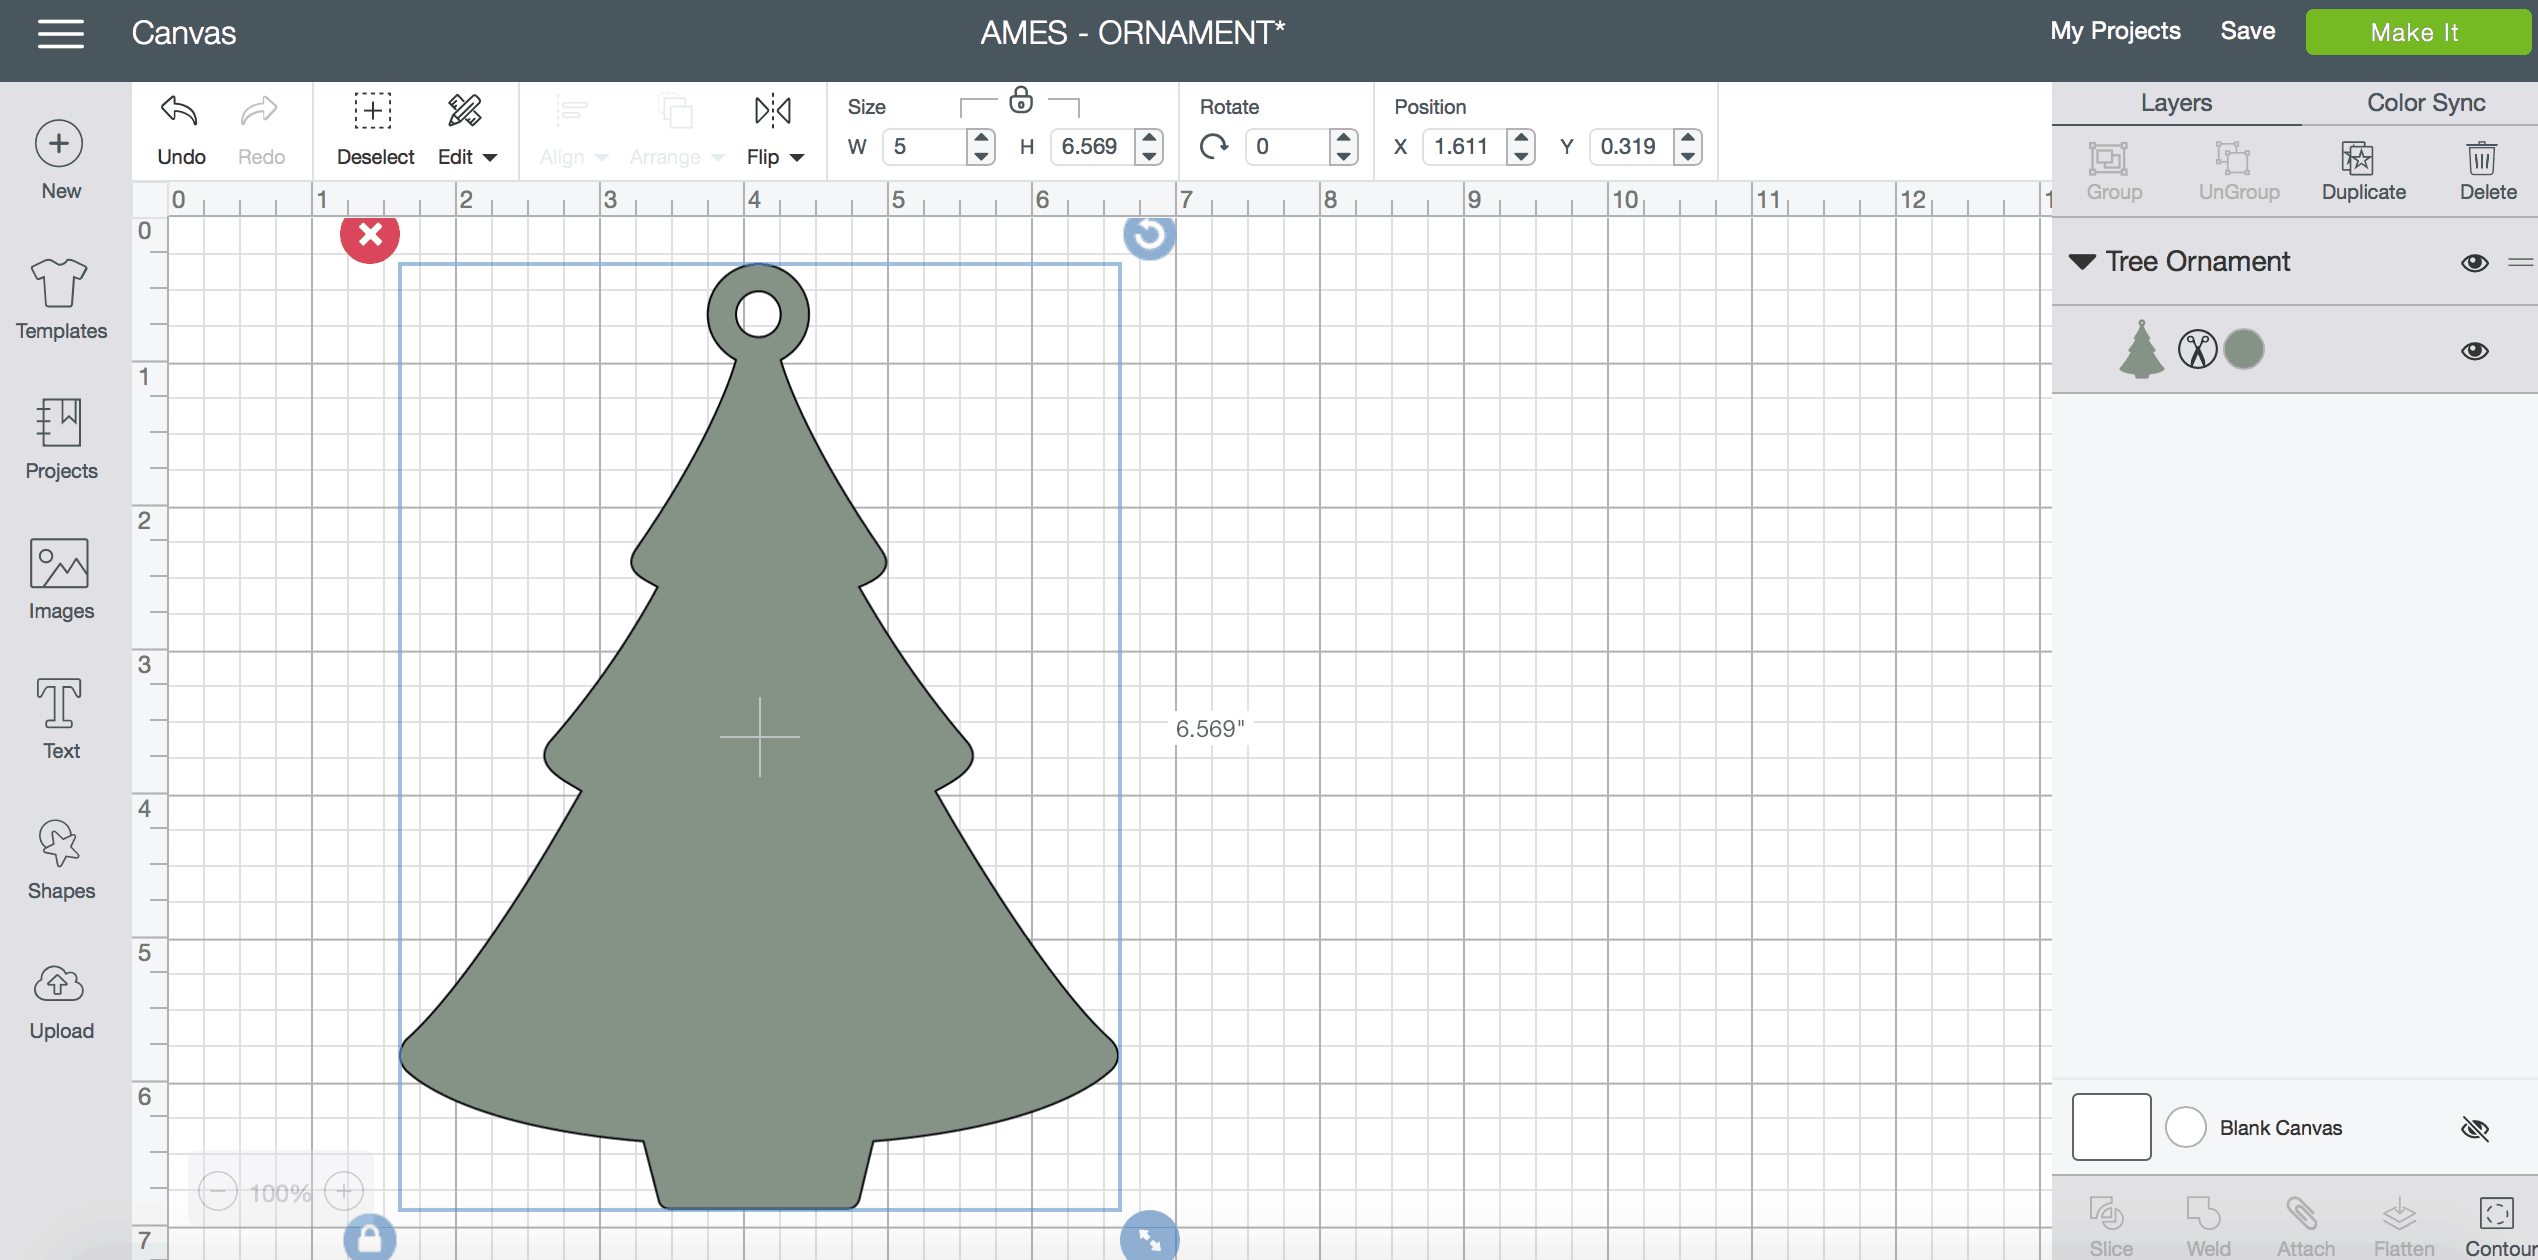
I followed Sarah's tutorial exactly, only I used this cute tree ornament from the Cricut Design Space Gallery.
I resized the tree to be 5 inches in width because I didn't want it to look to small on the basket, but this is personal preference!
After the trees were cut I painted them with silver craft paint and waited for them to dry.
Then, I cut the same exact tree using silver glitter vinyl to embellish one side of the ornament. I lined it up and trimmed the excess off of the sides using a true control knife!
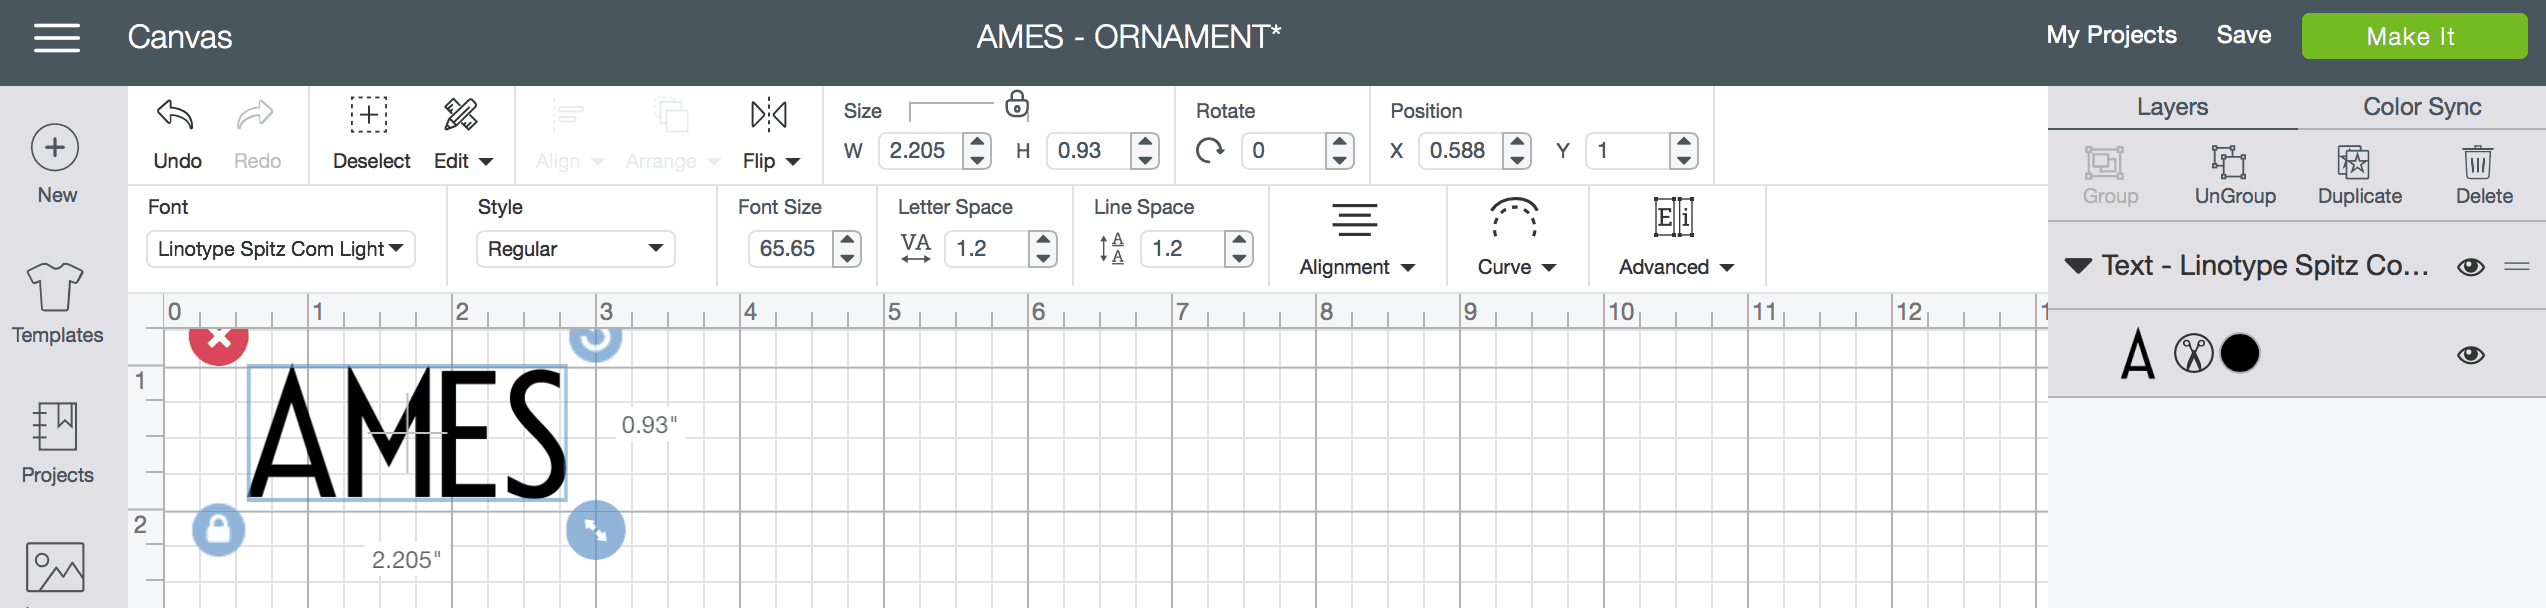
Then I cut out the names using the same font I used for the monogrammed blankets.
The font is called Linotype Spitz Com Light.
For a five-inch wide tree I cut the names at a 2.25 width in permanent vinyl, but you can play around with this how you like!
I put the names on the back side of the ornament so my friends could choose later whether they want the glittery side to show or the monogram.
There you have it friends! Didn't it turn out fun? I know that was a lot of instructions but I promise it was actually pretty easy to throw together!
I hope you enjoyed the Cricut Maker review and hopefully this gift idea got your wheels turning for some projects!
Well there you have it friends! Do you have other questions about the Cricut Maker? If so, please feel free to leave them in the comments! Here's one last look at my fun "night in" gift basket idea!

The fun part about this gift is that it's super easy to customize how you'd like it! Pick designs you like, treats you like, and entertainment you like and your friends will be sure to love it. If you're thinking of getting a Cricut machine, hopefully this Cricut Maker review has helped you with your decision! Happy holidays! xo,


cricut.com/setup
Design space setup for [explore or maker] setup on Windows First Open any browser you use then open search bar and type Cricut.com/setup then hit ‘Enter button” and start downloading design space from official Cricut’s website and click on windows options over their. Design space setup for [explore or maker] setup on Mac First of all, Open any browser you use and then type Cricut.com/setup in search bar this is a official website of Cricut follow on-screen instructions for setup on Mac.
https://cricutsetjoy.com/
crcutcomsetup
Design, cut, and create with precision using the Cricut Design Space app—your crafting companion for limitless possibilities. Unleash your creativity effortlessly with user-friendly tools and a vast library of images and fonts. Download now and craft your dreams into reality!
https://sites.google.com/view/crcutcomsetup/home
https://xn--crcutcomsetup-xib.website/
www.cricut.com/setup login
Cricut is a machines: Cricut Machine is creative and bring joy to your regular crafting. Cricut has launched various models on the market, like Cricut Explore, Cricut Maker, and Cricut Joy. All Cricut machines are the best in their work and help to provide your desired DIY projects. These machines are integrated with Cricut Design Space, a software program that helps you to make unique designs or upload pre-made designs from the Cricut Library. To access this, you have to create a Cricut account; otherwise, you can use your existing Cricut ID. The Cricut software (free) should be downloaded and installed on your device before connecting your Cricut machine.
https://cutting-setup.com/
Heidi
Marshmallows?