DIY Baby Shower Sign
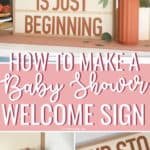

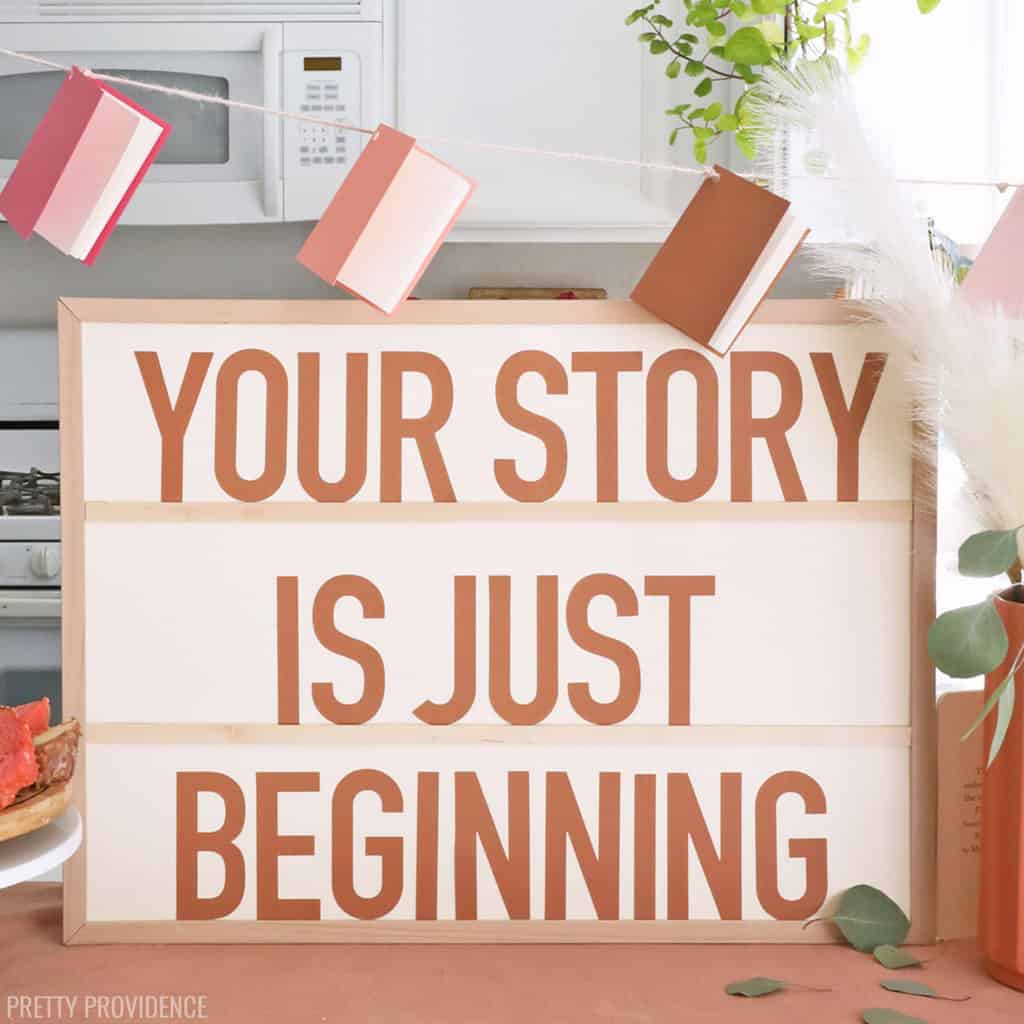
It's easy to make a large baby shower welcome sign with just a few supplies and a Cricut machine! Impress your guests with a sign that goes perfectly with your baby shower theme!
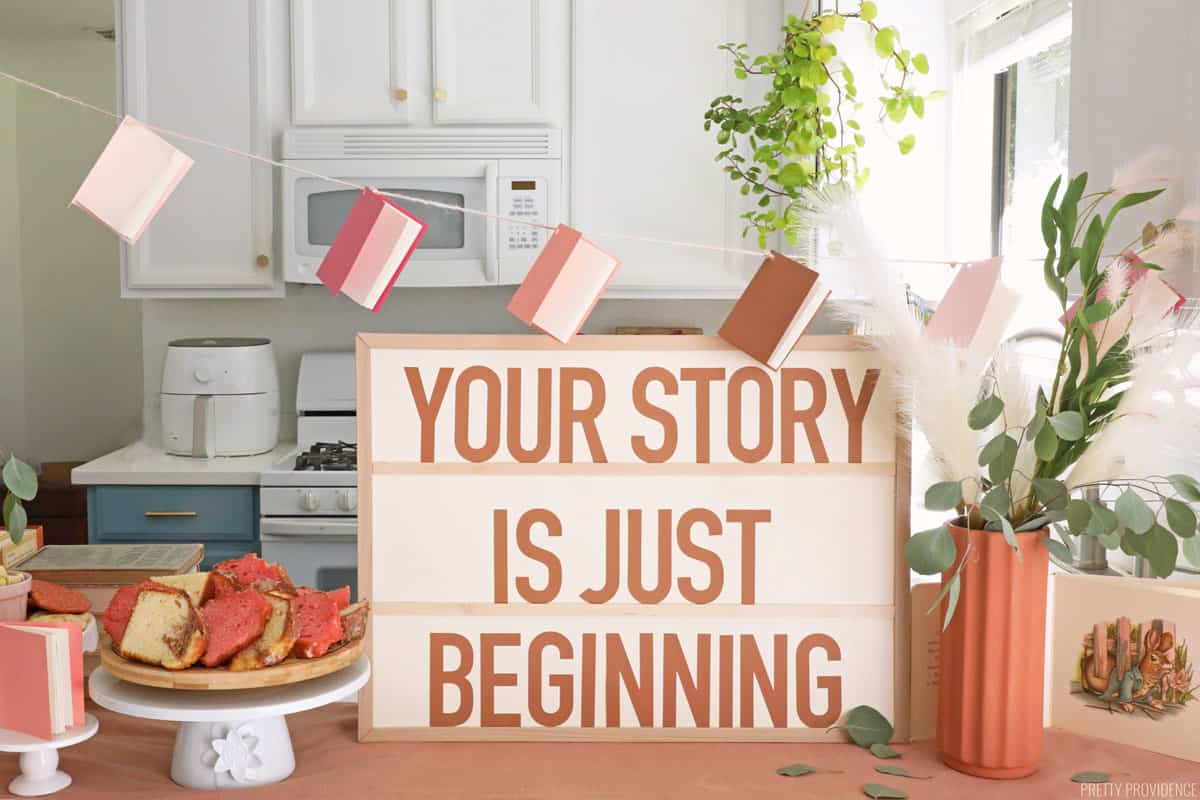
I recently got to plan a baby shower and I chose a book theme - because we love books around here! I made this large welcome sign to fit the baby shower theme and it was so easy. It went along perfectly with the mini book baby shower decorations that I made for the party. I wanted to share this tutorial too, so that you can make one too if you want to!
I used my Cricut machine to cut the letters out - this is actually a perfect beginner Cricut project. Check out all of our Cricut projects or view all of our baby shower ideas!
Note: If you don't have a Cricut machine, you can still make this project, you will just need to cut letters out another way.
DIY Baby Shower Sign
Equipment:
Supplies:
- 17" x 23" White Board
- 2 Basswood Strips (0.13 x 0.25 x 24-inches each)
- Card Stock
- Glue Stick
How to Make a Large Sign
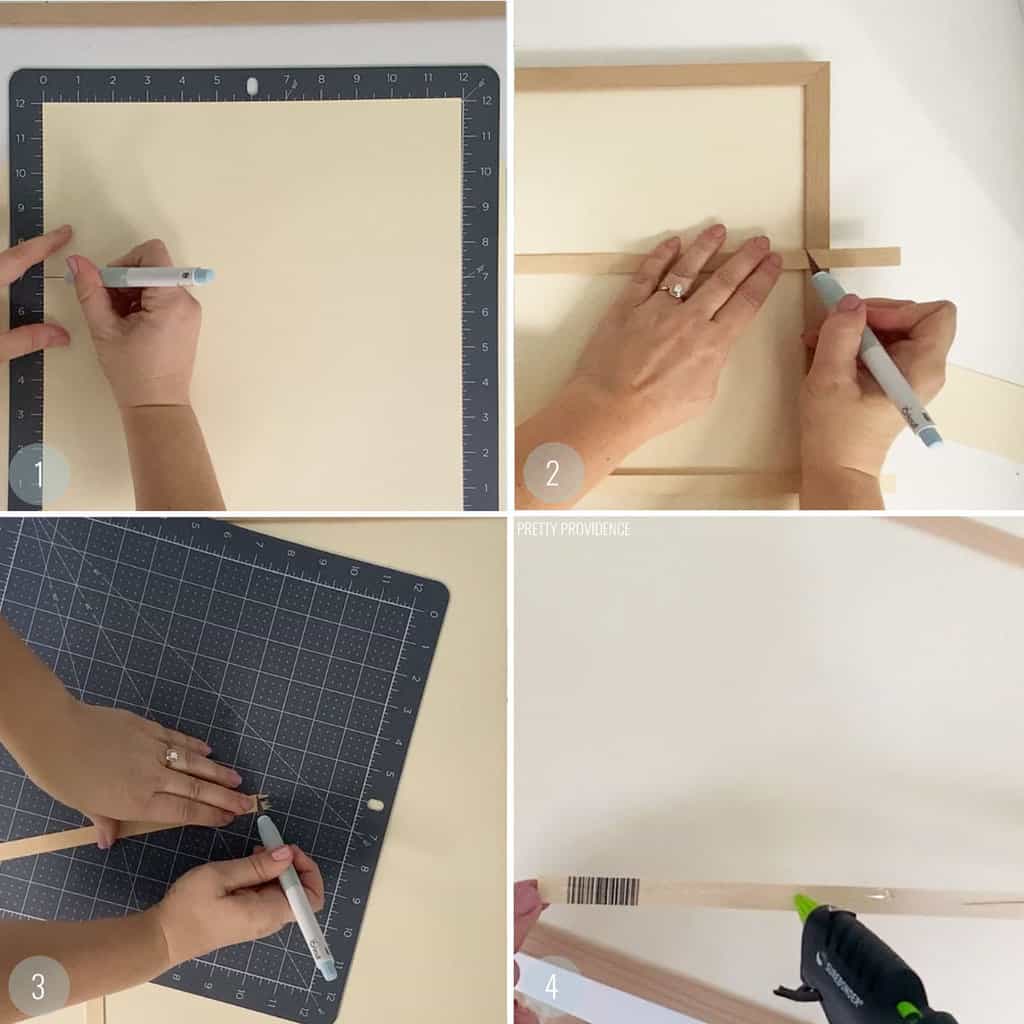
- Cut card stock to fit the whiteboard and cover the whiteboard with the cardstock pieces.
- Measure basswood strips and trim them to fit on the board with a craft knife.
- Clean up the edges of the cut basswood for a clean look.
- Hot glue basswood strips onto the cardstock-covered board.
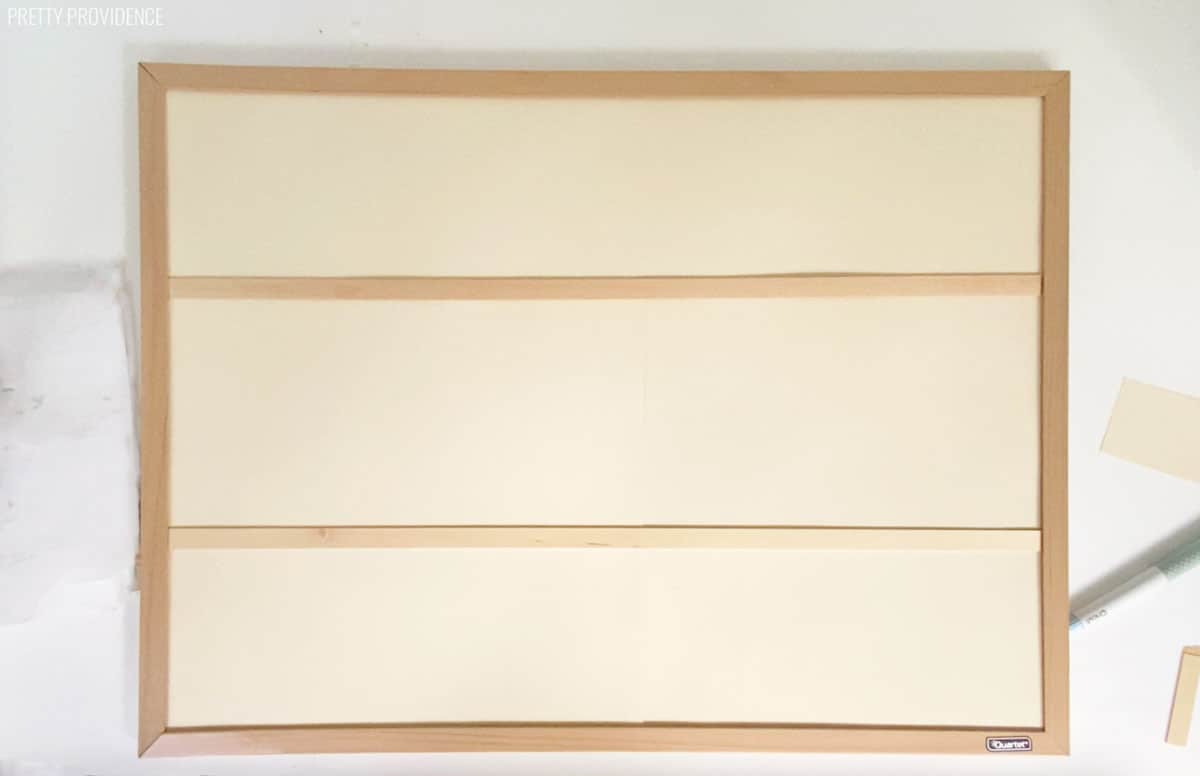
Your board should look something like this. Now it's time to cut the letters and finish the sign.
How to Assemble a Large Baby Shower Sign
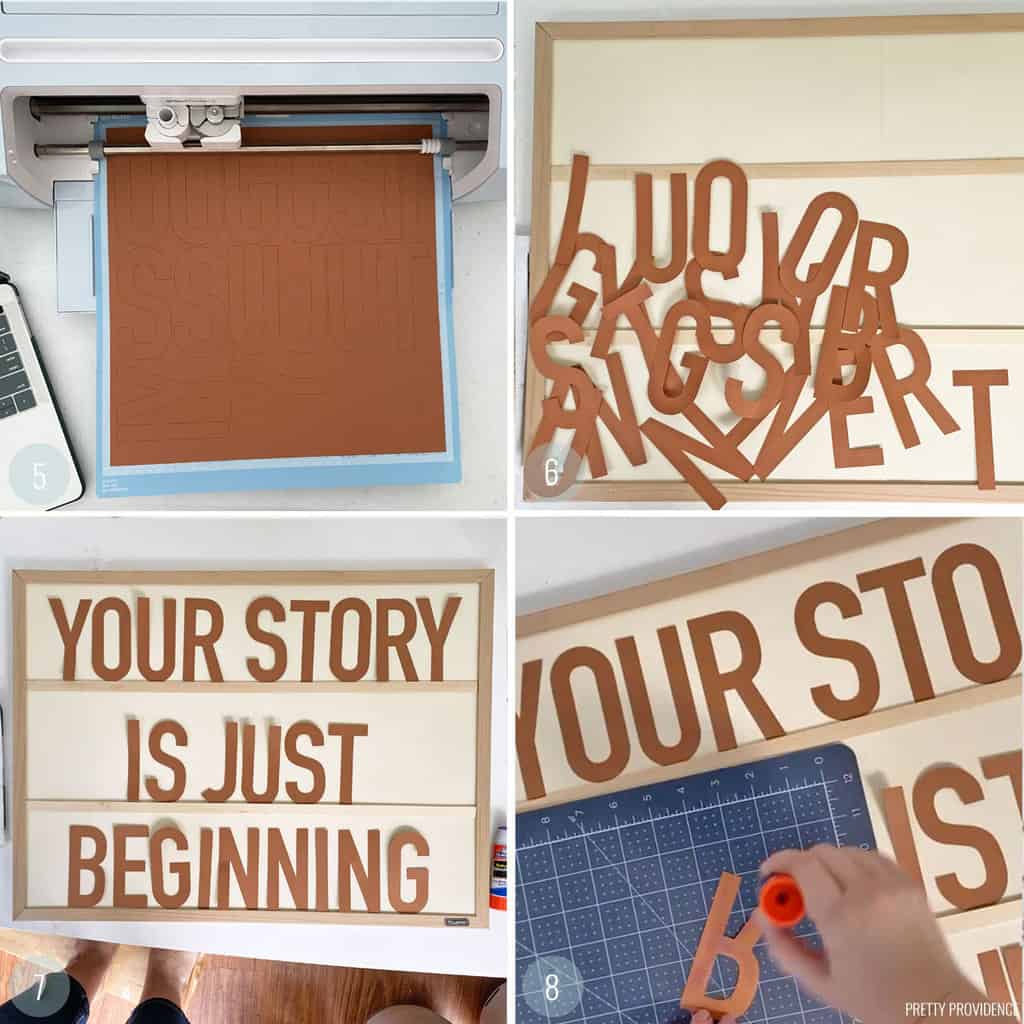
- In Cricut Design Space, type your phrase and size the letters to how big you want to cut them. Put cardstock on a lightgrip mat and follow the prompts in DS to cut the paper.
- Remove letters from the mat and repeat the process til you have all of your letters cut out.
- Arrange the letters on the sign.
- Use a glue stick to adhere the letters to the cardstock backing.
Ta DA!
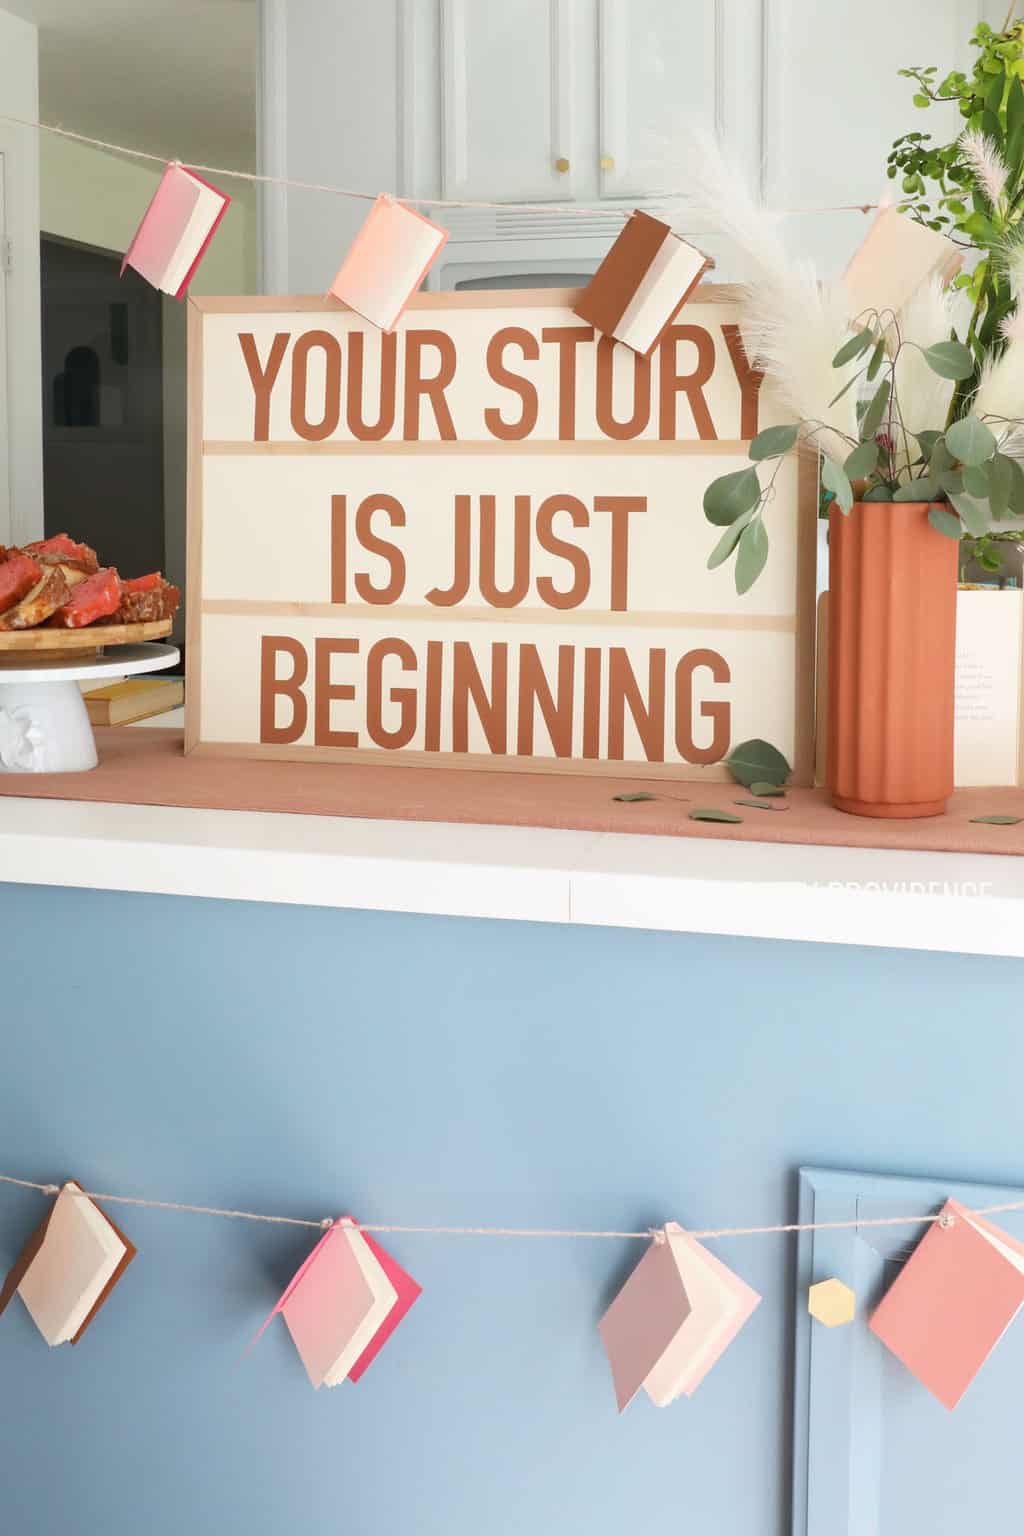
Book baby shower decorations
See how cute this is with the mini book banner I made? I just love this! We actually have other book-themed baby shower decorations you can check out too in our Where the Wild Things Are Baby Shower and you might also like these printable Baby Shower Bookmarks!
I hope that whatever your baby shower theme is, that you can have a great time crafting and prepping for it. I think crafting is actually my favorite part of a party! haha
If you make a large baby shower sign using this tutorial will you please comment and leave us a positive review? They mean a lot!

Large Baby Shower Sign
Video
Equipment
- Cricut Machine
- Hot Glue Gun
- Craft knife
Materials
- 1 17" x 23" White Board
- 2 Basswood Strips 0.13 x 0.25 x 24-inches each
- 6 pieces Card Stock 3 of each color
- 1 Glue Stick
Instructions
- Cut card stock to fit the whiteboard and cover the whiteboard with the cardstock pieces.
- Measure basswood strips and trim them to fit on the board with a craft knife.
- Clean up the edges of the cut basswood for a clean look.
- Hot glue basswood strips onto the cardstock-covered board.
- In Cricut Design Space, type your phrase and size the letters to how big you want to cut them. Put cardstock on a lightgrip mat and follow the prompts in DS to cut the paper.
- Remove letters from the mat and repeat the process til you have all of your letters cut out.
- Arrange the letters on the sign.
- Use a glue stick to adhere the letters to the cardstock backing.
Notes