DIY Piano Makeover
 Hello friends! I'm so excited to be sharing about my piano makeover today! I have to be honest, I am not a big DIYer. I love small crafts and projects, but I get easily intimidated by big ones. I had literally wanted to re-finish this piano for like 9 years, but I always let someone else (or my internal demons) convince me not to! Well, let me tell you something. It was WAY easier than I thought it would be, and it looks even better than I dreamt it would! Honestly, I wish I had done it years ago! So don't make my same mistake! Let's do this!
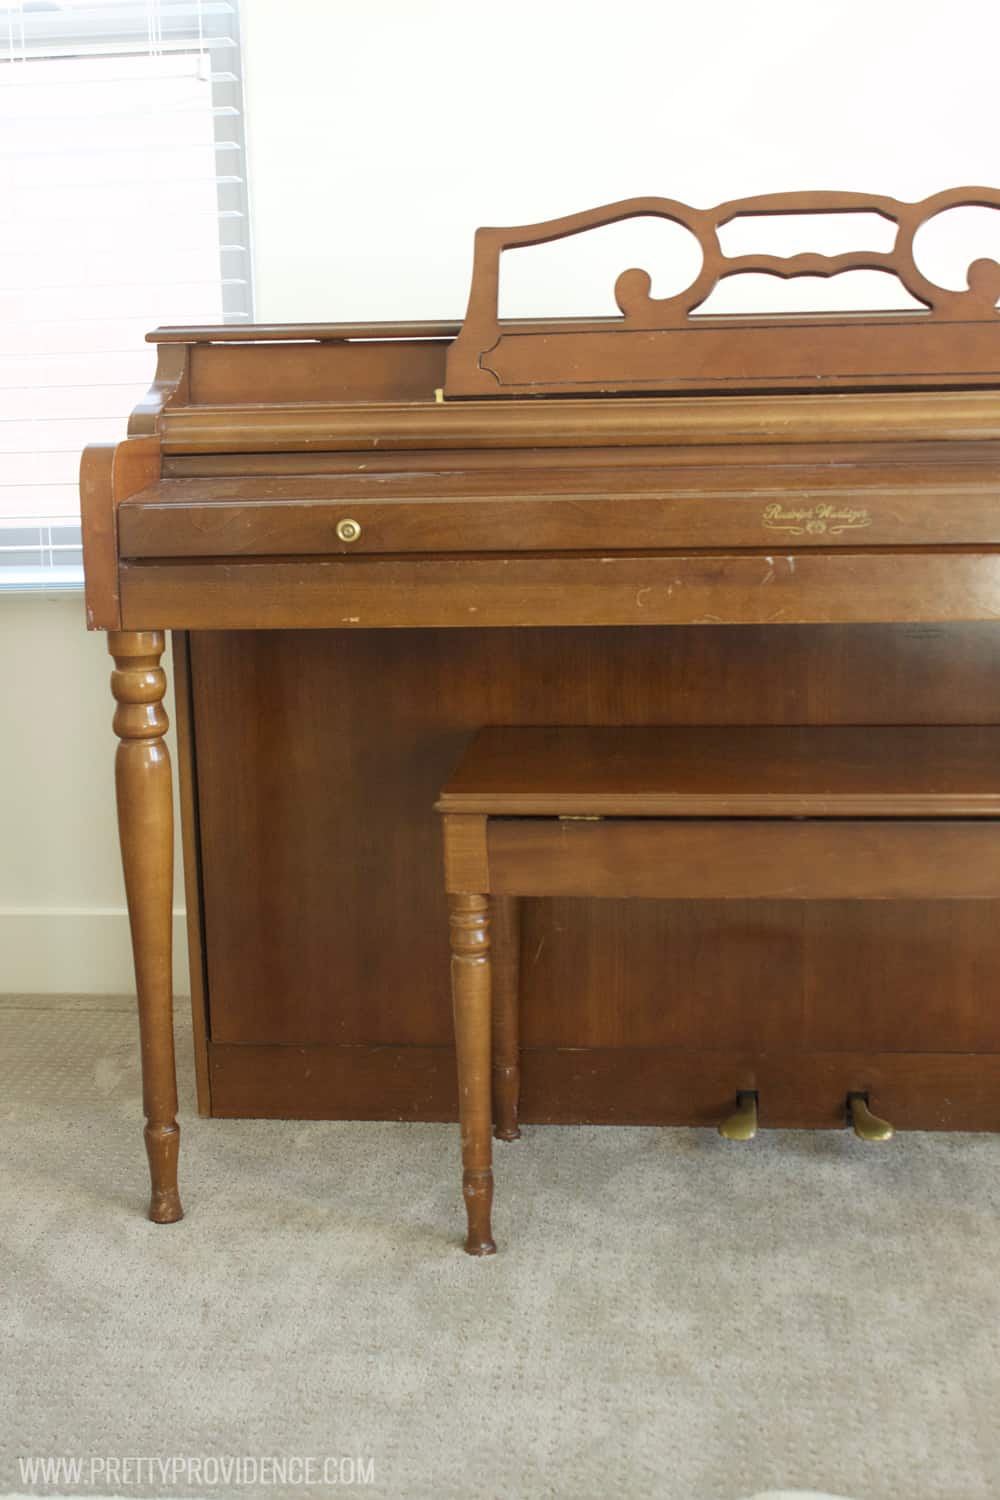
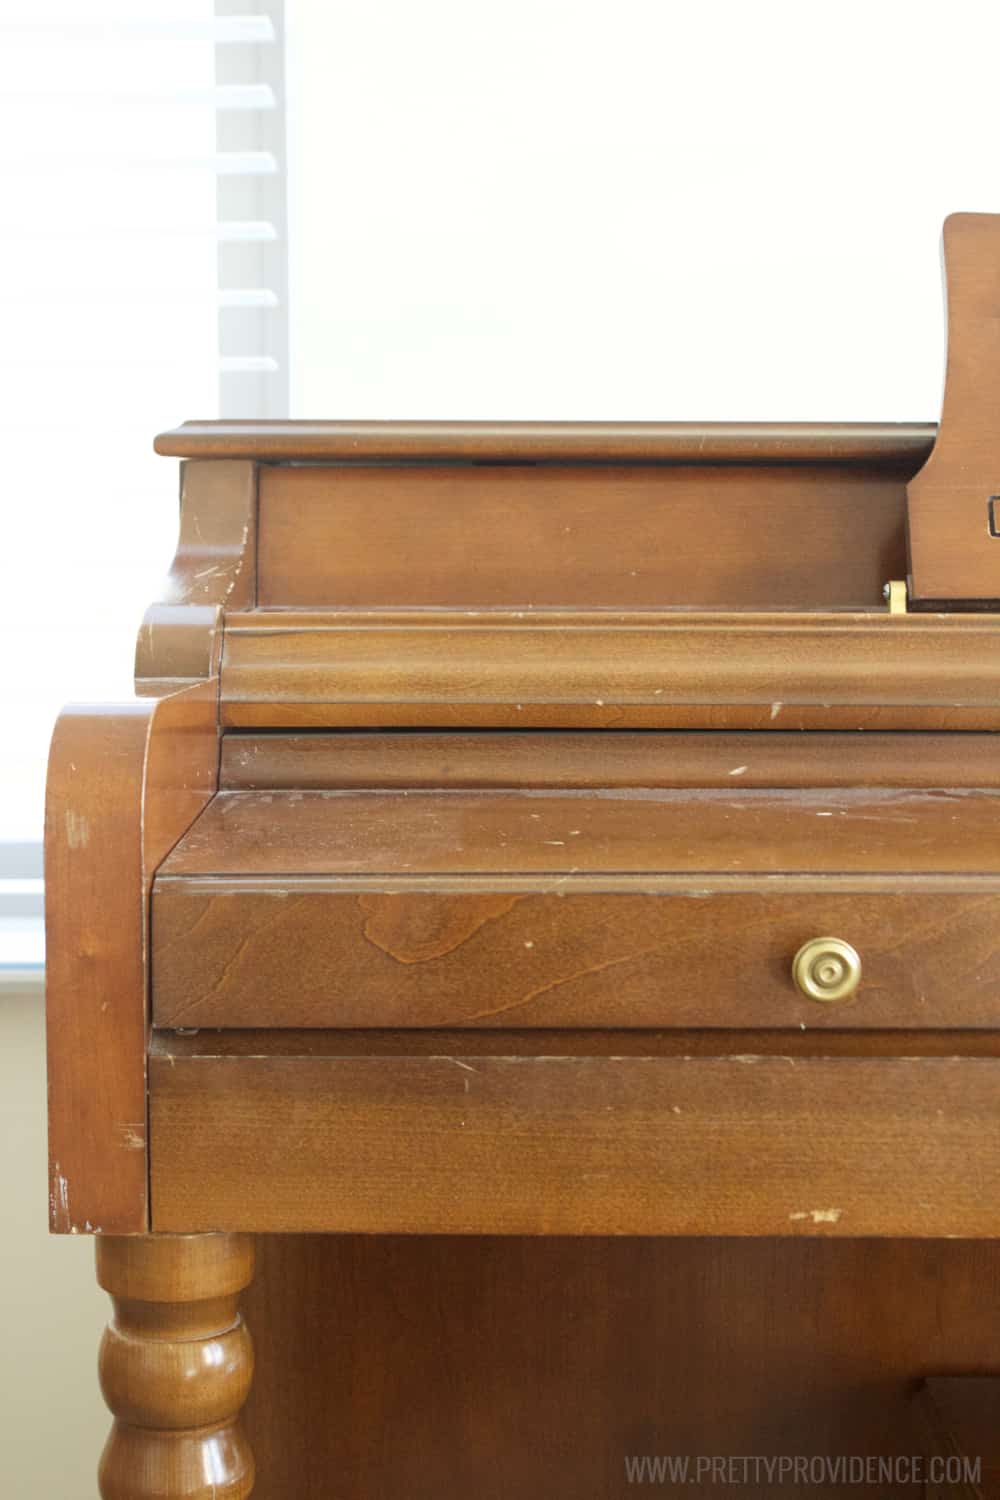 So this is an up close image of the piano as it was before! It was a pretty color, but just not my taste. Not only that though, but it was in really bad shape, and definitely in need of an update.
Okay, so here is what you need to refinish your piano:
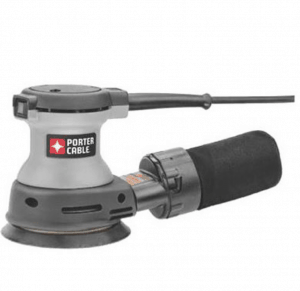
- A sander and/or fine sand paper
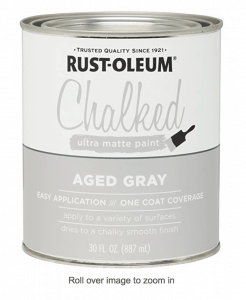
- Rustoleum Chalk Paint (I used the color aged gray, you can find the other color options here)
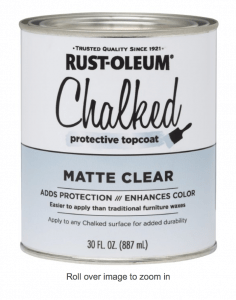
- Rustoleum Matte Clear Topcoat
- Paint Brushes
- New Knobs (if desired)
Here's the steps:
- Take off the hardware and the music stand.
- Lightly sand your piano. I used my sander (linked above and below) and when I say light I mean light. It literally took me an hour to sand the entire thing!
- After sanding, wipe down the entire piano with a wet cloth to get the extra sand dust off, and then let dry.
- Now comes the fun part, paint your first coat! This is the definitely the most time consuming part of the job. I put Gilmore Girl's on the kindle and painted a coat each night. I did 2 coats of the chalk paint (plus a touch up) and 1 coat of the top coat (plus a touch up). I didn't want my piano to be super shiny in finish, but if you do you may want to do an extra top coat! I did a coat each night for four nights and honestly it was kind of therapeutic. Also, I did not cover my keys (#lazy). I started to, and it wasn't working well so I quit and instead started used a piece of cardstock to protect the keys when I was painting the surrounding areas and it worked like a dream! I just moved it around as needed, super easy!
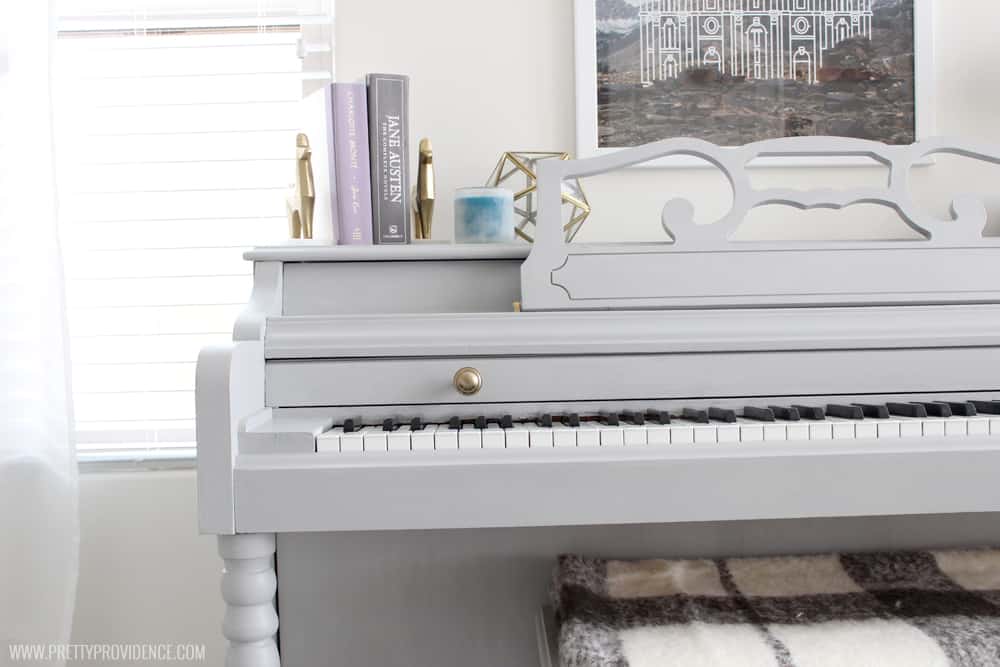
- Add new hardware and voila! You have a beautiful new piano!
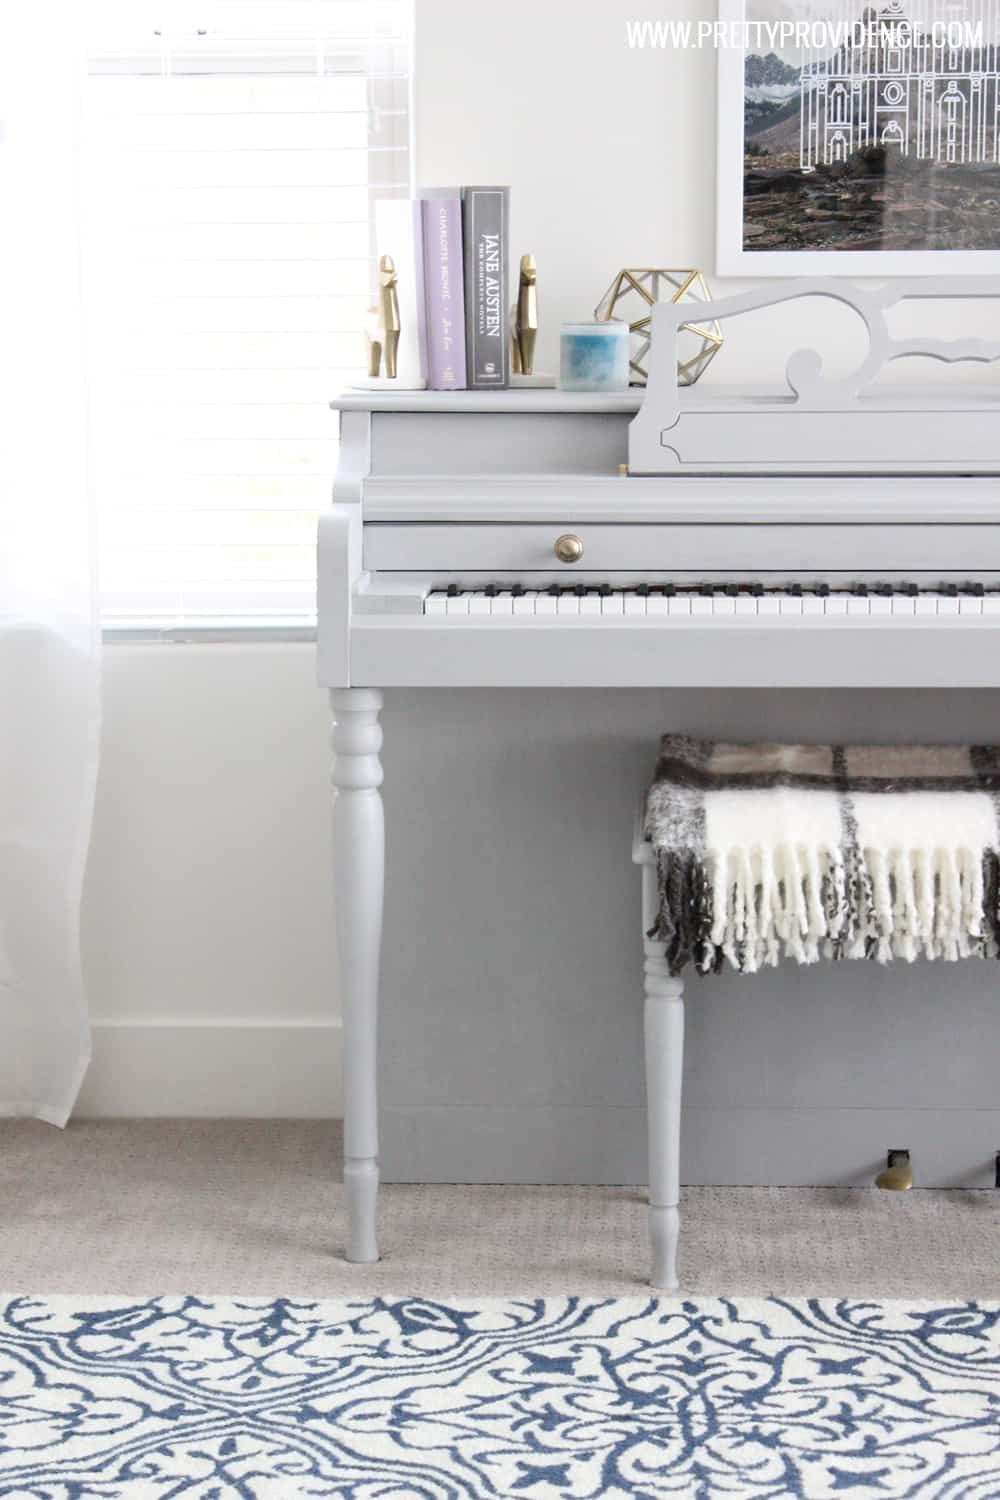 Isn't it beautiful? I has been months since I finished and the chalk paint has held up so well! I am so glad that I finally did it!
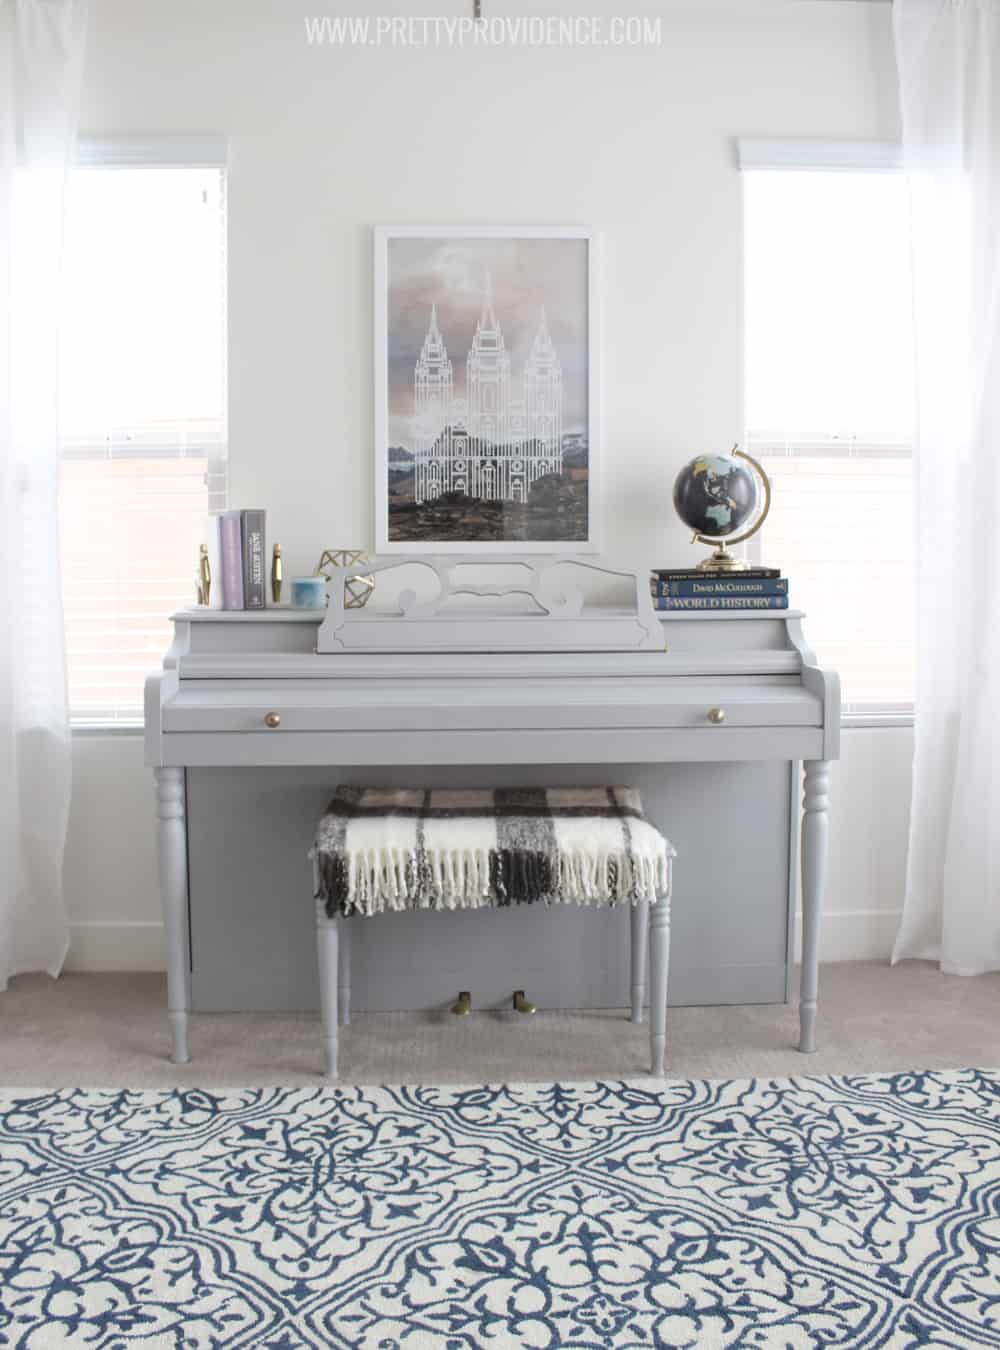 What do you think? Have I convinced you to give it a go?
xo,


|
|
|

|
 Craft Room Organization Craft Room Organization |
|

I have this same exact piano. I re-modeled my living room and the original brown color of the piano just didn't fit in. I found this post and ordered the same paint you referenced. I couldn't be any more happier with the way it turned out. Well, truthfully it looks just like yours! I greatly appreciate the inspiration and recommendations!
That makes me so happy! I'm so glad it was helpful, thanks Lewis!
Hello,
I painted my piano using your steps and it didn't turn out as I had hoped it would. I'm hoping you have some tips or can tell me where I went wrong. I used everything you suggested, but in white and charcoal for the top of the piano and bench. When I did the top coat, in one spot it took off the paint, down to the original color. Some of the paint also cracked and then after a few days, it's yellowing! In other spots it has started to come off, leaving chalky fragments of the paint. I think I'm going to need to start completely over. It looks awful! Any suggestions?
You did an amazing job! Did you use a spray for the matte top coat?
No! It is the Rustoleum Chalk Paint Top coat, and I just painted it on with a brush! Thanks Maureen, we love it!
When sanding were you worried about dust in the keys? I’m always yelling at my kids to close the keys so dust won’t ruin the keys. Would love to paint mine but so scared I’ll ruin it.
Hey Kathy! I have a key cover built into my piano, so I just pulled that down to protect the keys. You could also tape or saran wrap them though to keep them safe from excess sand.
I just saw this project and believe it will save the day. I moved into a new home and “ brought the piano” but not really liking how it went with my more modern decor. I think this project will be the answer! You did an awesome job!
Aw thank you so much Diane! You just made my day. You are going to LOVE your soon to be updated piano!
How much paint did you need for this project?
Just one quart was enough!
Where can I get that Temple print? It's gorgeous!
Its from @vintagerevivalsshop on Instagram! I love it too :)
What type of paint brushes did you use?
I just used a regular 2 inch paint brush I got at the Home Depot! Make sure it is decent quality (aka not the very cheapest one so all the bristles don't fall out and get stuck in your paint) but you should be able to get one anywhere!
Hey! The piano looks so beautiful! Whwre did you get your new knobs? Are they SLIGHTLY bigger than the original? I know that they are usually 5/8” but i’m considering buying Some at home depot but the smallest they have are 1”.
I got them at Lowes I think, and yes they are slightly bigger!
Looks beautiful!! ???? So, by not dismantling it, it didn't mess any of the internal mechanics up? Still works good? I read others who say to dismantle it first. Ugh!! I so don't want to do that! But scared to ruin piano.
No! It works perfectly!!! But there really wasn't paint anywhere near the inner workings
Love that you painted it. I makes it look so so much better! Way to DIY!
Shonee
thanks so much! it was so fun! xoxo
[image: Facebook] [image: Twitter] [image: Google Plus Page] [image: pinterest] [image: Instagram]