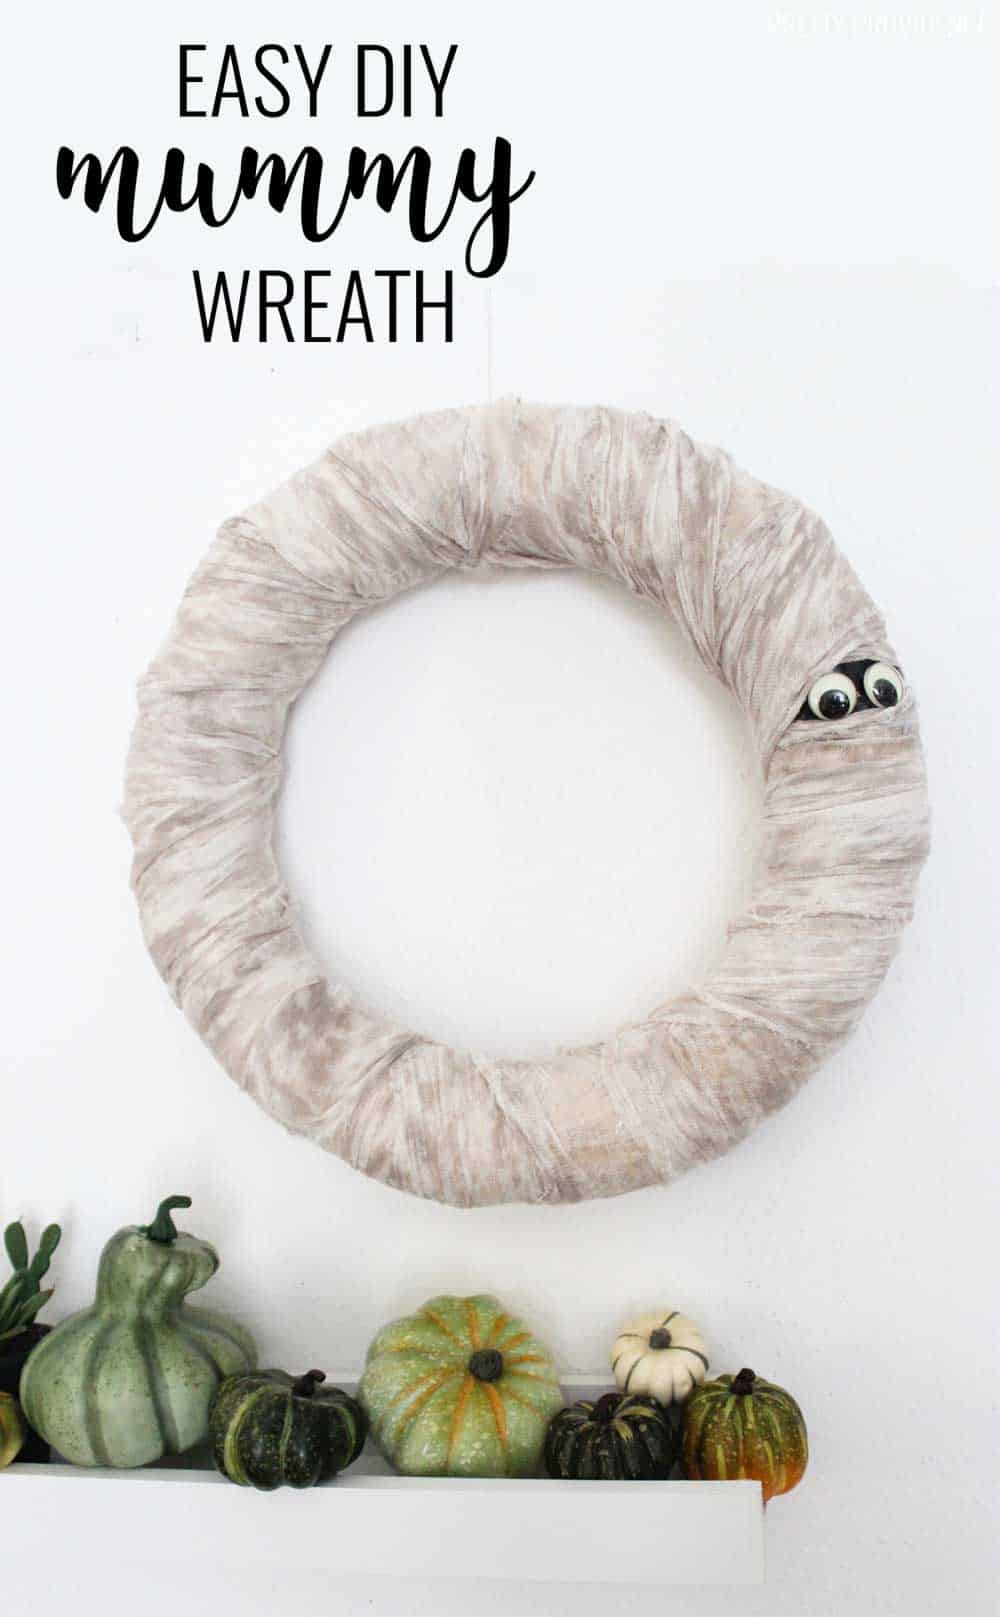
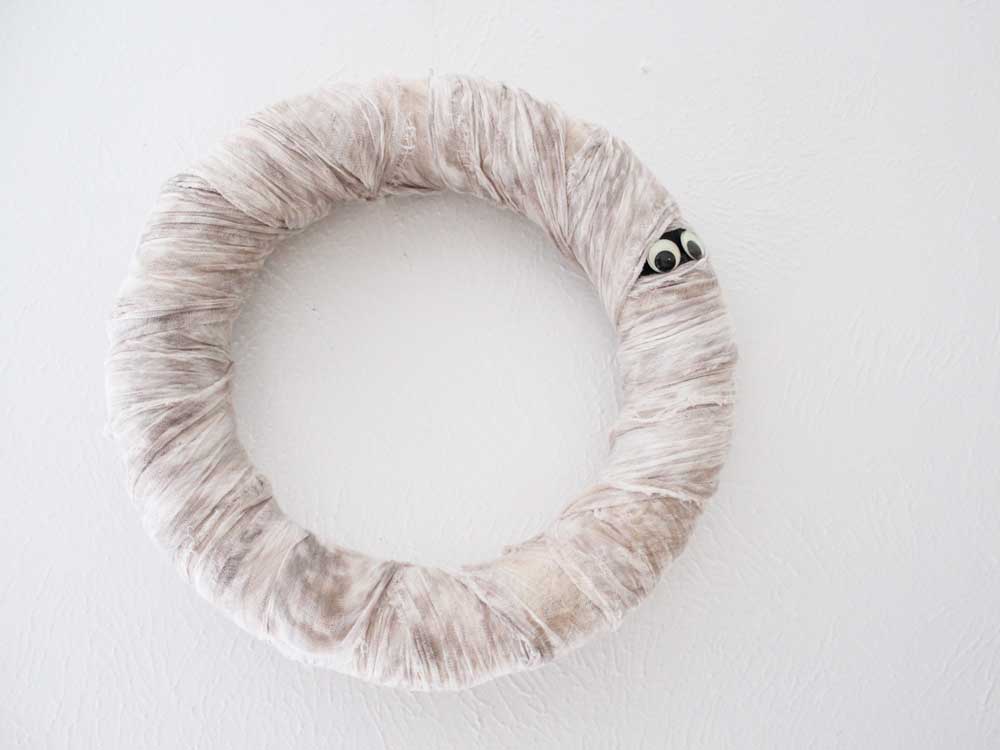
Today I have a tutorial for making this cute Halloween Mummy Wreath, and if you want some more Halloween decor inspiration, you might want to check out this Haunted House Wreath or these adorable No Carve Pumpkin People!
This mummy wreath is everything I love in a DIY project. It's quick, easy and costs almost nothing. Can we talk about how mummy halloween decor is the best kind? I am not much for spiders...too scary!
*This post contains affiliate links.
How to Make a Halloween Mummy Wreath
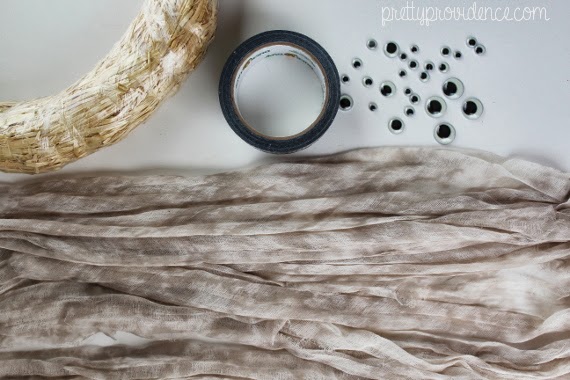
Supplies
- wreath form
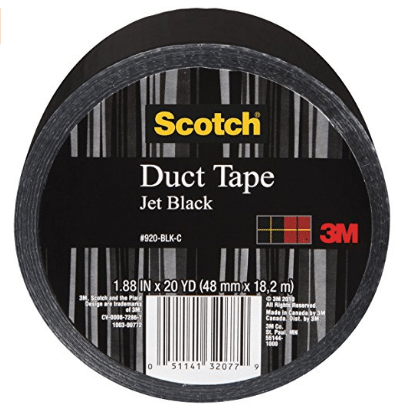
- black duct tape
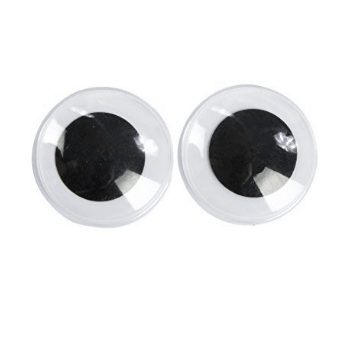
- googly eyes
- hot glue gun
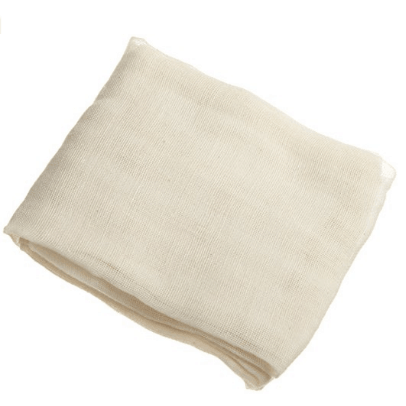
- muslin or cheesecloth (2 yards)
- scissors
 |
 |
 |
 |
Directions:
- Fire up the glue gun. While it's warming, cut your fabric into strips.
- Wrap fabric around wreath form until it's almost completely covered. Leave about an inch of the wreath uncovered, for now.
- Cut a triangular strip of black tape and place it directly onto the wreath form. Glue googly eyes onto tape.
- Pull the fabric down so it touches both edges of the tape. If you want to secure the fabric, add bits of hot glue to the places where your fabric might unravel.
- I prefer to keep mine unglued so I can easily take it off and re-use the form.
Pro tips:
I've been using the same wreath form for almost two years now. I switch what it's wrapped in every few months.
The muslin I found was at Joann in the Halloween section, for 50% off! I recommend getting 2 yards for this project.
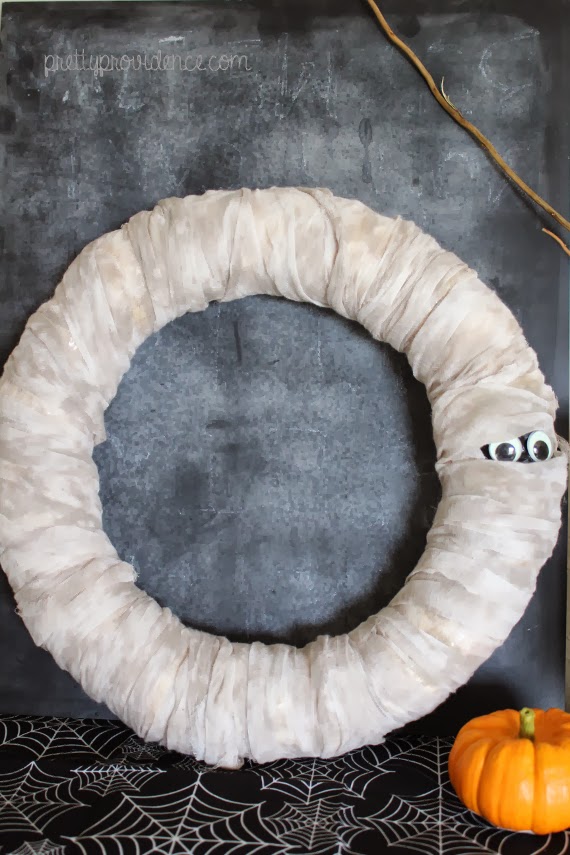
This post was originally published in October 2013 and has been updated with new photos and more detailed information. Here's the old picture just for kicks:


Colleen Pastoor
This is great! I love how you've made halloween classy... And it looks so easy I think even I could make it. I've included this post over on my Halloween Mummies DIY roundup over on lemonthistle. Thanks for the awesome content!
http://lemonthistle.blogspot.ca/2013/10/halloween-mummies.html
Corinna Henderson
Seriously the cutest Halloween wreath ever!
Deb Reichle
This is cute. What size wreath? How did you make the gauze "dirty"?
Sarah
Hey! I bought the gauze like that - and I used a 12" wreath form!
Sarah Vanderkooy
What a fantiastic idea, this is so cute!
Jill @ Being Spiffy
Too cute for words!
Carrie - Worth Pinning
Ha! I like the one set of eyes. I made one this year very similar but it has several sets of eyes going around the wreath.
USS Crafty
Cute! I love the eyes peeking out! Clever!
Navy Wifey Peters @ Submarine Sunday Link Party
Heather @FrenchPress
cutest wreath ever
Jodie Marynowski
Love how simple and cute this is. Great project idea. Thanks
Amber
How adorable!! And seems easy enough for me too! :)
Ali Evenson Lewis
This is too cute. I love this idea!