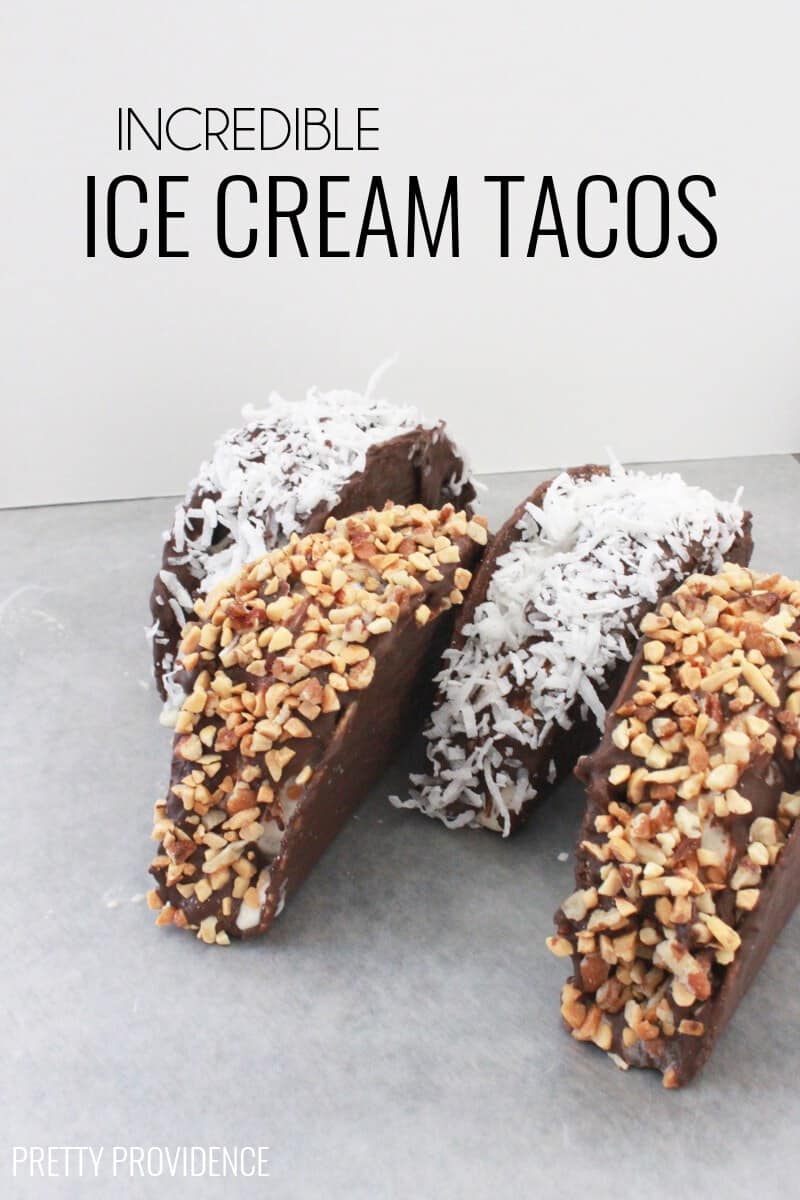
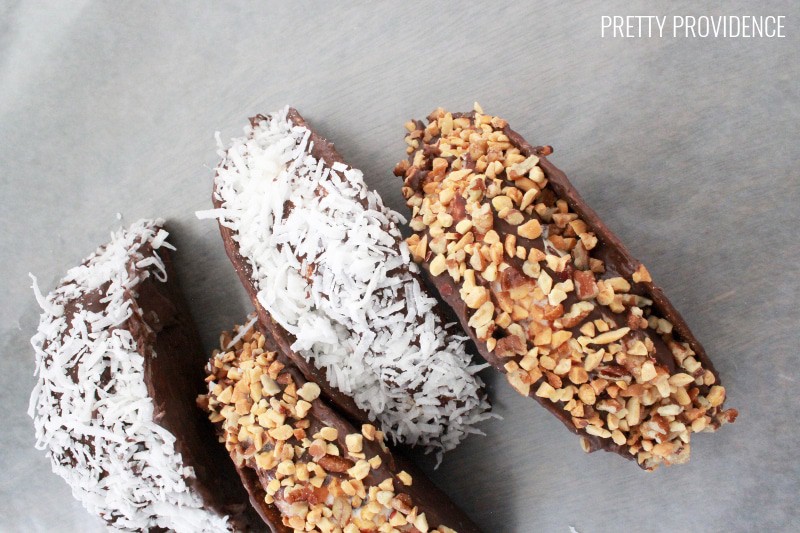
YOU GUYS. I'm actually dying over how good these Ice Cream Tacos are. It's hard to explain it in words, you are just going to have to try them. The tacos (similar to my childhood favorite Choco Tacos) are surprisingly easy to make and if you make them for a special occasion people will be so impressed. That's a promise. The shells are actually just taco shells covered in chocolate. You can use any kind of ice cream and toppings to take these to the next level.
Ice Cream Taco Ingredients:
1 package melting chocolate
1 package taco shells
½ gallon ice cream
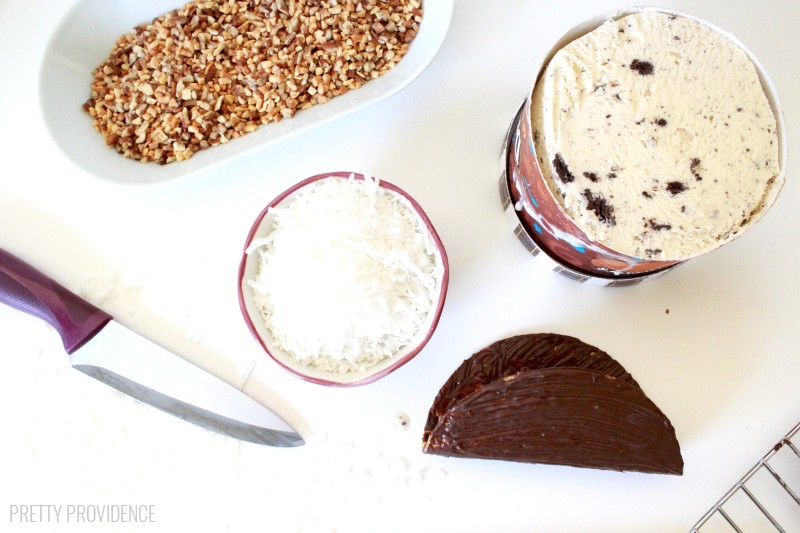
1 cup chopped peanuts/pecans (optional)
1 cup shredded coconut (optional)
Other items needed:
Fondue pot, double boiler OR microwave-safe bowl for melting chocolate
Wax paper
Silicone brush
Cookie sheet (that fits in your freezer!)
How to Make Ice Cream Tacos
Step 1: Melt chocolate. I highly recommend using a fondue pot for this if you have access to one, because it keeps the chocolate melted, temperature regulated and you don't have to worry about your chocolate hardening. Using this has changed my chocolate melting life!
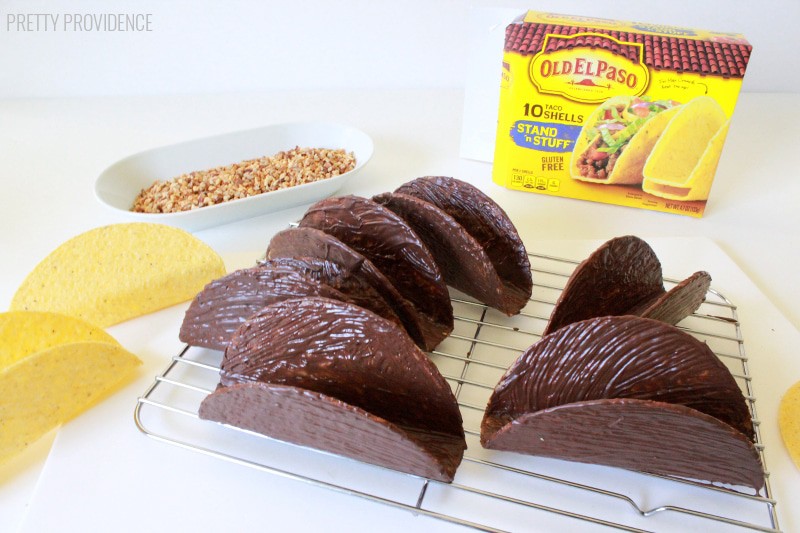
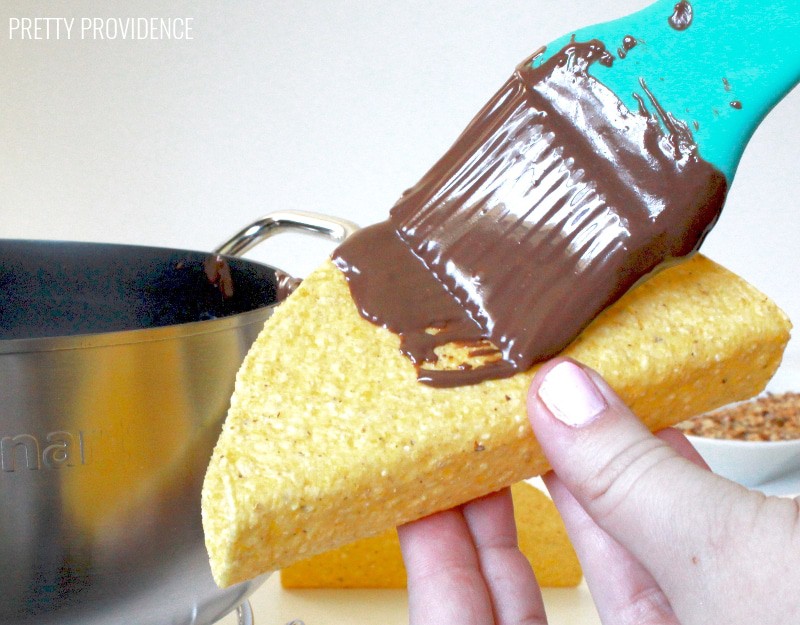
Step 2: Brush melted chocolate onto the outside and inside of your taco shells and place them onto a cooling rack covered in parchment paper.
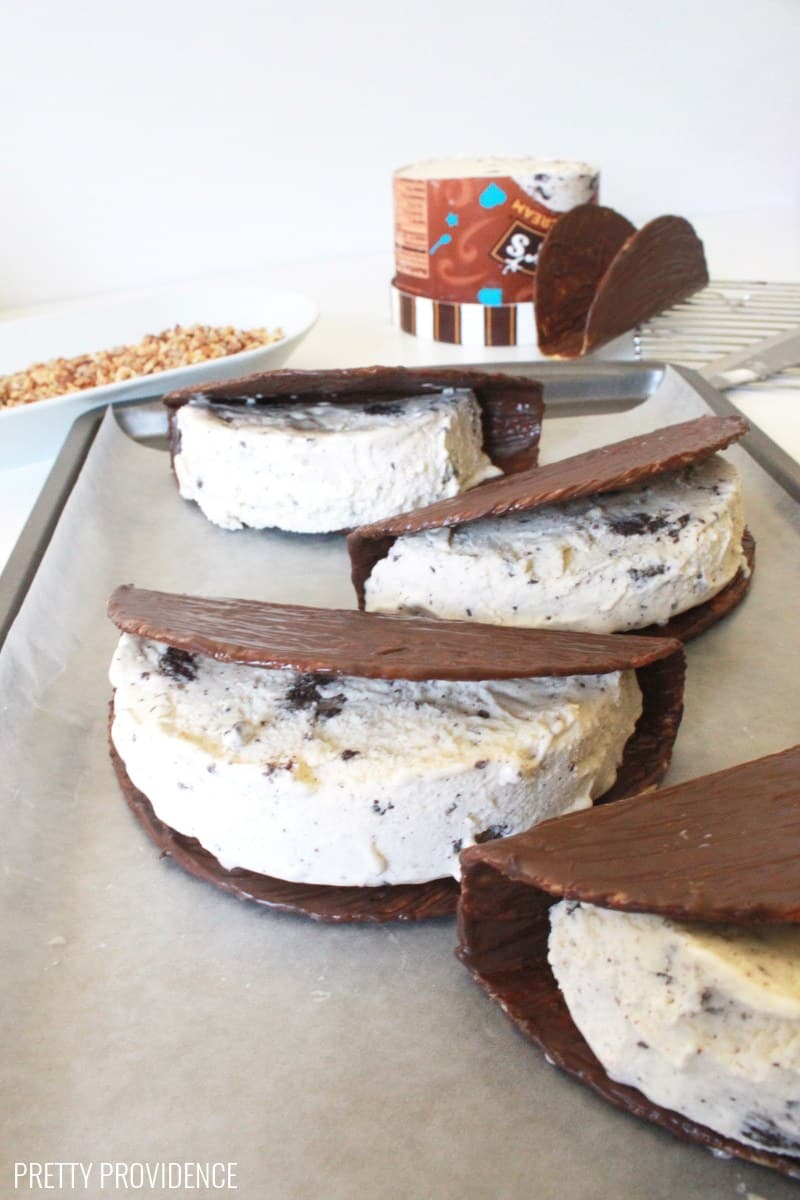
Step 3: Slice your half gallon of ice cream. Yes, slice it. Cut the width of your taco shell. Once you have a slice, cut the slice in half and you will have two slices of ice cream that will fit perfectly inside the taco shell.
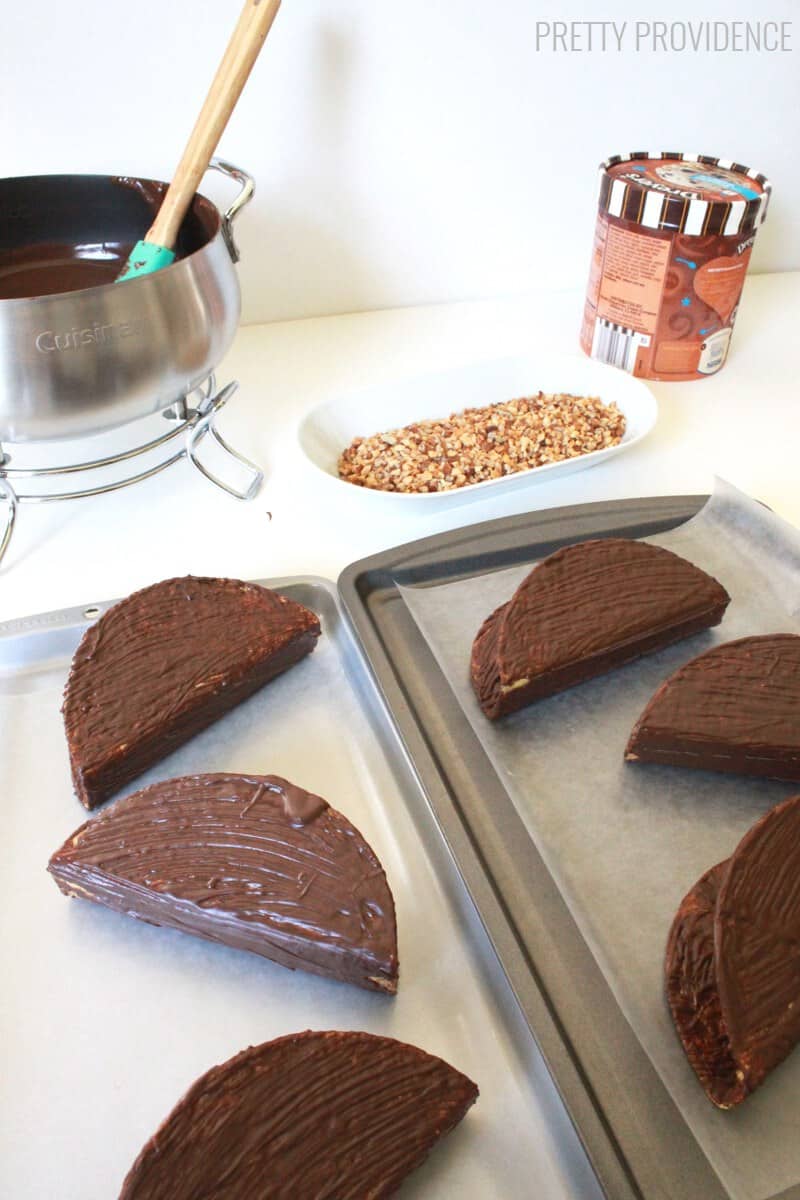
It's easiest to do 2-4 of these at a time, put them in the freezer and then do more. You don't want to let the first few melt while you finish the batch.
Step 4: Cover the top of the tacos with melted chocolate and sprinkle chopped nuts, shredded coconut, or other topping on top of that. This seals in the ice cream and also it's delicious.
How to Store Ice Cream Tacos:
Keep them in the freezer until you're ready to serve.
How to Serve:
Serve them wrapped in a square of parchment paper or a ziploc bag. These tend to get messy (like any tacos!) and it's better if there is something under it to catch the crumbs!
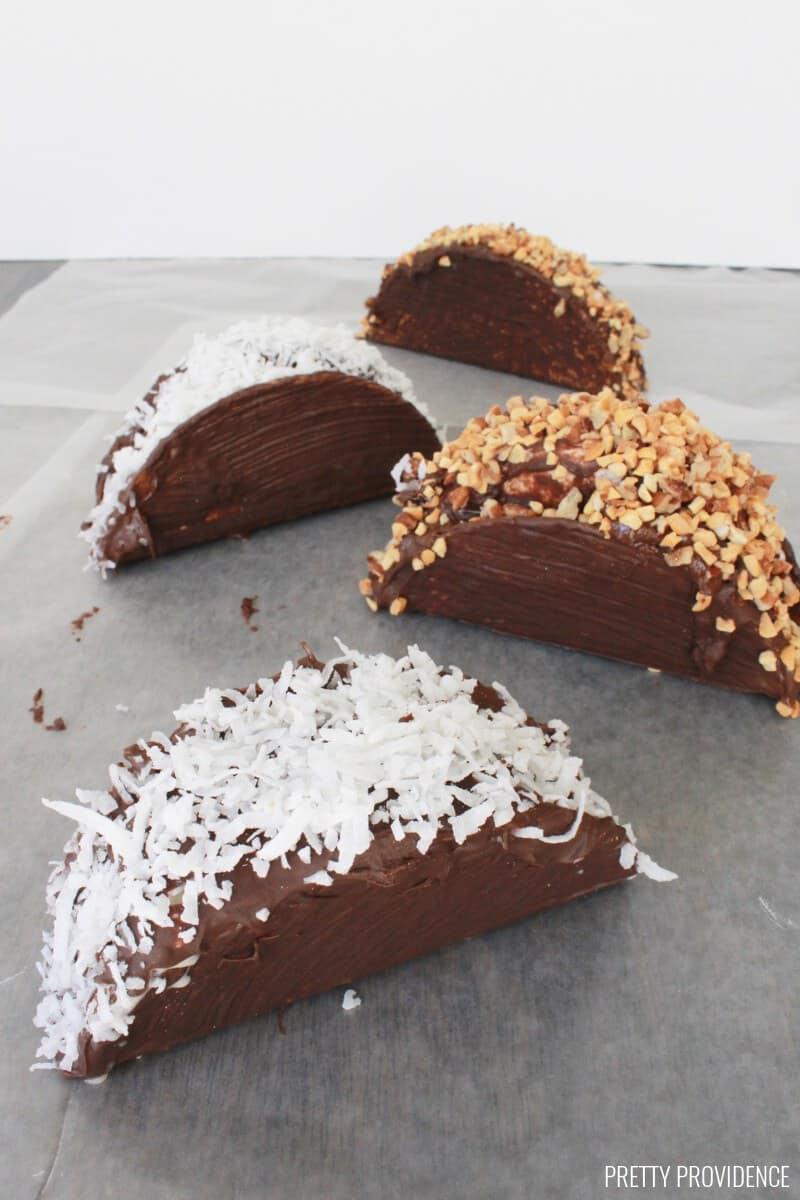
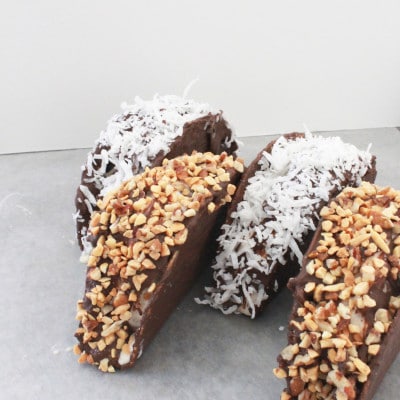
See? These are really so easy to put together and you can use any ice cream toppings you can think of to make them your own.
Ice Cream Tacos
Video
Ingredients
Ingredients
- 1 package melting chocolate
- 1 package taco shells
- ½ gallon vanilla ice cream
- 1 cup peanuts chopped (optional)
- 1 cup shredded coconut (optional)
Other Items Needed:
- fondue pot or double boiler, or microwave-safe bowl
- wax paper
- silicone brush
- cookie sheet
Instructions
- Melt chocolate.
- Brush melted chocolate onto the outside and inside of your taco shells and place them onto a cooling rack and/or parchment paper.
- Slice your half gallon of ice cream. Yes, slice it. Cut the width of your taco shell. Once you have a slice, cut the slice in half and you will have two slices of ice cream that will fit perfectly inside the taco shell.
- Cover the top of the tacos with melted chocolate and sprinkle chopped nuts, shredded coconut, or other topping on top of that. This seals in the ice cream.
- Keep them in the freezer until you're ready to serve.
Notes
- I highly recommend using a fondue pot to melt the chocolate if you have access to one. It keeps the chocolate melted, temperature regulated and you don't have to worry about your chocolate hardening. Using this has changed my chocolate melting life!
- It's easiest to do 2-4 of these at a time, put them in the freezer and then do more. You don't want to let them get too melty while you finish the batch.
- Serve them wrapped in a square of parchment paper or a ziploc bag. These tend to get messy (like any tacos!) and it's better if there is something under it to catch the crumbs
Nutrition
I guess for the record I should tell you that I used cookies and cream ice cream! What kind would you use? I need ideas for my next batch...
Check out these other Ice Cream Desserts:
Chocolate Covered Bananas
Best Ever Fresh Raspberry Shake
Peaches & Cream Popsicles
Skinny Frozen Yogurt Sandwiches
Copycat Chick Fil A Frosted Lemonade


Sha
These are so much fun to make and eat! A new family favorite! Super tasty and cool! Keeping it!
Kristen
I made these as a summer treat for my kids and they loved them so much.
Beth Pierce
What a fun twist on dessert! These look magnificent; excited to give these a try after a Mexican themed dinner!
Sarah
Totally, they are always a hit!
Ashley F
The kids had so much fun topping these! Such a fun summer treat!
Sarah
Yay! My kids love helping make them too!
Emily
You had me at ice cream. And then at tacos. I've never made these from scratch but they look easy!
Sarah
They really are easy! and SO delicious!
Echo
These ice cream tacos were great! I thought you could only get these from the ice cream truck but now I can make them at home!
Sarah
Yes, it's nice to know you can have one whenever you want ;)
Kristyn
YUM!! We need these everyday, in this heat!! Love that you can anything to these!
Sarah
Right?! They are so fun.
Chelsea
These are my kids new favorite treat! SOOO yummy! Thanks so much for sharing!
Sarah
Woohoo! I'm glad they love them!
Toni
My kids really enjoyed this! Such an amazing idea!
Sarah
Mine too! Thanks!! :)
Tanya Schroeder
These are so fun! My family is going to love them!
Alli
My kids adore these, they are super easy and effortless! Thanks for the great recipe, we are keeping this one on hand!
Aimee S Shugarman
Just made a batch yesterday, and we can't stop eating them. So fun. We wrapped them up in the freezer for later :)
Sarah
They are addictive! Glad you like them!!