This is a sponsored conversation written by me on behalf of Cricut. The opinions and text are all mine.
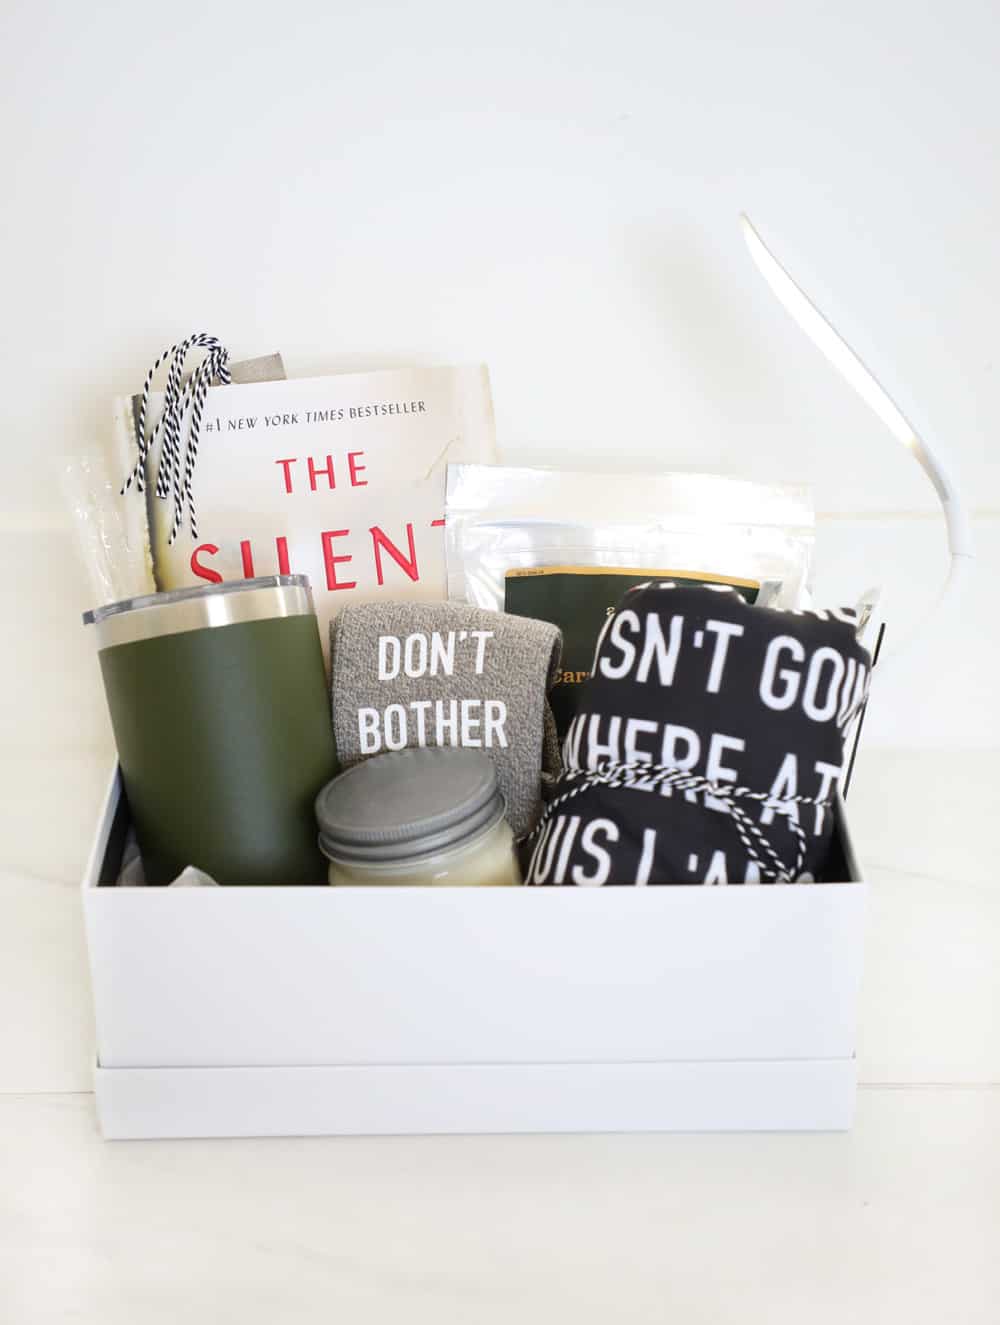
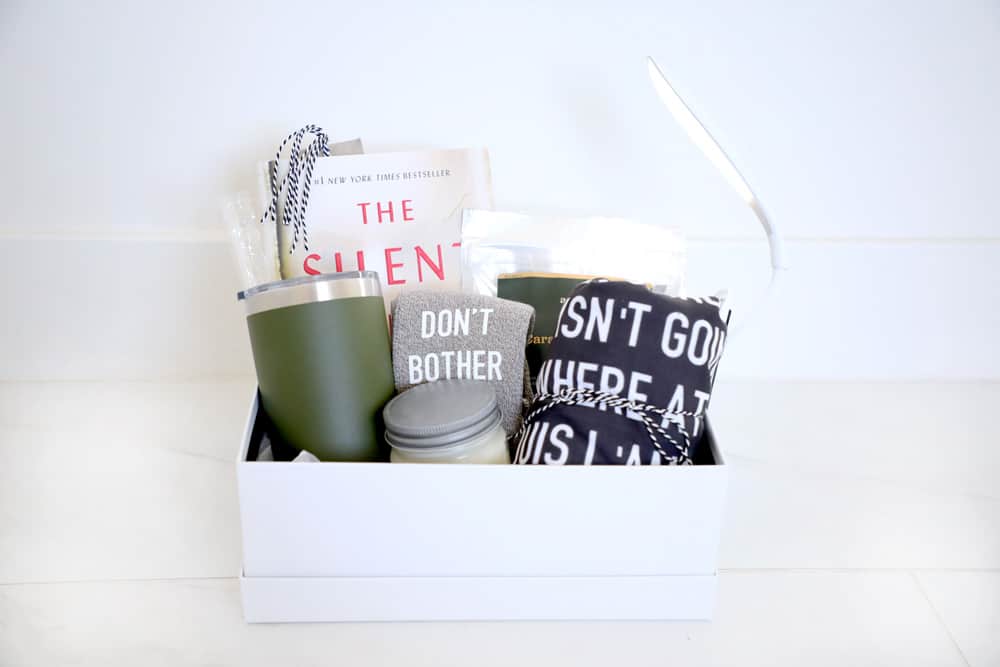
Need gift ideas for book lovers? A book lovers gift basket will be a definite success! From the cute "I'm reading" socks, to the favorite author quote T-Shirt, this basket is the perfect gift for your favorite book nerd.
I am so excited about today's post! Gift giving is one of my favorite pastimes. However, is it just me or are parents super tricky to shop for? I feel like my parents have everything they need or want and finding something special can be hard. When I had the idea to make my Dad this book lovers gift basket I knew it was the perfect gift for him.
A Personalized Gift
I love reading, it is my favorite hobby. My parents instilled the love of books in me as a young girl and I have so many fond memories of my Dad taking me to the library and letting me pick out ANY book I wanted! It was like Christmas morning every time.
Now that I'm grown up we compare what we have recently read and share opinions and it is one of my favorite things. Most nights my Dad can be found reading a book on his family room couch, and I love picturing him wearing these socks or reading this book in the coming months.
If you want to see some of our other favorite gifts we've made check out this cozy night in gift basket, this fun things to look forward to book, or this roundup of unique gift ideas!
Book Lovers Gift Basket
Okay, let's get down to business! The great thing about this book lovers gift basket is that it is totally customizable! My basket for my Dad is a mixture of homemade, personalized things that I made with my Cricut and store bought things that I think he will enjoy!
What is in a readers gift basket?
*This post contains affiliate links.
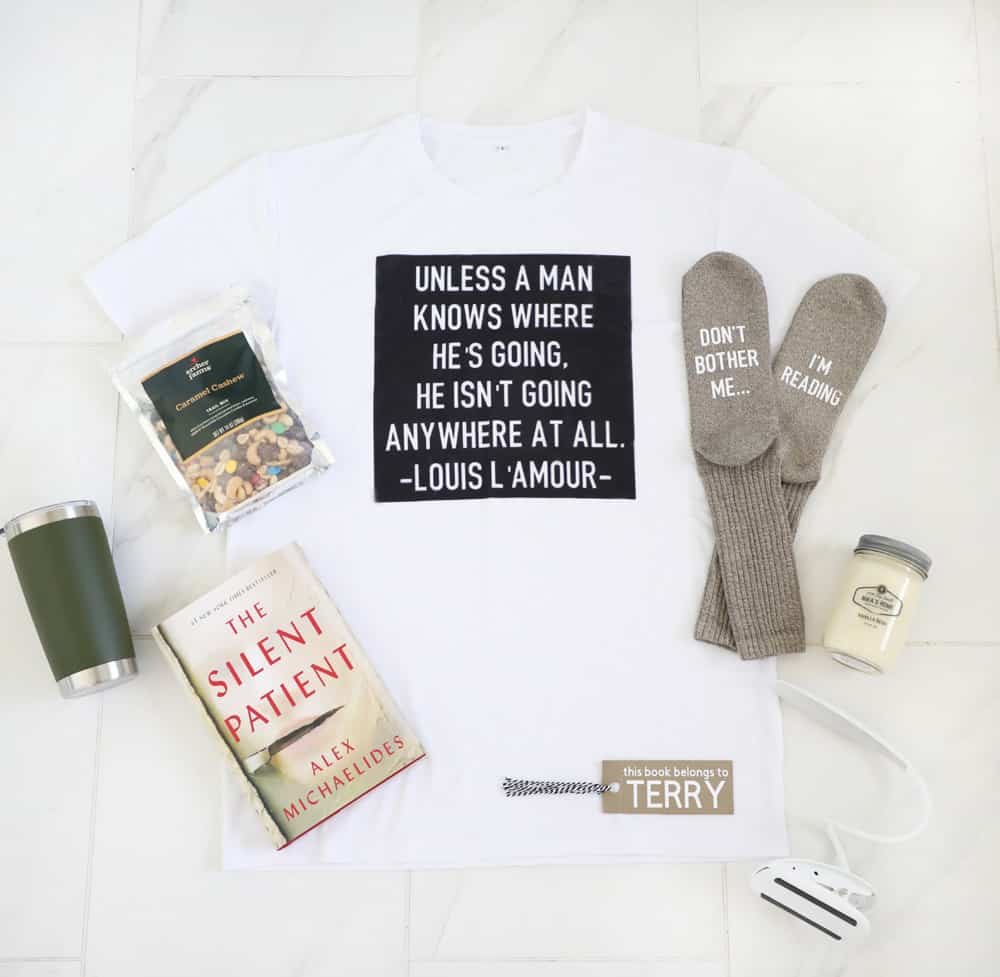
Here are the details of what is in my basket!
- DIY T-Shirt made using Cricut's Infusible Ink
- DIY "Don't Bother Me I'm Reading" socks
- DIY Reader Bookmark
- My favorite trail mix
- This amazing book light
- My favorite tumbler cup
- A yummy smelling candle
- A new read, of course! If you need a list of amazing reads, check out our recommendations here!
Any of those things could be swapped out for something different, or bought in different scents, colors etc. specific for the person you are gifting to!
Personalizing Gifts with a Cricut Machine
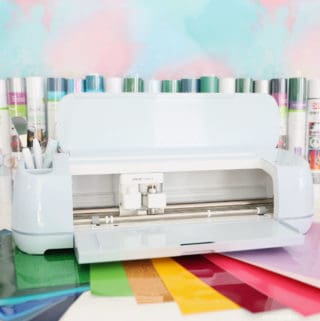
Let's talk about the things I made! The three things I personalized with my Cricut Maker were the shirt, the socks and the bookmark! Below you will find instructions on how to do each of those things. I will link out to full tutorials for the socks and t-shirt and the bookmark tutorial is at the bottom of this post!
I love my Maker because it is so versatile! It quickly and accurately cuts over 300 materials, and it does an amazing job at it! If you are thinking of getting a Cricut machine I highly recommend my Maker!
DIY Funny Socks
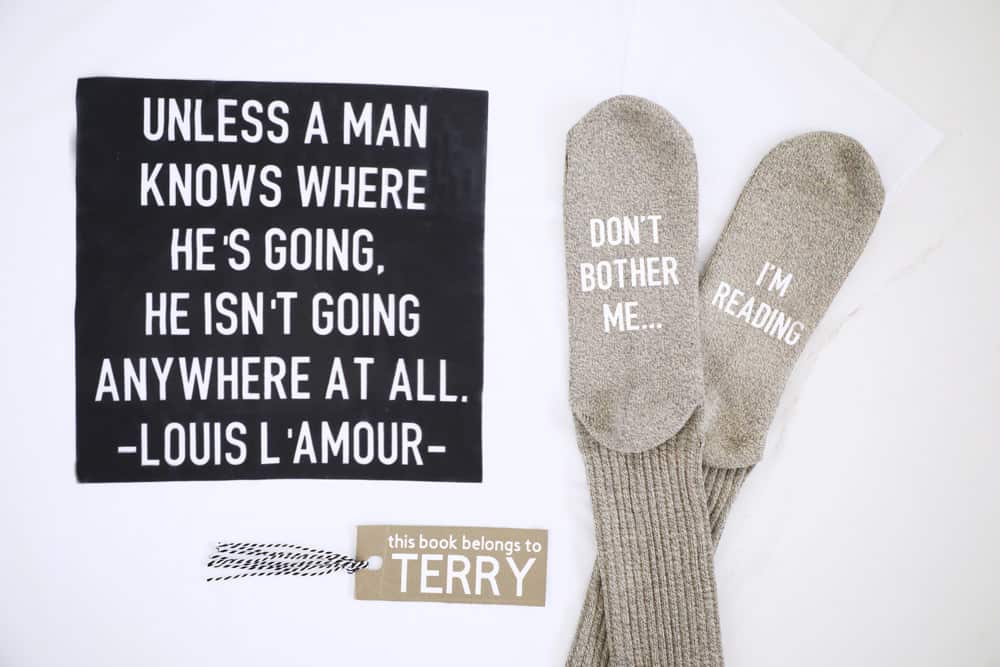
I have an entire post about how to make these socks (and five other funny options) here! Basically you just need iron on, a Cricut machine, socks and an EasyPress2! The post even includes a video for you to see how to do it step by step!
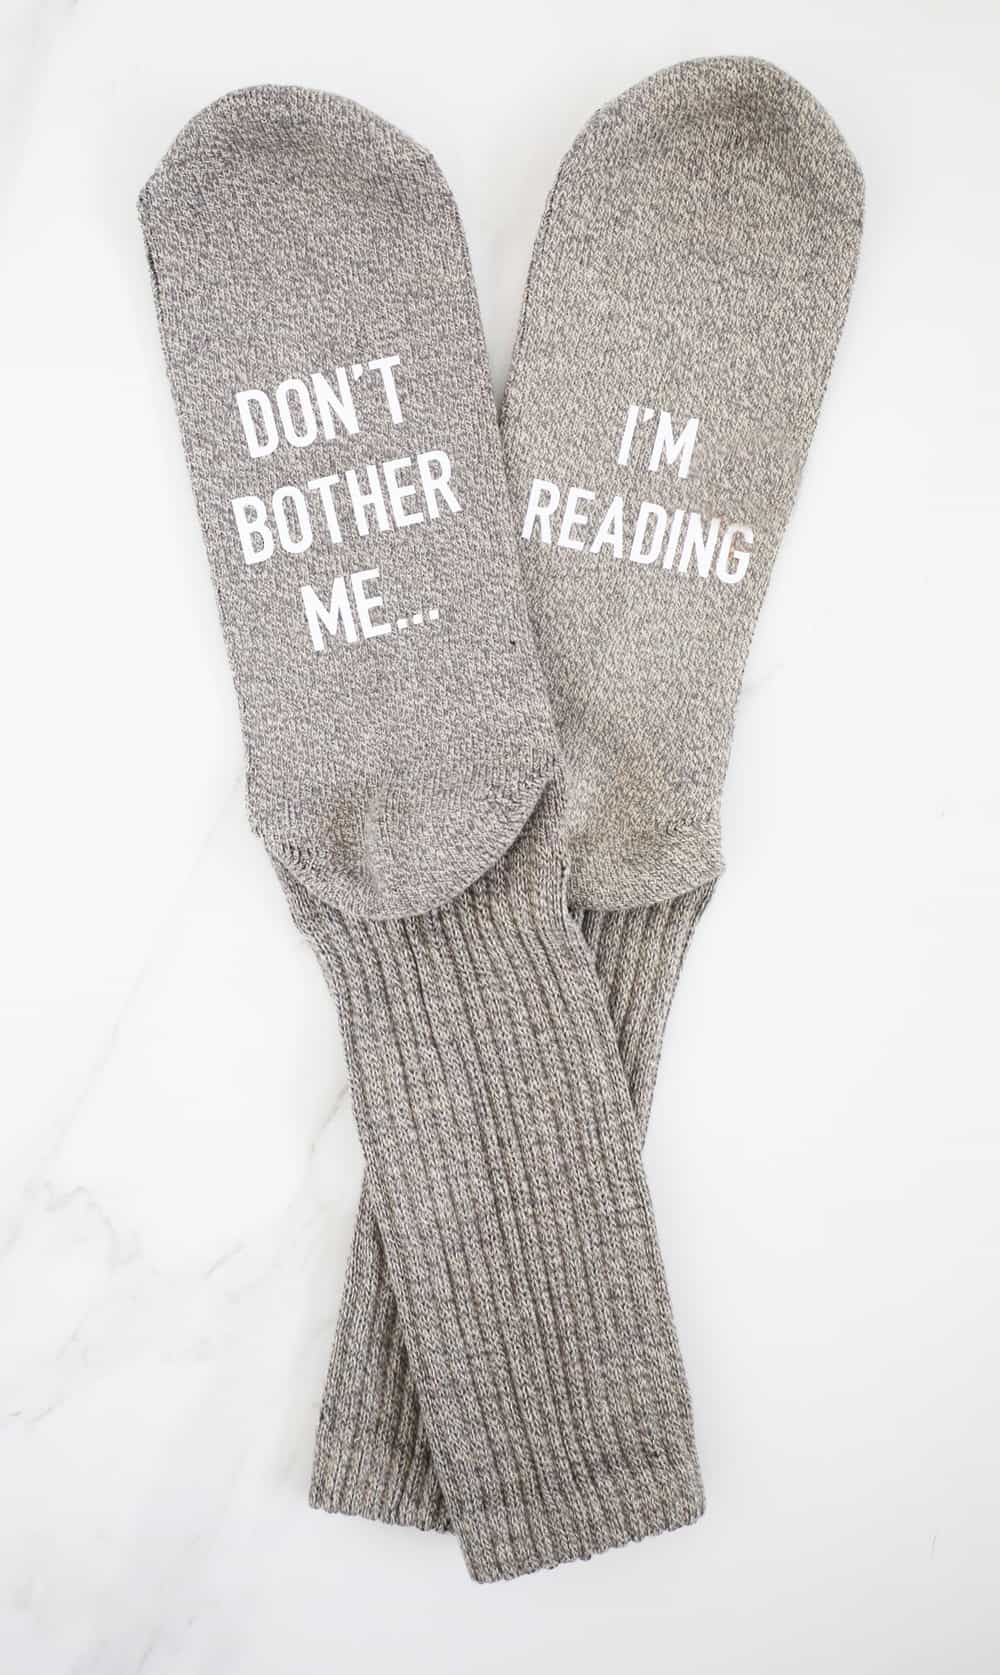
These were the socks I used, and they worked great!
DIY Infusible Ink T-Shirt
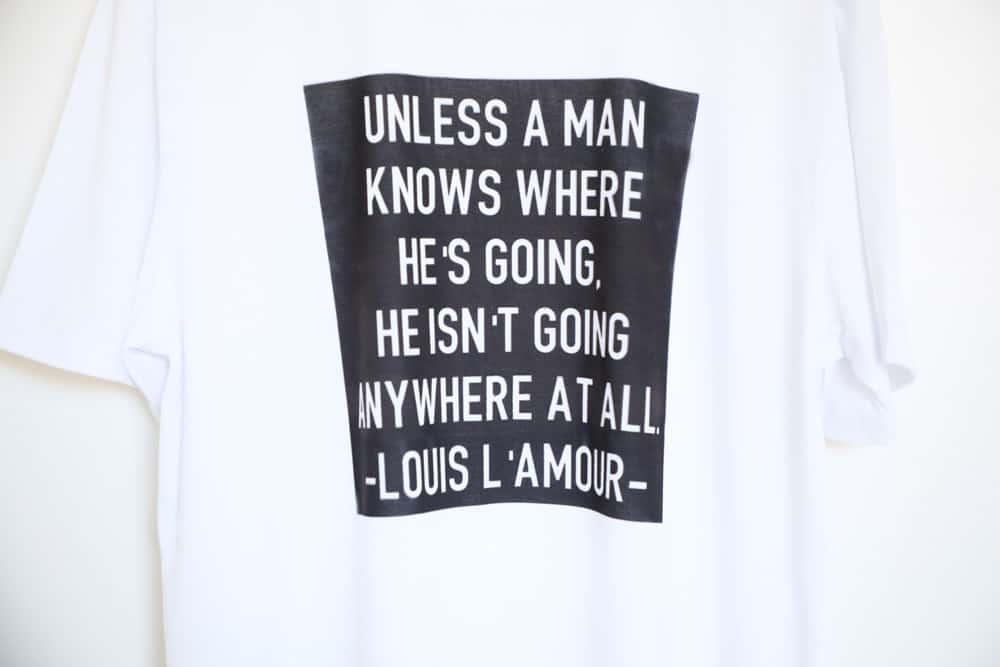
Cricut's new Infusible Ink line is amazing. This was my first time trying it out and I was not disappointed! To make your own Infusible Ink T-Shirt follow the easy tutorial in this post from my friend Pam at Over The Big Moon!
"This Book Belongs to" Bookmark Tutorial:
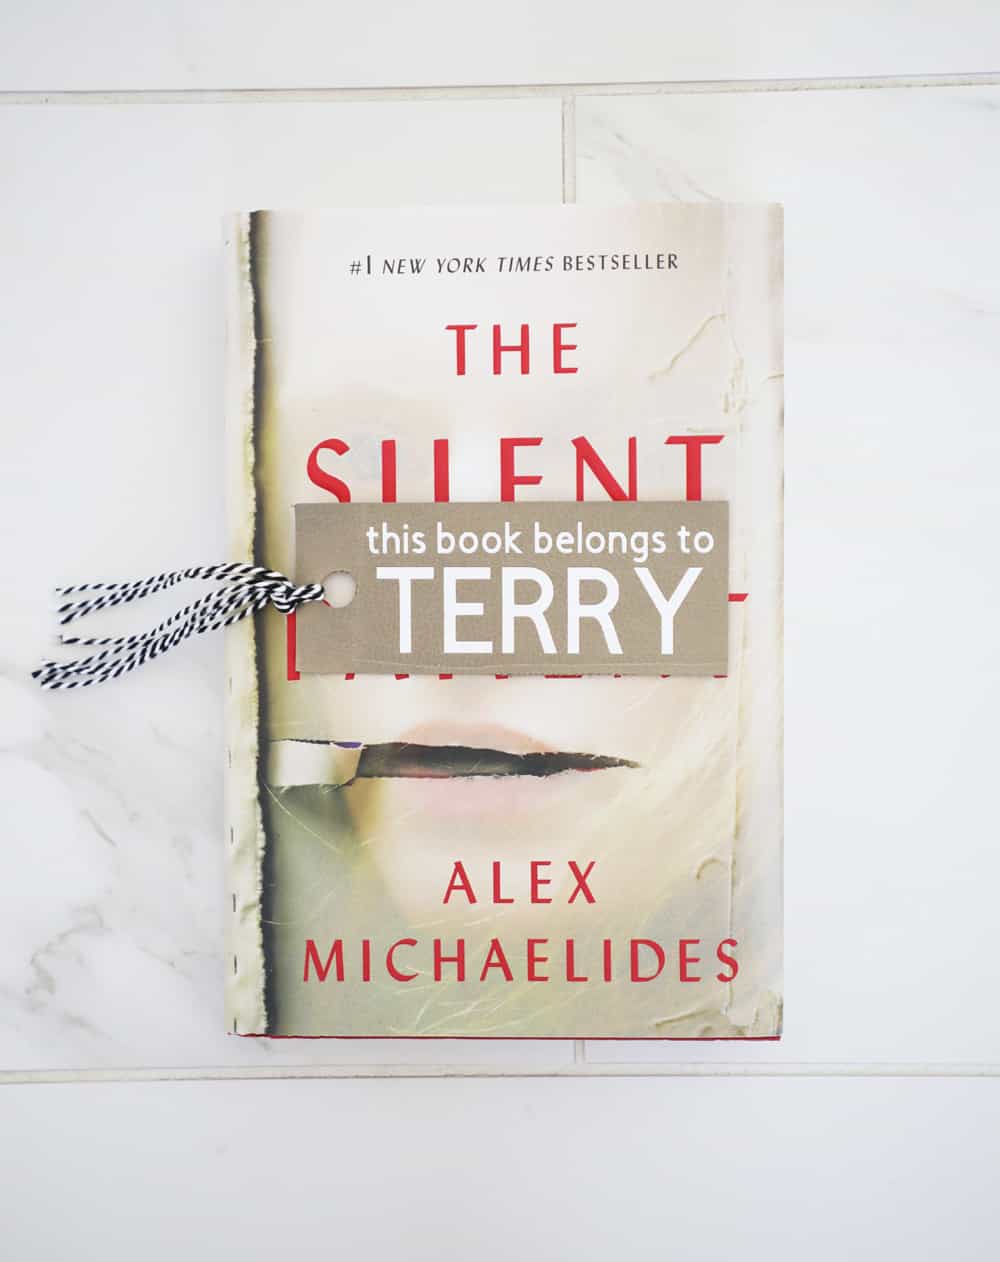
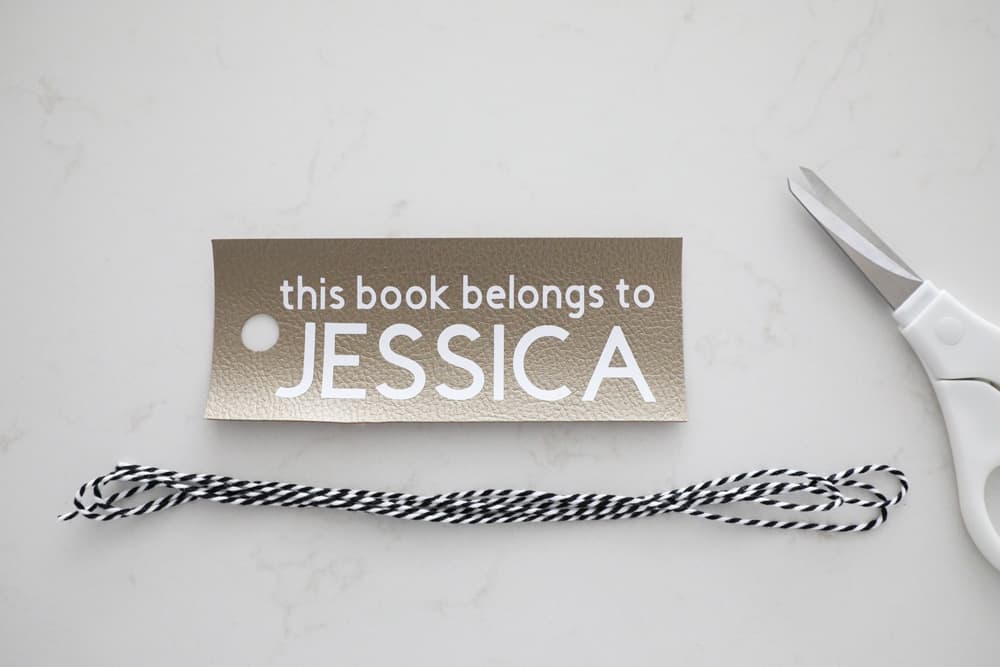
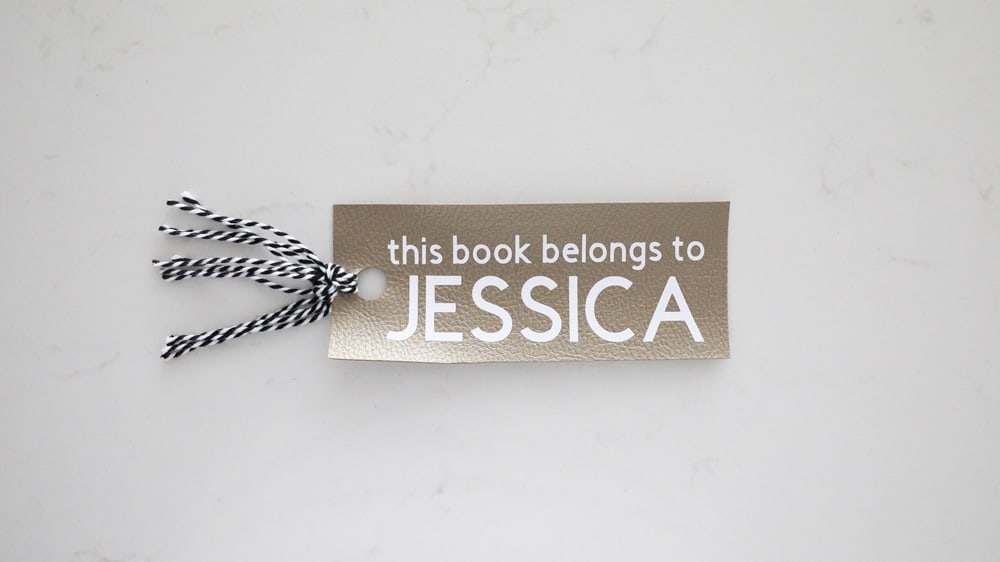
Last but not least, the DIY bookmark! This was a really fun, simple DIY to make. These would be perfect to stick in stockings as well, or to give with a good new book!
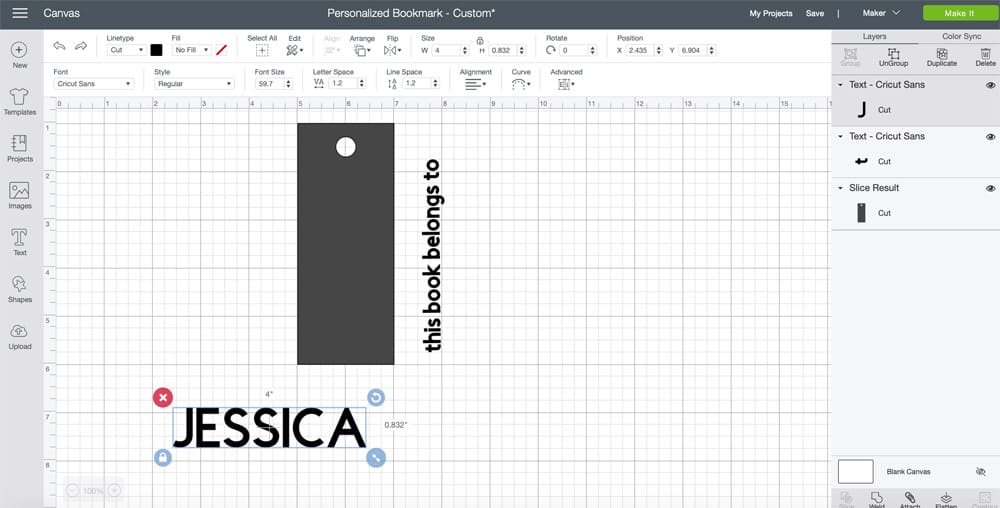
Open Design and Add Customize for Your Name
Click this link and then hit customize. Once you are in design space click the text button on the left and type your name. I used the font DIN in all caps. Check out this post to see all our favorite Cricut font options.
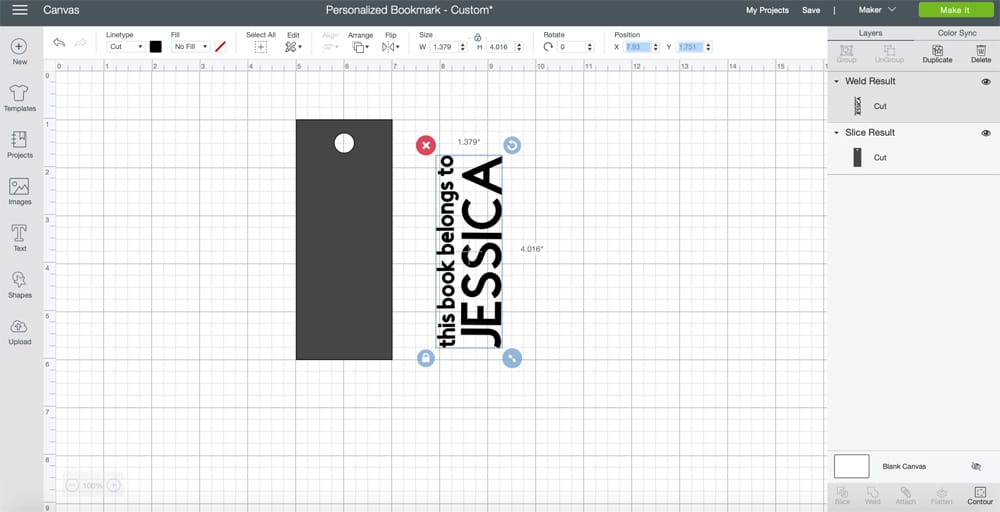
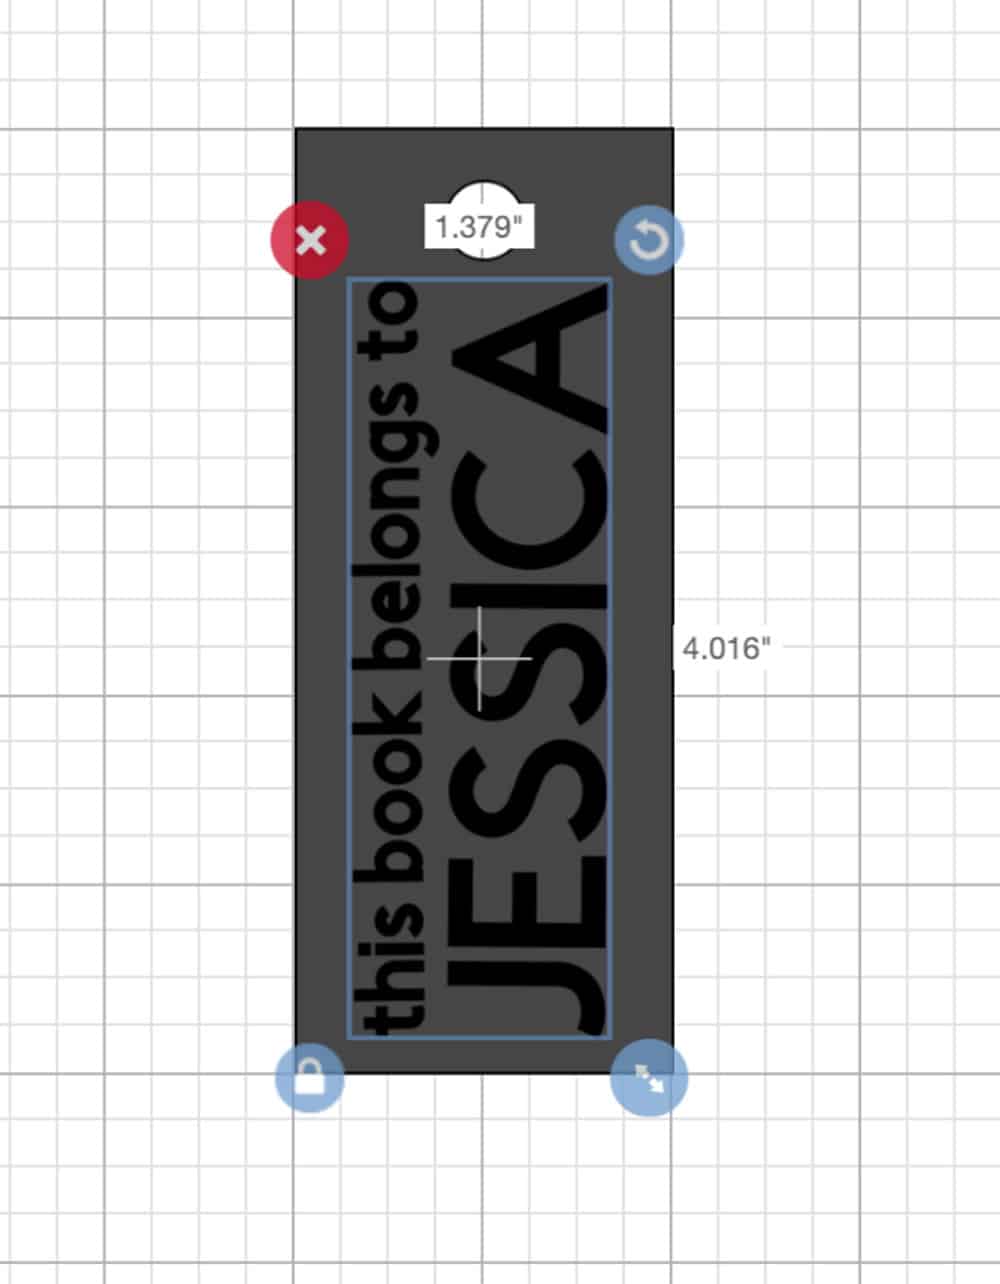
Turn Name and Weld to Other Text
Once you have your named typed out, you are going to rotate it 90 degrees to the left and move it to line up behind the "this book belongs to text" like pictured below. Once it is all lined up nice and neat (resize to fit if necessary) highlight both text layers and click the weld button to secure them together.
Test Design on Your Bookmark
Once your text is welded, move it onto the bookmark and make sure you like the way it fits on there. Again, resize if necessary.
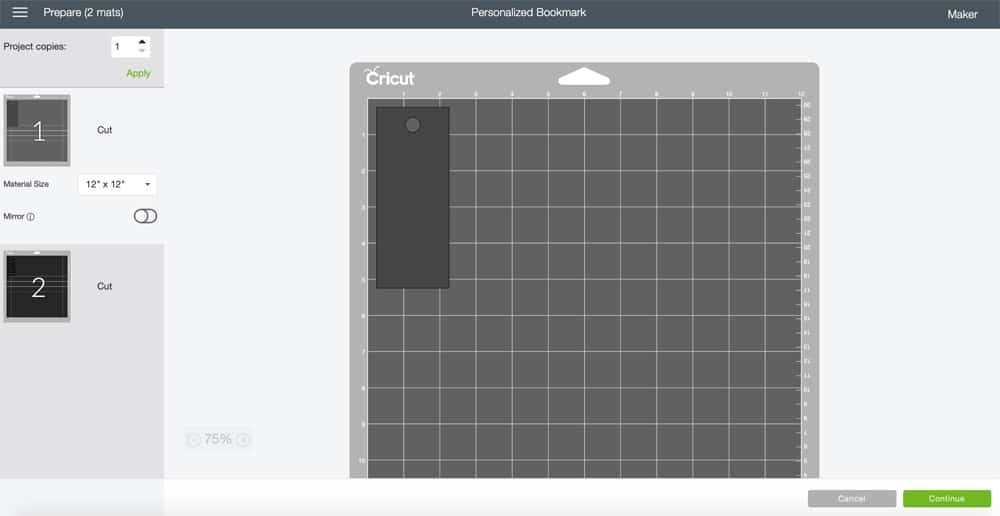
Click Make It and Prepare to Cut Materials
Now is the fun part! Let's make our bookmarks. The first cut will be the faux leather, the second will be your iron on text.
Load and Cut Faux Leather
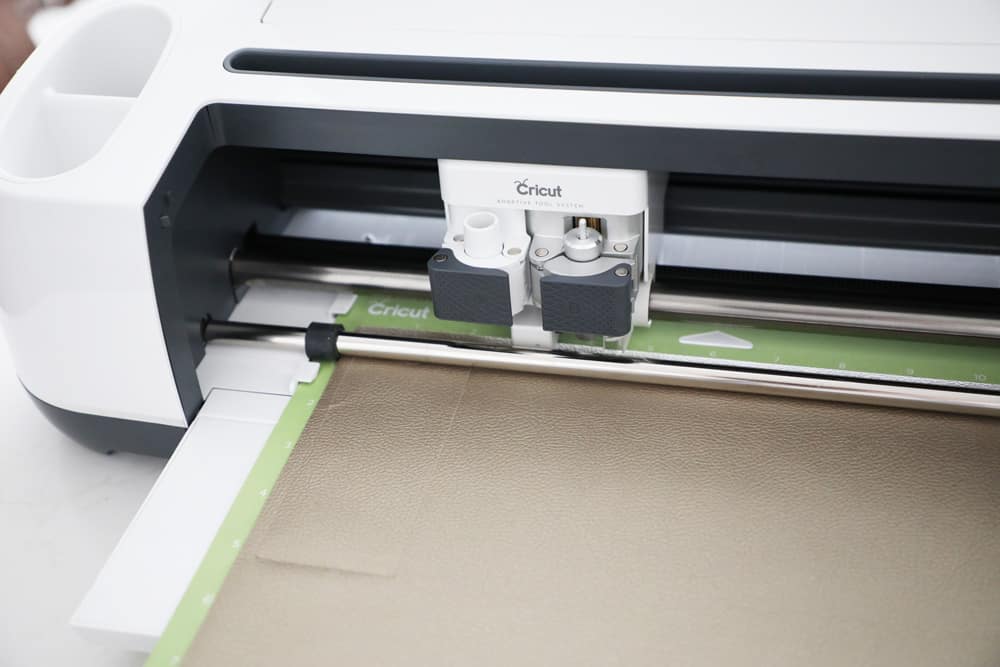
Press the green continue button and follow the prompts to cut your leather (make sure material is set to faux leather). The leather grain side should be face up on your mat when cutting.
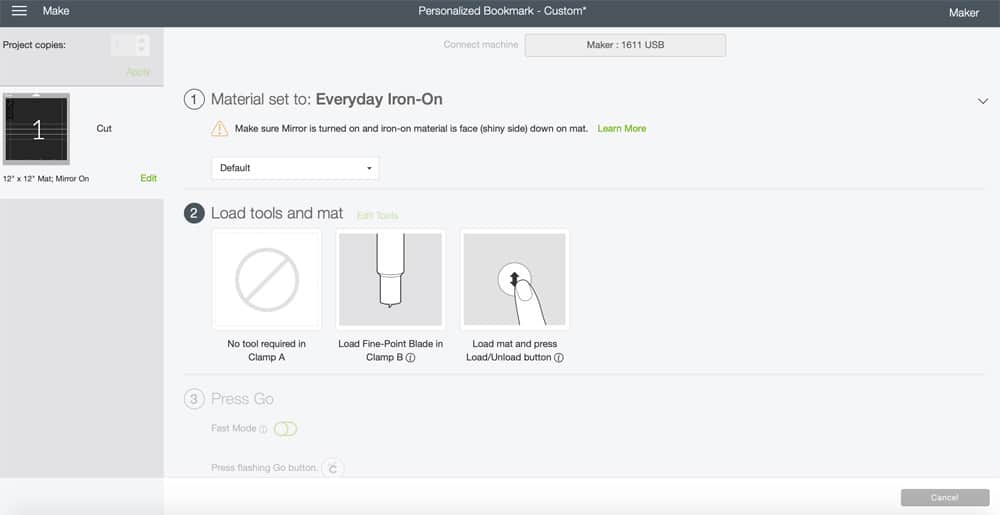
For Iron On Select Material and Mirror Image
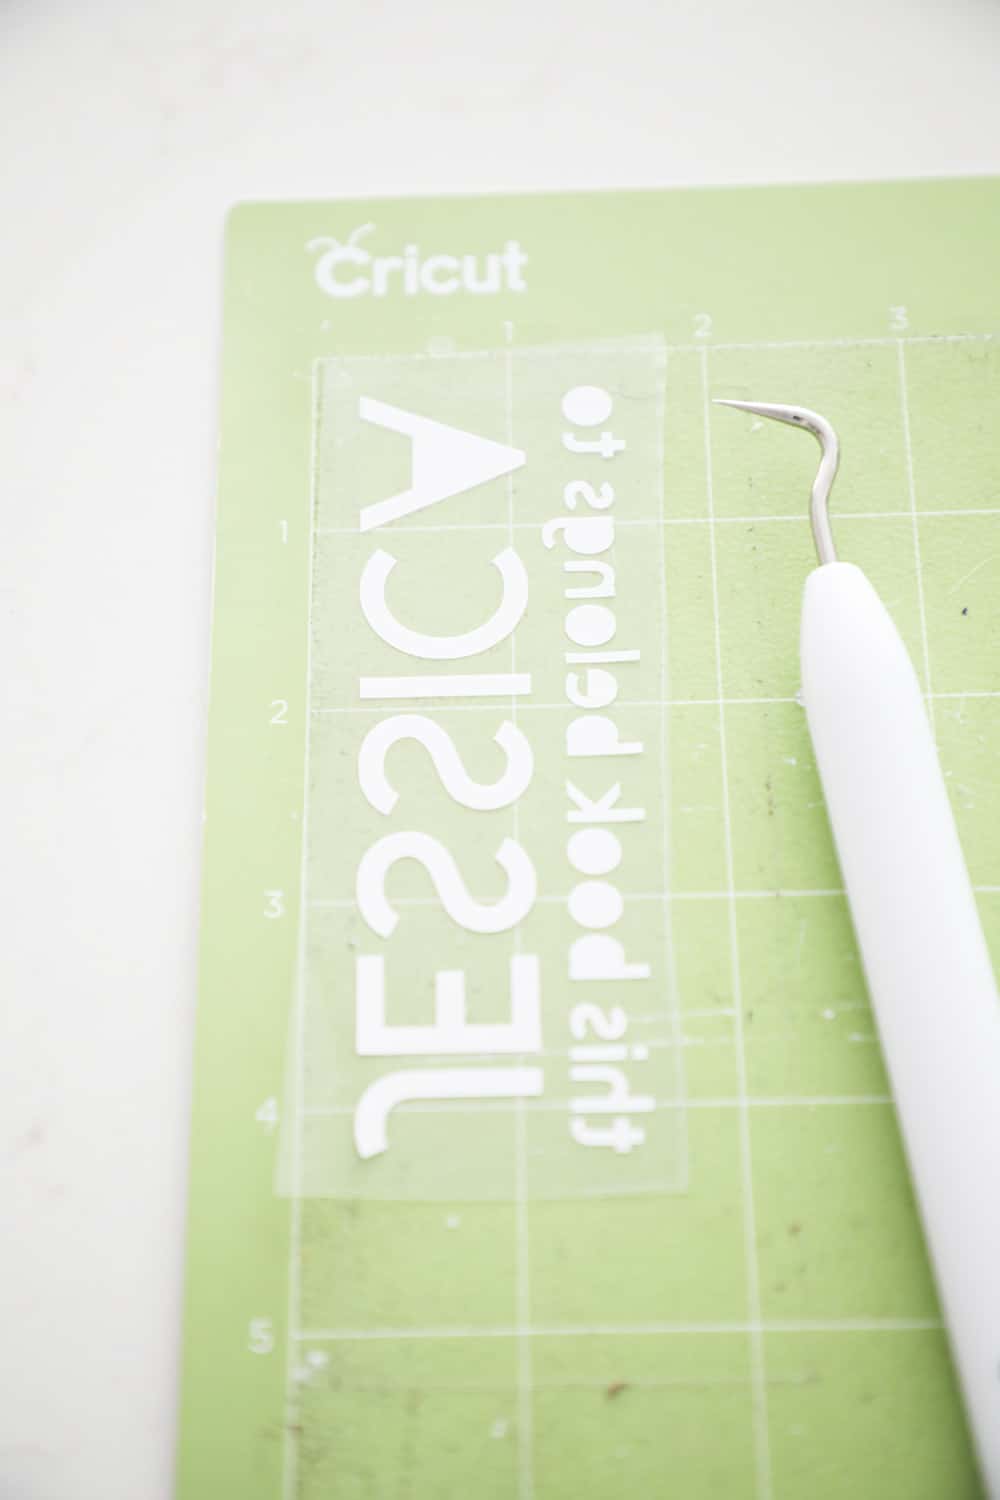
Next we will cut your iron on! Make sure your material is set to iron on and that your mirror image button is on.
Cut Iron On
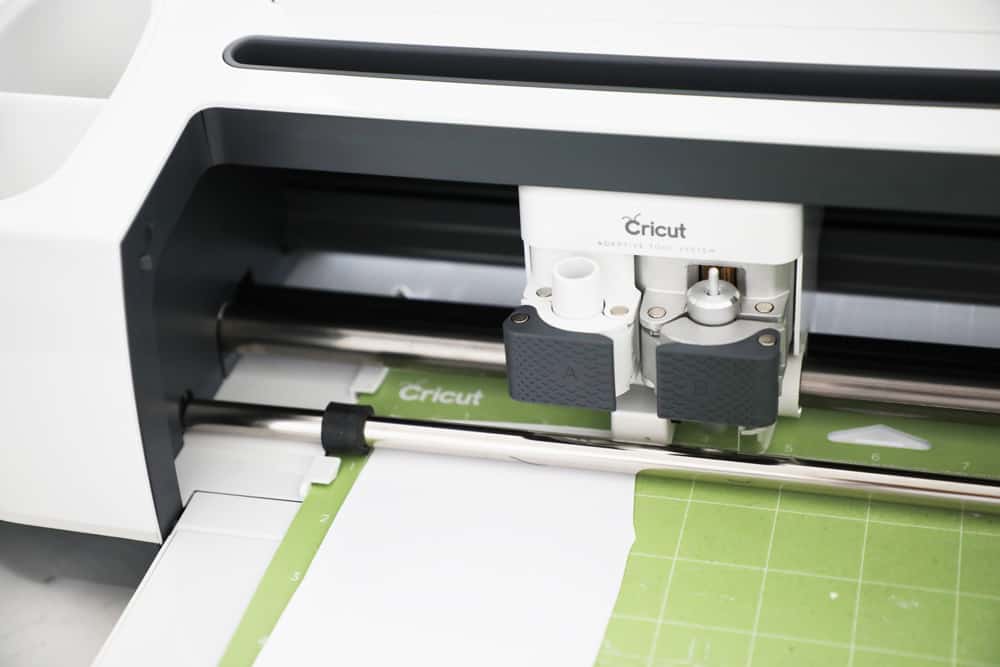
Make sure to put your iron on shiny side down on your mat, and then load your machine and press the Cricut button to start the cut.
Weed Design
Once your design is cut weed the excess material away from your design using a weeding tool.
Lay Your Design on Your Leather
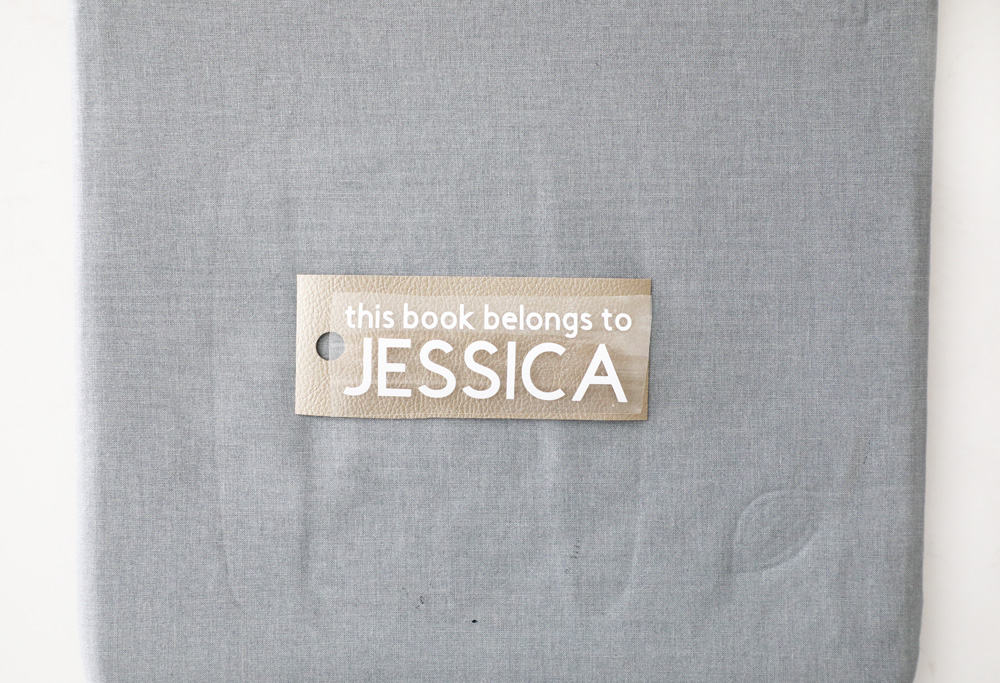
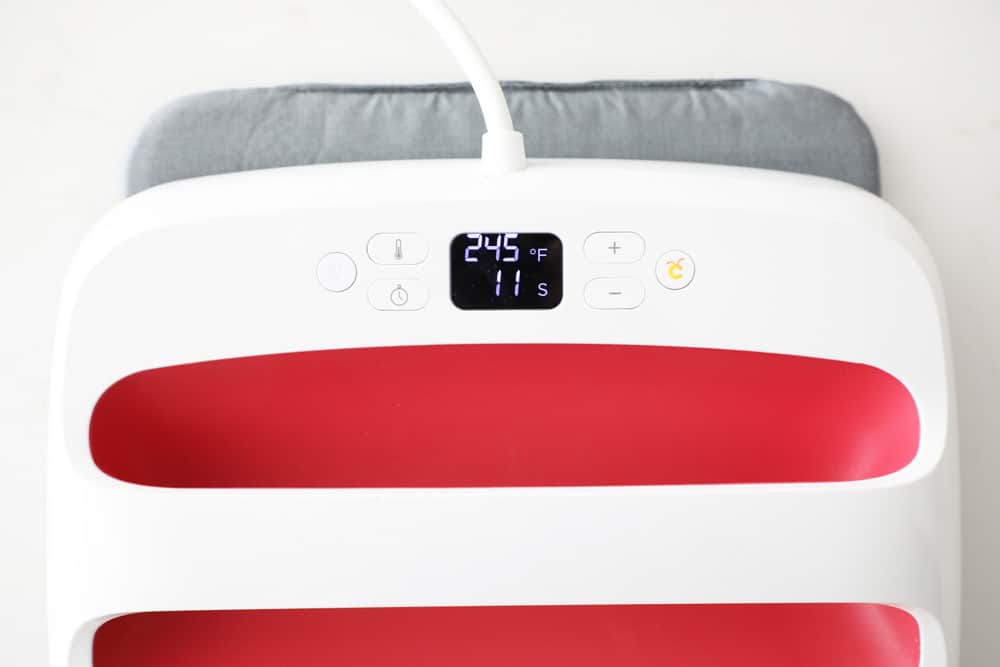
Get out your EasyPress2 and start heating it up to 250 degrees. Lay your leather on your mat and line up the vinyl on top exactly where you want to iron it on.
Use the EasyPress2 to Iron On Your Design
The iron on didn't need much heat to attach to the faux leather. I did mine for 15 seconds at 250 degrees and it worked perfectly. I also didn't press down very hard because I didn't want the faux leather to melt, and it worked out great!
Tie on Strings
I had this bakers twine lying around and I thought it would be the perfect finish for my bookmark! Just wrap as much string as you'd like and tie it in a square knot. Next, trim the ends to be all the same length when pulled taut!
Enjoy Your DIY Bookmark
Voila! So easy and so fun!
Well there you have it friends! Here is one last look at the personalized reader gift basket I made for my Daddy!
I hope this gives you some gift ideas for the book lovers in your life!
xo,



Patty
Love this idea! I'm going to use it for my daughter's birthday in March. She is a book LOVER and this is just perfect.
Thanks so much for sharing!
Christy
These are great ideas. I think I'm going to attempt personalized socks.
Kim
This is such a great idea!! He is going to love it! ❤️