Freezer Paper Stencil Shirt
How to make a freezer paper stencil and use it to paint a shirt! Make a custom t-shirt with just a few inexpensive household items.
*this post contains affiliate links
I have always loved making my own t-shirts. Using a homemade freezer paper stencil to paint on fabric is a really cheap, easy way to do it. The awesome part?
You can do this with any word, phrase or image that you can print and cut out with scissors.
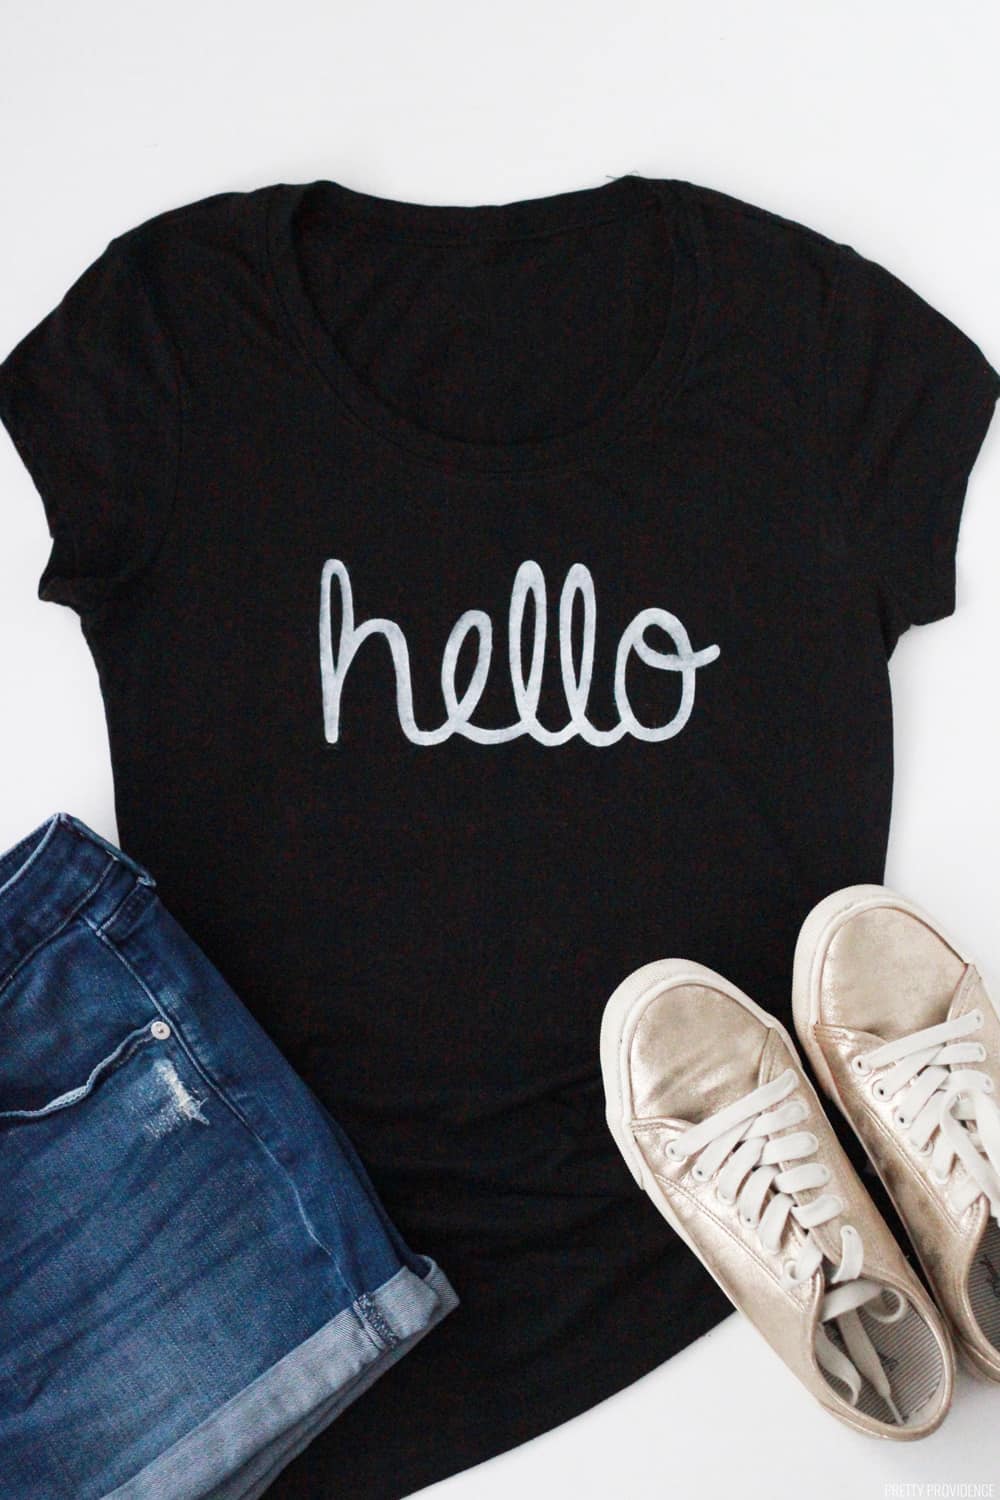
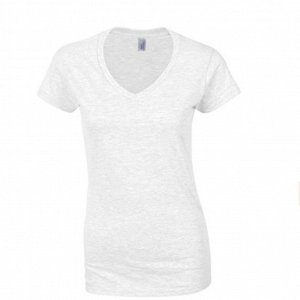
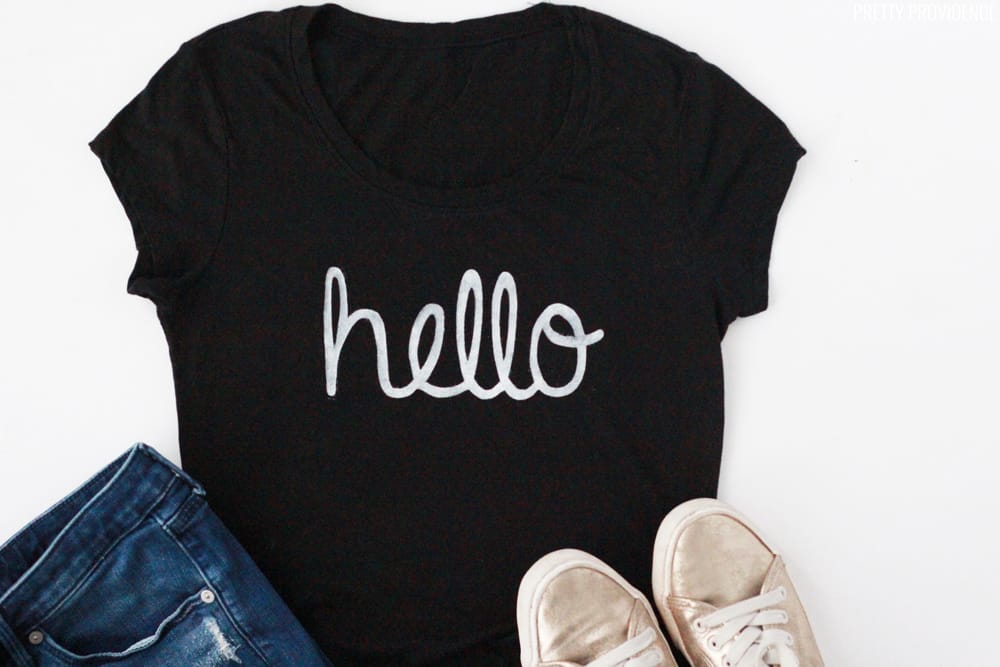
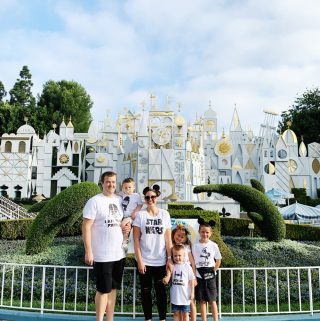
For this simple project, I found a plain t-shirt on sale for $5, printed the word 'hello' out, and then transferred that word onto a t-shirt in under 30 minutes!
Make a freezer paper stencil and paint on a t-shirt.
This project was so easy that now I have been going around my house looking for other things I can do this with. Sorry/not sorry in advance for how many freezer paper stencil projects I'm about to be doing.
What is freezer paper?
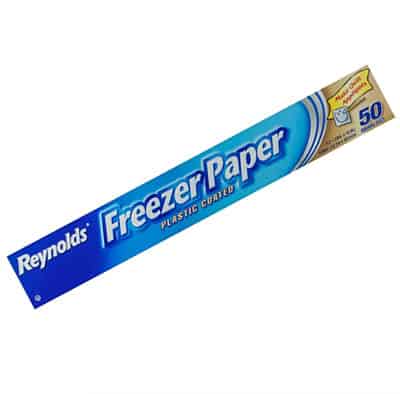
Freezer paper is thick paper with a wax coating on one side. Sometimes it is confused with parchment paper, which has no coating, or wax paper which is coated on both sides. Freezer paper used to be used commonly to wrap meat for freezing.
I actually have never used it for that, only for making t-shirts! I like to buy it on Amazon, but you can find it at some grocery stores near the foil and other food storage items.
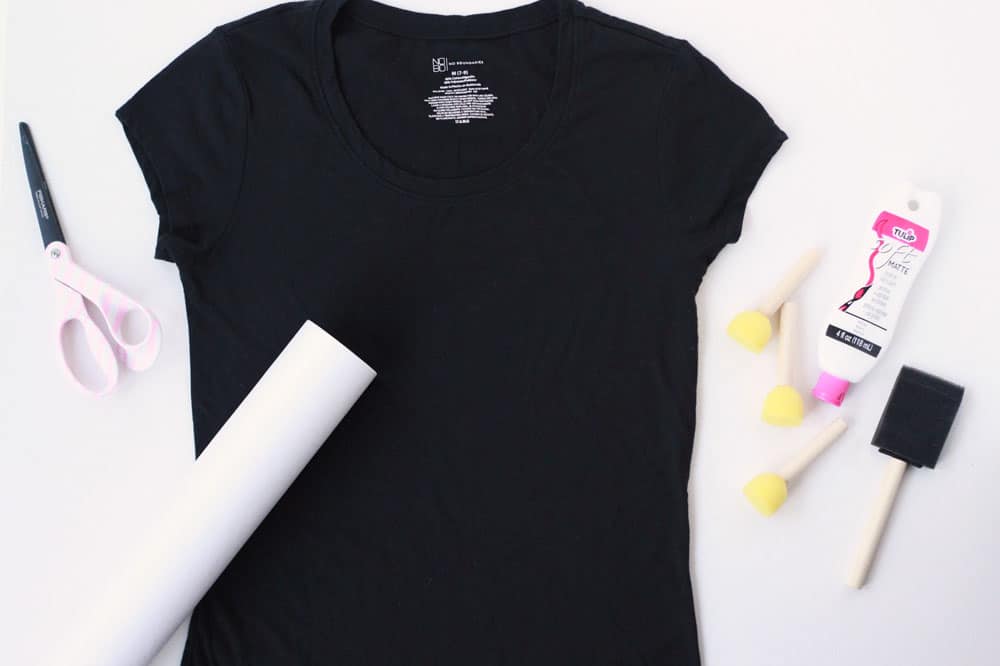
Materials Needed for this Project:
- freezer paper
- fabric paint
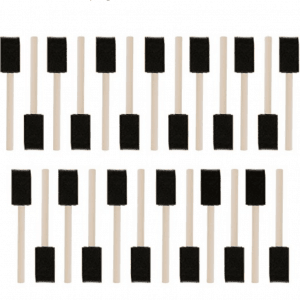
- foam paint brush
- iron
- plain t-shirt or other fabric item to stencil
- pencil
- printer
- scissors
- piece of cardboard (part of a cereal box or the back of a notebook will do in a pinch)
|

|
Freezer Paper |
|
How to make a freezer paper stencil:
- Download the 'hello' stencil template or use an image of your own
- put a piece of freezer paper to the same size as your printout and place your hello underneath it with the waxy side of the freezer paper facing down, touching the printed paper.
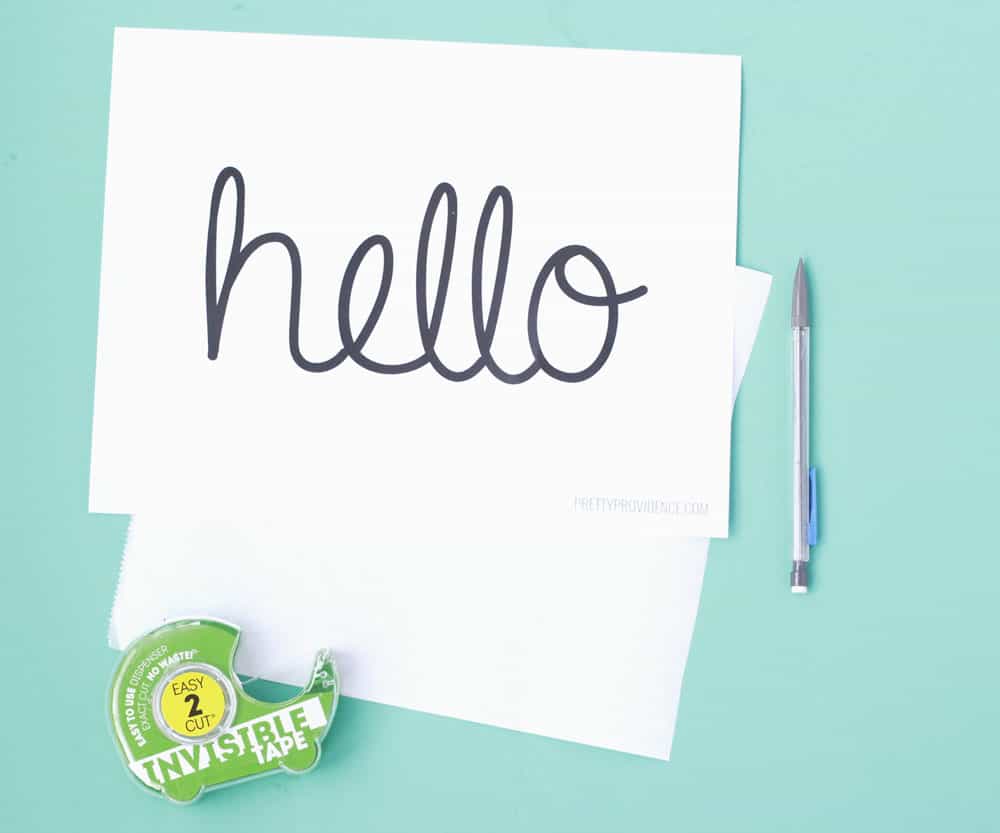
- trace your design. don't forget to trace the inside details of your letters too, you'll need those.
- cut your design out carefully. the way you cut the design out is the way it will look on your final product
How to use the freezer paper stencil to paint on a t-shirt:
-
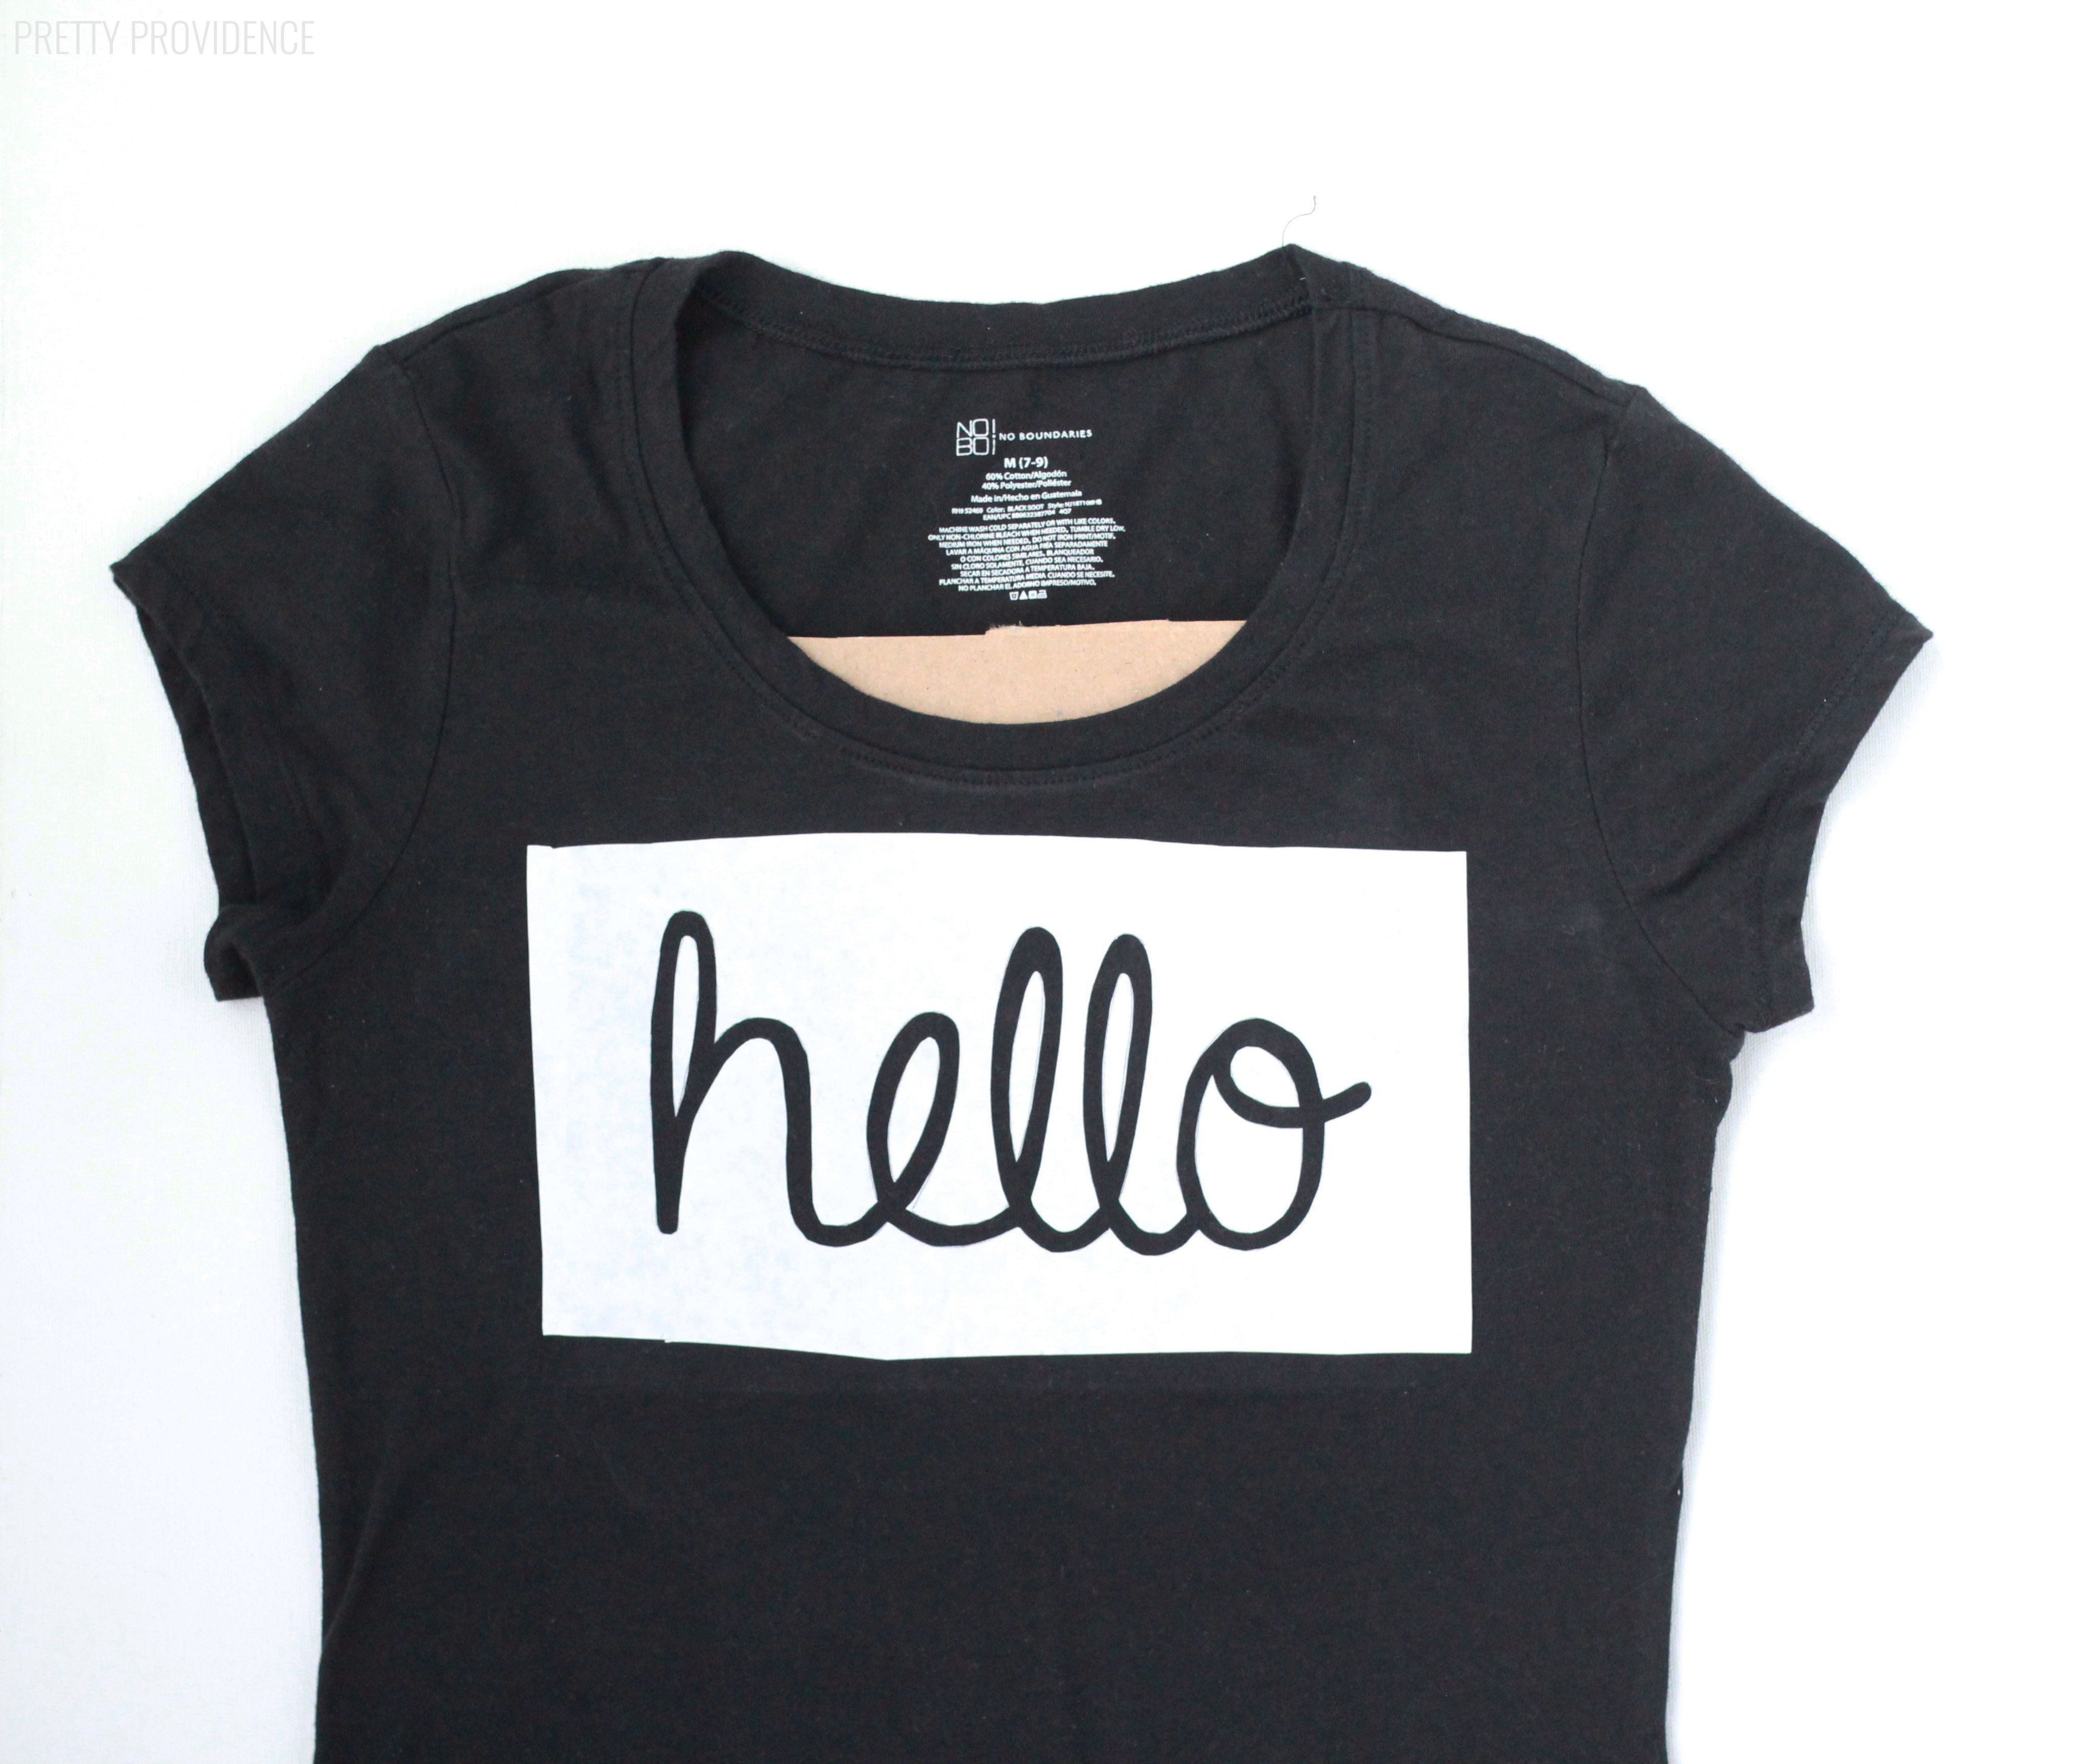
- Place cardboard inside the shirt. This is to prevent the paint from seeping through to the back. Cut another piece of freezer paper and place that inside your shirt, on top of the cardboard with the waxy side facing UP.
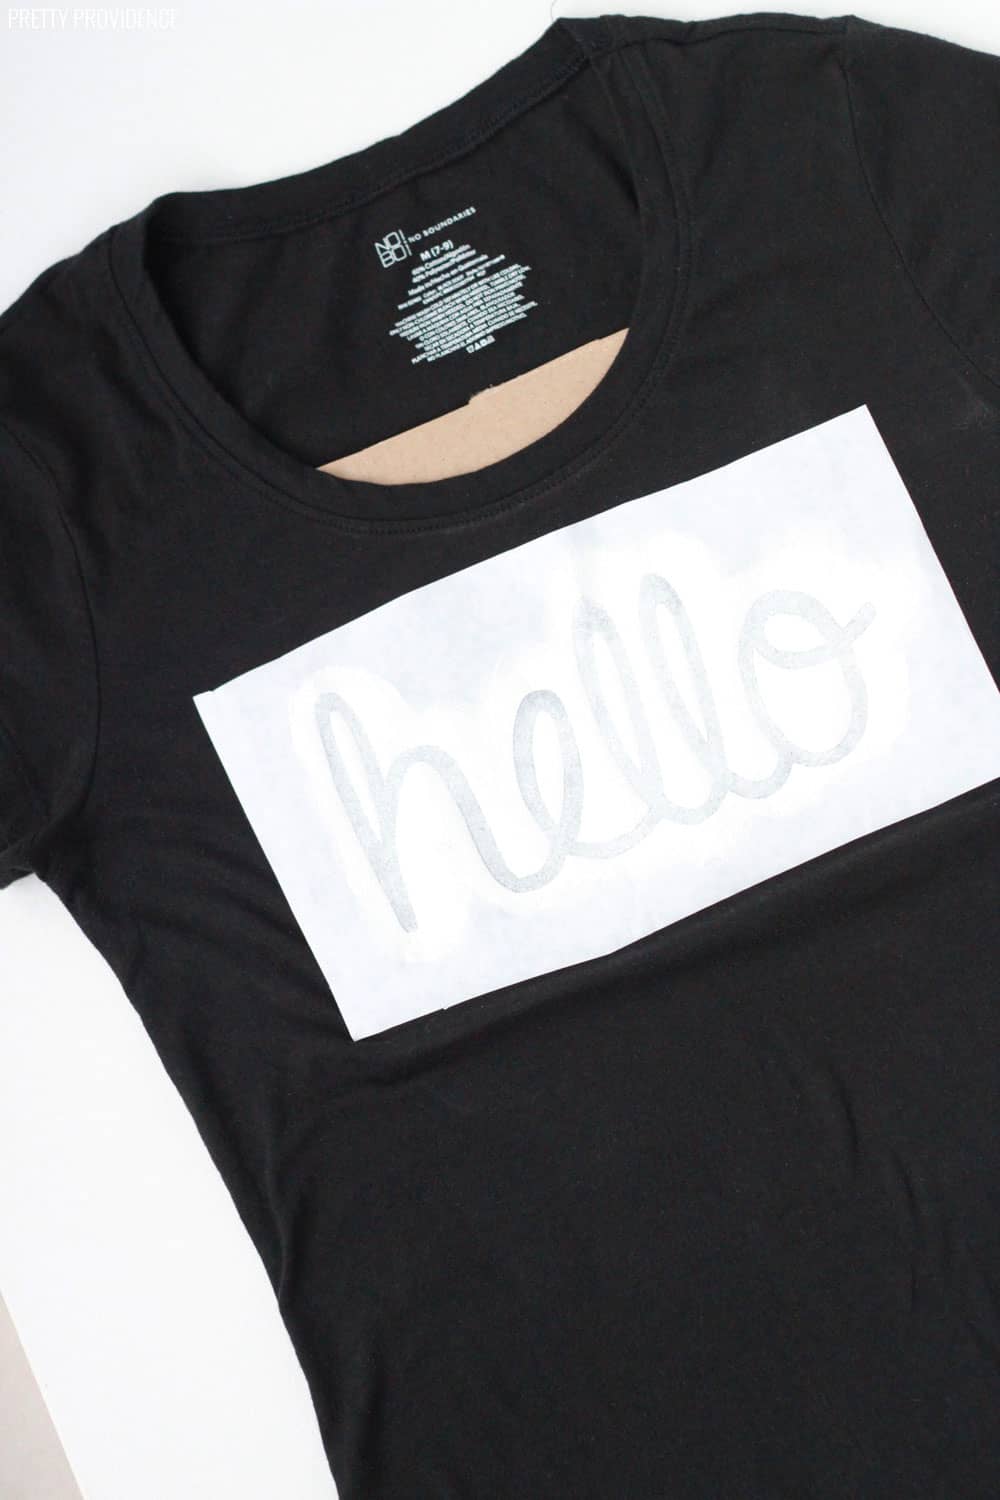
- Place your freezer paper stencil with the design cut out onto your shirt. You want the design you'll be painting to be exposed on your shirt. Do this with the waxy sides facing DOWN. Place them carefully where you want the design to be and iron it down.
- The two waxy sides of freezer paper being ironed together well is what makes the stencil work. Make sure the edges are really stuck!
- Make sure you have any small inside pieces of the stencil ironed down too - for example, the hole in the letter 'e.'
- Using a sponge brush, apply paint onto the shirt over the freezer paper stencil. Be careful around the edges not to let the brush go under.
- Paint one coat, wait twenty minutes and do a second coat.
- Let fabric paint dry for a few hours or overnight. Remove stencil pieces carefully.
More T-shirt painting tips:
- 100% cotton t-shirts are best
- Put cardboard or foam board inside your shirt to prevent the paint from seeping through to the back
- Tape your shirt to a flat surface using masking tape or painter's tape so that it doesn't move while you are painting it
What kind of paint should you use to paint on t-shirts?
Fabric paint is best for painting on t-shirts, but another option is to use acrylic paint mixed with fabric medium. Going the second route will give you a lot more color choices!
If you'd like to download the word "hello" like mine just click here. Rather do a different word but use the same font? I used a free font called A Gentle Touch.
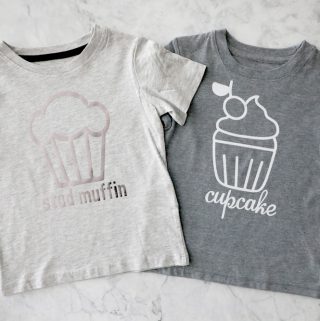
If you like this, check out these other DIY t-shirt tutorials:
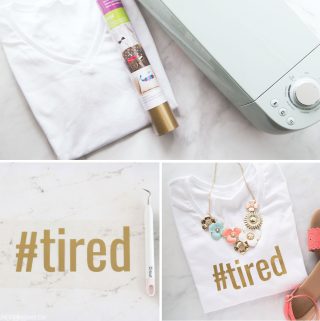
How to make a custom shirt with a Cricut
I can't wait to see your creations!

Freezer Paper Stencil
Video
Equipment
- iron
Materials
- freezer paper
- fabric paint
- foam paint brush
- plain t-shirt
- pencil
- scissors
- 1 piece of cardboard
Instructions
How to Make a Freezer Paper Stencil
- Download the 'hello' stencil template or use an image of your own.
- Put a piece of freezer paper to the same size as your printout and place your hello underneath it with the waxy side of the freezer paper facing down, touching the printed paper.
- Trace your design. don't forget to trace the inside details of your letters too, you'll need those.
- Cut your design out carefully. the way you cut the design out is the way it will look on your final product.
How to Paint a Shirt with a Freezer Paper Stencil
- Place cardboard inside the shirt. This is to prevent the paint from seeping through to the back. Cut another piece of freezer paper and place that inside your shirt, on top of the cardboard with the waxy side facing UP.
- Place your freezer paper stencil with the design cut out onto your shirt. You want the design you'll be painting to be exposed on your shirt. Do this with the waxy sides facing DOWN. Place them carefully where you want the design to be and iron it down.
- The two waxy sides of freezer paper being ironed together well is what makes the stencil work. Make sure the edges are really stuck!
- Make sure you have any small inside pieces of the stencil ironed down too - for example, the hole in the letter 'e.'
- Using a sponge brush, apply paint onto the shirt over the freezer paper stencil. Be careful around the edges not to let the brush go under.
- Paint one coat, wait twenty minutes and do a second coat.
- Let fabric paint dry for a few hours or overnight. Remove stencil pieces carefully.
Notes
- 100% cotton t-shirts work best.
- Put cardboard or foam board inside your shirt to prevent the paint from seeping through to the back.
- Tape your shirt to a flat surface using masking tape or painter’s tape so that it doesn’t move while you are painting it.

So cool! I am going to have to try this!!
So fun. Just showed it to my teen girls for a summer project!
Yes! I bet they would have so much fun making this!
This is such a great tutorial! I love making things with freezer paper.
Thanks! Yes it really is so fun!
I never knew freezer paper existed until now! Or that it could be used in this fashion, either! Awesome!
Haha, I know, I think it is used more for crafts now than freezing things!
I'm definitely going to have to try this out! So simple and cute!
Yes, totally. It's so fun!!
OMG...this is too fun!! I didn't realize how easy it was to make your own shirt!! I'm going to be doing this!
Right!? It is so fun! Perfect for a quick craft night!
Such a fun idea! I can think of all the shirts I want to make already!
Thank you! Yeah, it opens all kinds of creative doors!
What a fun idea! IM thinking we need these for a ladies day out for a birthday! Now to go get some wax paper!
Yes! Freezer paper for the win!
Ok, this looks like a craft even I could handle - and so dang cute!
Yes! It's so easy and fun!
This is darling! I love it!
Thank you! It was so fun to make!
Yay! So glad to hear that!
If you have to do a very large project, you can use Microsoft Publisher and print the image across multiple pages and then iron them down one at a time. Great on a quilt, or blanket, or 4XL shirts.
Such a good idea!! Thank you!
What about the wax? Does it wash out of the shirt? Does it stain the shirt?
It doesn't transfer onto the shirt, it just makes it stick but when you peel it off there is no remnant!
Have you ever tried reusing your stencil? I need to make 15 shirts with the same design, and love this idea, but don't want to cut out 15 stencils...
Stack your paper before cutting it. - then you will only have to cut once to make 15 stencils.
How does the short wash and dry w the tulip fabric paint? Or should I hang dry?
In the area with the size, click the number, then erase what it says and type a number in. You can go up to, like, insanely large numbers.
how you enlarge the font?? I have Microsoft word and it onlylets me go up to 72 which is not the size I want!
My sister and I love this idea! Thank you! Can you wash them regularly after you paint them?
love this idea- would be fun to try different fonts and sayings!