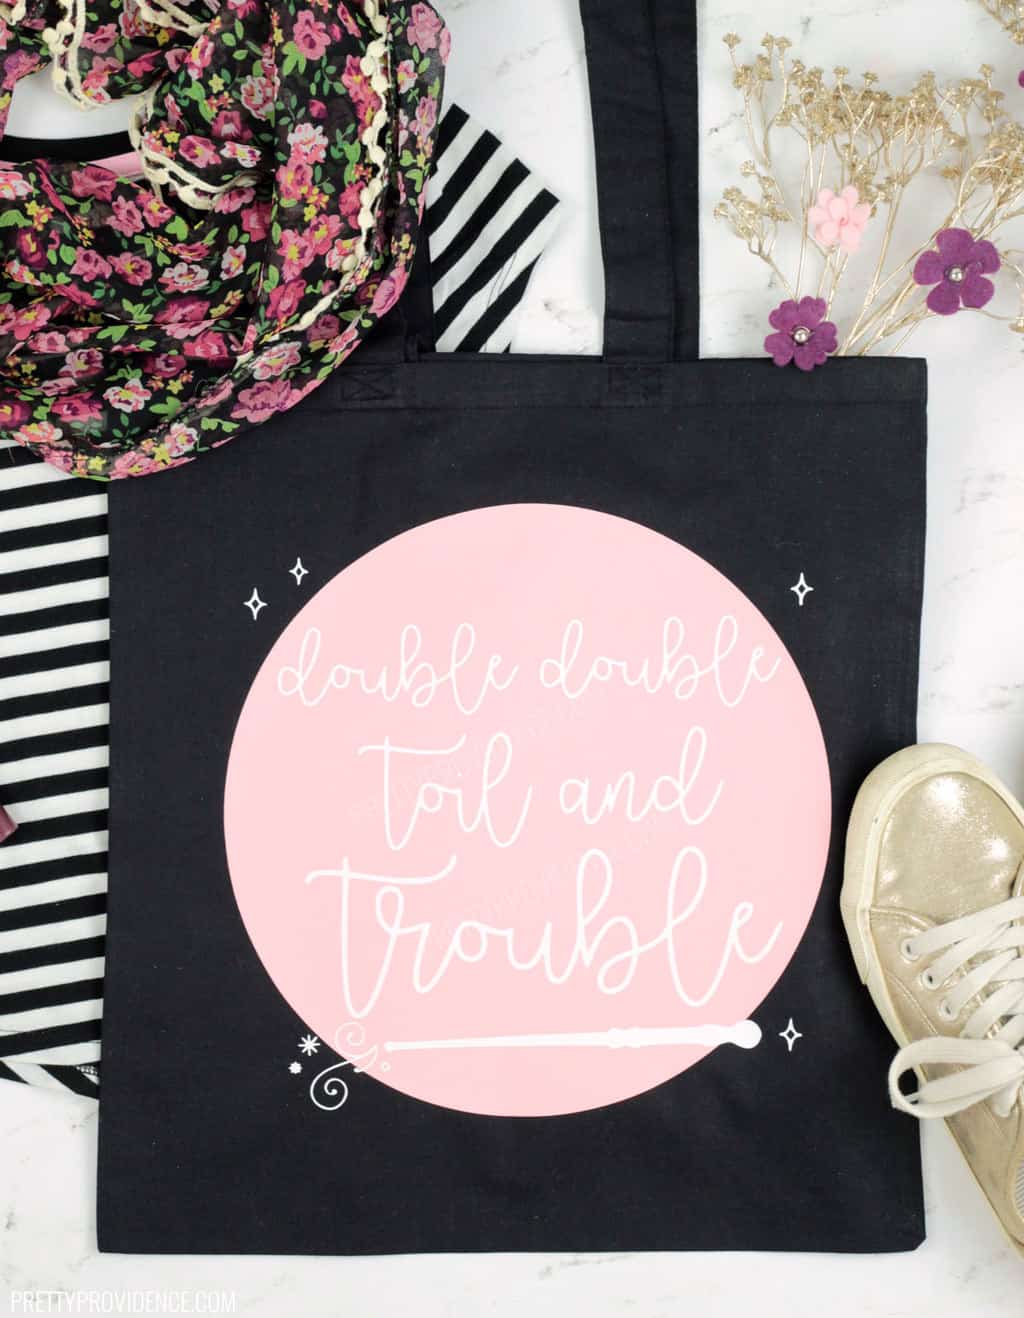
This cute and witchy Halloween Tote Bag is perfect for October shopping trips, Witches Night Out, or even a Trick or Treat Bag! Make this, or anything you want with this free Halloween SVG!
Hello to my fellow Halloween enthusiasts! I love the month of October, making DIY costumes, festive Halloween treats and all the parties are just so fun. To check out all of our spooky ideas head to our Halloween page.
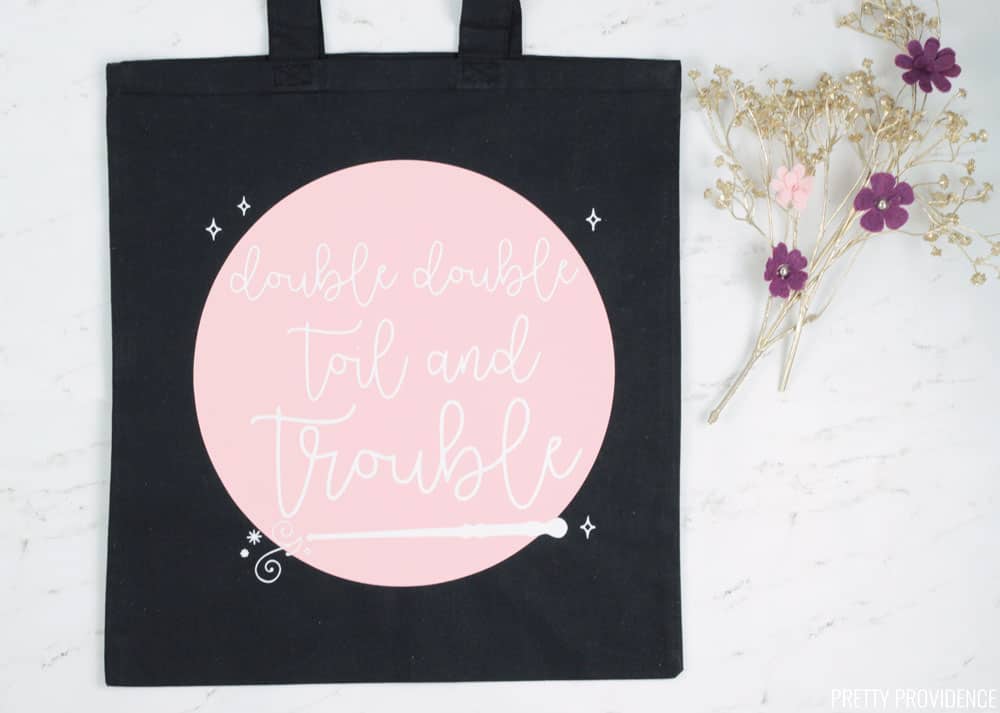
I recently made some Trick or Treat bags for my kids, and I liked them so much that I had to make a tote bag for myself too! This 'Double Double Toil & Trouble' tote will be perfect for the farmer's market, fall festivals, and one of my favorite traditions - Witches Night Out! You can use my free Halloween SVG file if you want to make one of these, too!
How to Make this DIY Witch Themed Tote Bag
Tools & Materials Needed
- Cricut Machine
- Iron-On Vinyl in Petal Pink and White
- StandardGrip Mat
- Basic Tool Set
- Plain Black Canvas Tote Bag
- SVG File (found below)

How to download the free Halloween SVG file
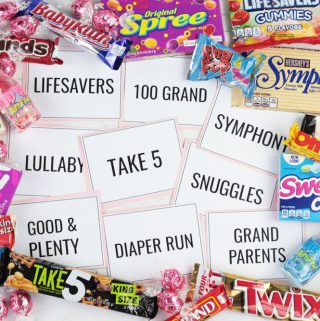
Download our Halloween categories game by filling out the form below, then head to your email inbox. Once you confirm your subscription, you will receive the download.
We love offering files at no cost to you. This SVG is free for personal use only. This is copyrighted. Do not share the SVG file. Instead, please send the link to this blog post to friends or family who would also like to use it!
This SVG file is free for personal use, and not available for commercial use. Please review our terms of use.
Instructions
How to Cut Iron-On
- Upload the Halloween SVG file into Cricut Design Space canvas and select 'Save as Cut.'
- Select a Circle from the 'shapes' section on the sidebar of Cricut Design Space and size it to the appropriate size behind the text.
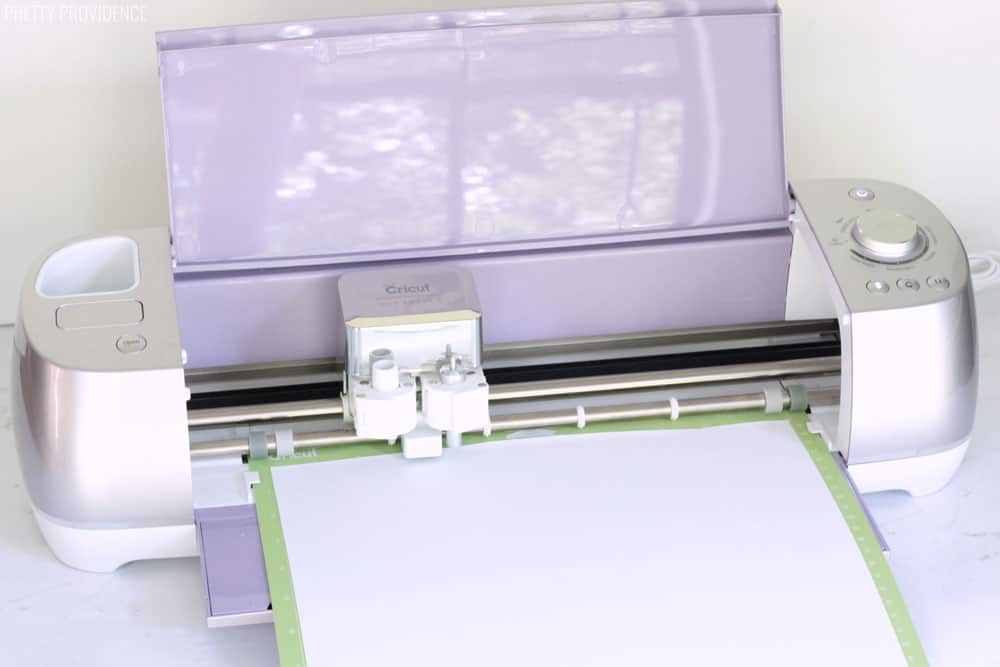
- Turn the dial on your Cricut to Iron-on, or choose Iron-On from the materials drop-down menu.
- Place Iron-On Vinyl shiny side down on your mat.
- Make sure the mirror is ON. Click ‘Continue'
- Load the mat and click 'Go' (the button is a little Cricut logo.)
After the cut is done, remove the extra iron-on from around the edges. Use a weeding tool to take out the little pieces.
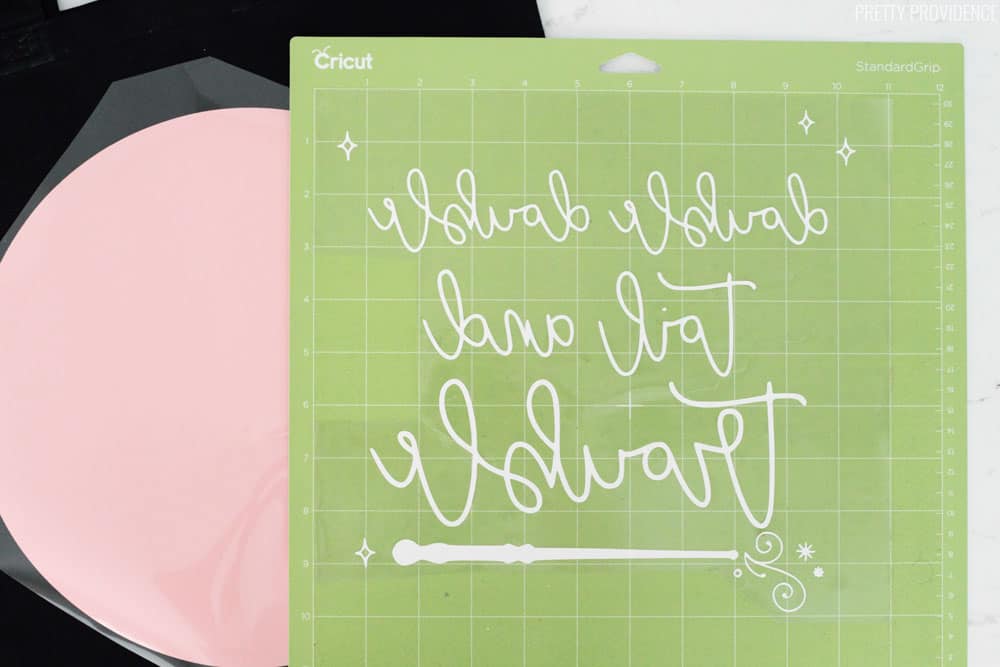
Because it's mirrored, the design will look backward until you turn it over onto the tote bag to iron it on.
How to Apply Iron-On to Tote Bags
Materials Needed
- EasyPress or Iron
- EasyPress Mat (optional)
- Iron-On Protective Sheet or Tea Towel
Iron Layers On To Tote Bag
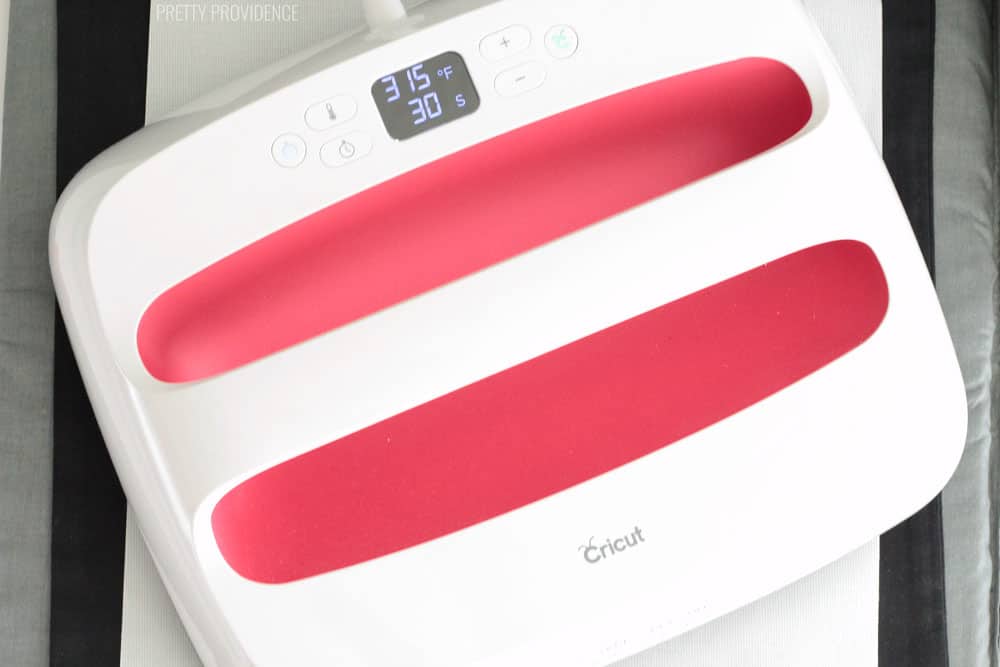
Heat EasyPress 2 to 315, or heat a regular iron to the cotton/linen setting and make sure steam is turned off.
Carefully iron the circle piece on first. After it cools slightly, peel the plastic off.
Then, place the text layer on top of the circle, then cover with an iron-on protective sheet or a tea towel. This will protect the bottom layer from being melted while you iron the text on.
Hold the heat on the bag for 60 seconds with an EasyPress or 1-2 minutes with an iron. Wait for it to cool down slightly until it's warm, then peel the plastic off.
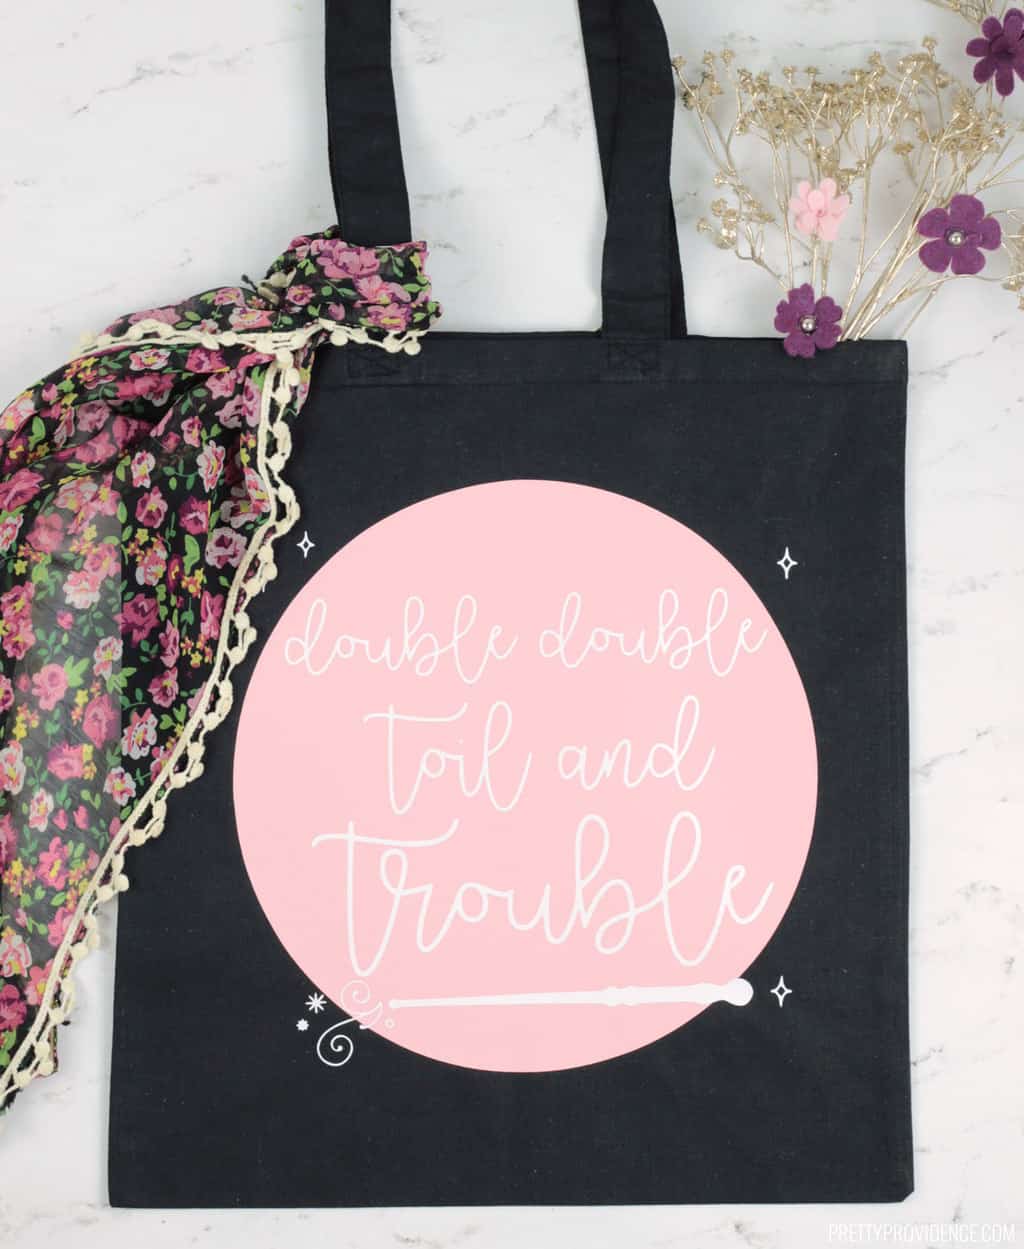
Now you have a super cute Halloween tote bag!
If you make this, we'd love it if you leave a comment and a positive review! They mean a lot to us!
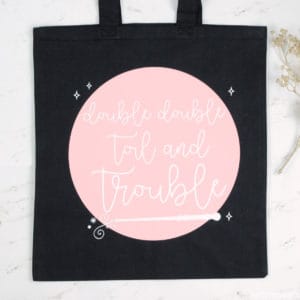
Witch Themed Halloween Tote Bag
Equipment
- Cricut Machine
- EasyPress or Iron
- Iron-On Protective Sheet or Tea Towel
Materials
- Iron-On Vinyl Petal Pink and White
- Plain Black Canvas Tote Bag
- SVG File
Instructions
How to Cut Iron-On
- Upload the SVG file into Cricut Design Space canvas and select 'Save as Cut.'
- Select a Circle from the 'shapes' section on the sidebar of Cricut Design Space and size it to the appropriate size behind the text.
- Turn the dial on your Cricut to Iron-on, or choose Iron-On from the materials drop down menu.
- Place Iron-On Vinyl shiny side down on your mat.
- Make sure the mirror is ON. Click ‘Continue'
- Load the mat and click 'Go' (the button is a little Cricut logo.)
- After the cut is done, remove the extra iron-on from around the edges. Use a weeding tool to take out the little pieces.
- Because it's mirrored, the design will look backwards until you turn it over on to the tote bag to iron it on.
How to Apply Iron-On to Tote Bags
- Heat EasyPress 2 to 315, or heat a regular iron to the cotton/linen setting and make sure steam is turned off.
- Carefully iron the circle piece on first. After it cools slightly, peel the plastic off.
- Then, place the text layer on top of the circle, then cover with an iron-on protective sheet or a tea towel. This will protect the bottom layer from being melted while you iron the text on.
- Hold the heat on the bag for 60 seconds with an EasyPress or 1-2 minutes with an iron. Wait for it to cool down slightly, til it's warm, then peel the plastic off.


Leave a Reply