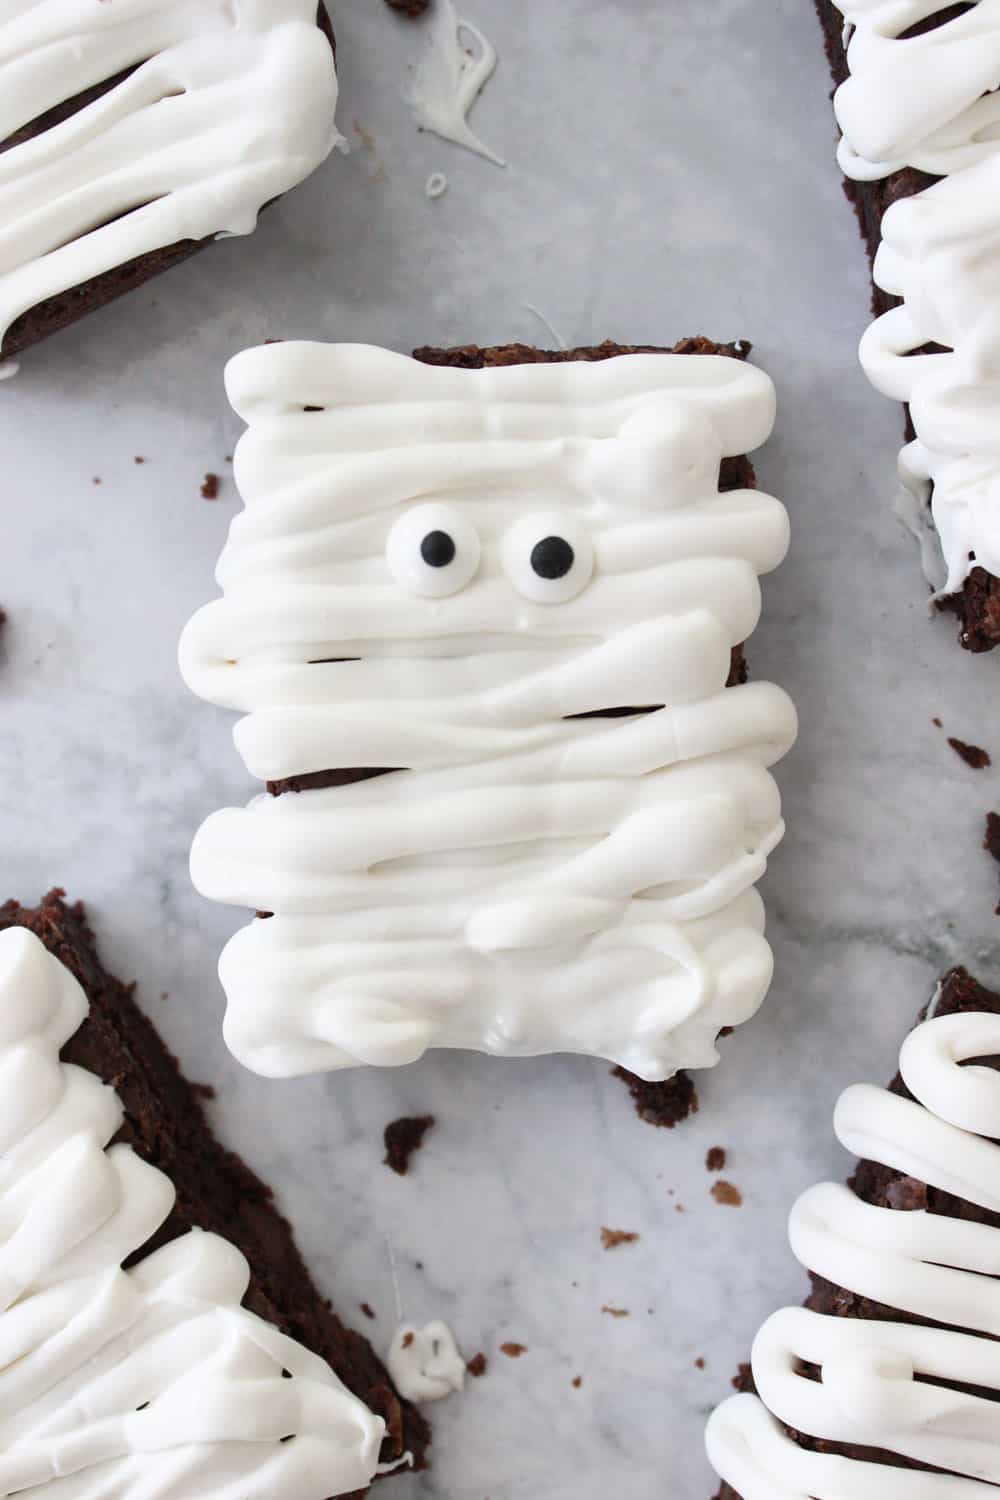
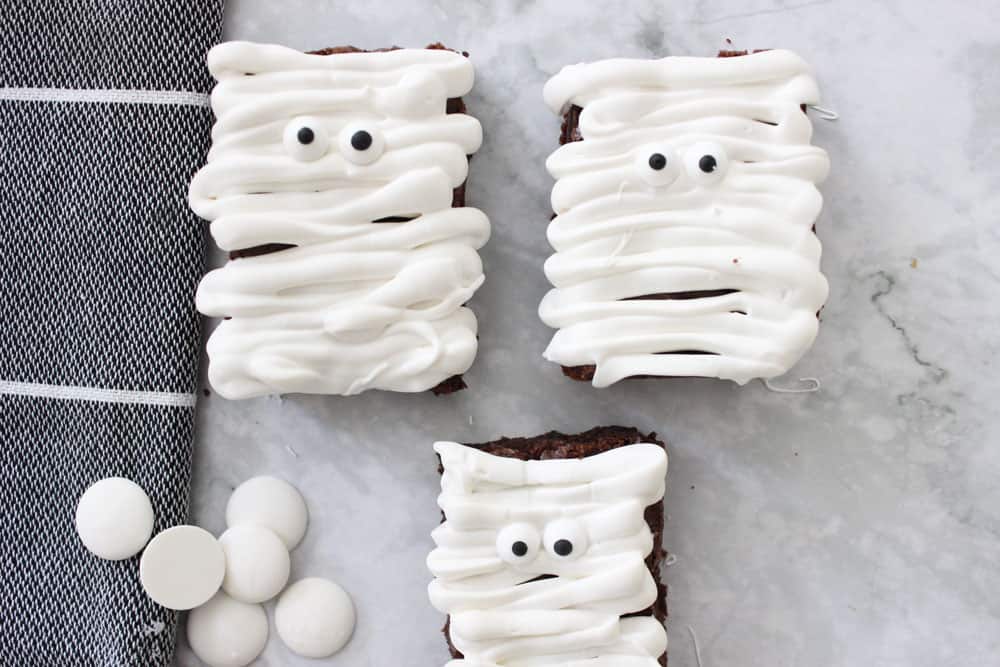
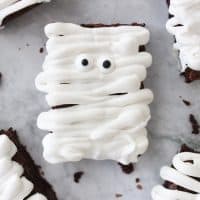
Okay these Mummy Halloween Brownies are so freaking adorable! They are easy to make, super delicious, and my kids couldn't stop raving about them! Definitely a new Halloween tradition!
Hey friends! I'm so excited to be sharing these fun and easy mummy brownies with you today! I am a sucker for themed treats-- mostly because my kids love them so much.
The best thing about these Halloween brownies (besides that they are freaking delicious) is how simple and fun they are to make. I love baking with my littles and these are definitely simple enough for kids to be able to help in the creating.
If you are looking for some other fun Halloween treats check out these cute Mummy Rice Krispie Treats, Frankenstein Rice Krispies, Halloween Dirt Cups, Cute Spider Cookies or check out our entire Halloween gallery here!
Or if you want a just all around incredible brownie try our homemade rocky road brownies.
This post contains affiliate links.
Halloween Brownies
Mmm. White chocolate and brownie is definitely a new favorite combination for me! They compliment each other so well!
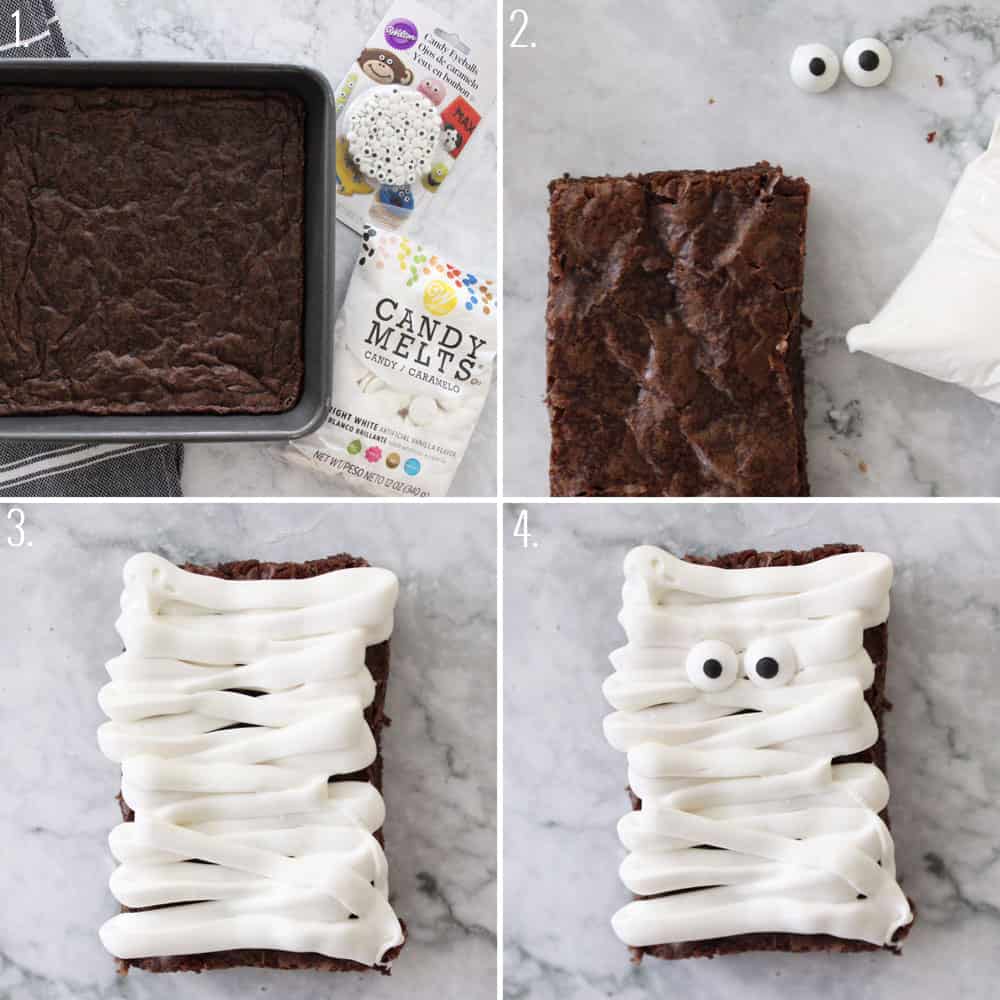
- Gather your ingredients.
- Cut your brownies into rectangles and put your frosting into a plastic bag, then cut the tip off.
- Pipe the frosting on your brownie in back and forth lines across the entire brownie to form the mummy's cloth.
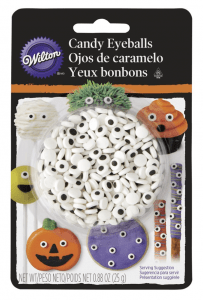
- Drop the eyes into the frosting and press gently. Then place brownies in the fridge to cool.
Pro Tips:
- These can be made from your favorite brownie recipe or using a box mix! I made these ones using this Ghirardelli brownie mix and they were delicious!
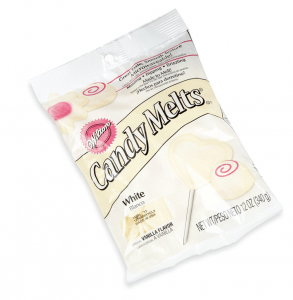
- You can use melted white chocolate chips or white candy melts for the mummy cloths! Both are delicious.
- Place the eyes on the brownie while the white chocolate is still melty, then allow chocolate to harden fixing eyes in place.
If you make this recipe we would love for you to leave us a positive comment and review, they mean the world!
Mummy Halloween Brownies
Video
Ingredients
- 1 batch homemade brownies or 1 box brownie mix, prepared
- 12 oz white chocolate melts
- 32 candy eyeballs
Instructions
- Bake brownies according to recipe (or package directions) and place in the freezer to cool.
- While brownies are cooling, pour melting chocolate into a microwave-safe bowl.
- Heat white chocolate melts in the microwave in 30 second increments, stirring in between each, until they are completely melted.
- Pour melted chocolate into a small ziplock bag and cut a small opening in one of the corners.
- Cut brownies into 12 rectangles.
- Squeeze melted chocolate out of the ziplock and onto brownies in a back and forth zig-zag motion.
- Immediately place eyeballs onto melted chocolate.
- Put finished mummies in the fridge to set.
- Enjoy!
Notes
Pro Tips:
- These can be made from your favorite from scratch brownie recipe or using a box mix! I made these ones using this ghirardelli box mix and they were delicious!
- You can use melted white chocolate chips or white candy melts for the mummy cloths! Both are delicious.
- Place the eyes on the brownie while the white chocolate is still melty, then allow chocolate to harden fixing eyes in place.
Nutrition
|
|
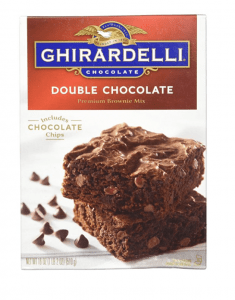 Ghirardelli Brownies Ghirardelli Brownies |
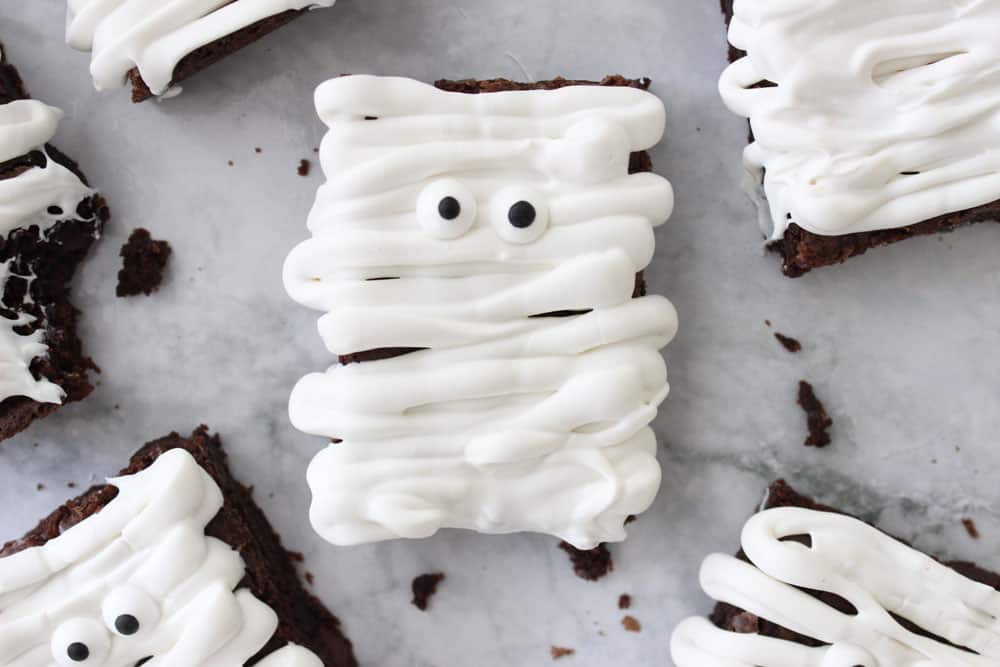
Aren't they adorable?! I guarantee everyone will love these cute little mummies at your Halloween gatherings this year!
xo,

This post was originally published on October 10, 2016 and has been updated with new pictures, video and information.

Anna MAdison
I tried to make these last night I cooked them then let them set out and cook overnight covered with foil. This morning I tried to remove them from the pan and they were sticking and crumbled. What did I do wrong? How can I prevent this from happening again? Thank you.
Jessica
Hey Anna, I'm so sorry about that. Did you possibly overcook them? Or forget to spray the pan with cooking spray? You can also line the pan with parchment paper to make the brownies easier to remove.
Haili
This was a fun recipe. My kids made mummies with LOTS of eyeballs. Ha ha. I was worried they’d put too much frosting on theirs so I did that part, but I think next time we make these (because there WILL be a next time) I will let them frost their own. I think that’d be cute.
Jessica
Awww this comment makes us so happy! Thanks Haili, so glad they loved them! Mummies can definitely have lots of eyeballs ;)!
Crissy
These are so cute! Super easy to make too! I used a white icing but candy melts would be awesome too!
Sarah
Yes! White icing is great too! Sugar is sugar, right? haha ;)
Liz
Thank you for sharing this! I am making them for my office Halloween party ?
Sarah
Oh yay! I'm sure they will be a hit
Mauricio Beverido
Gracias, por una deliciosa IDEA.
Anna McNamara
How cute! I love this idea. Maybe this is what I'll do for halloween neighbor gifts this year.
Jessica @ Pretty Providence
Thanks Anna!! They really are so adorable... and yummy!!!