How to Make Labels with Cricut
Follow this easy tutorial to make paper food labels for a party or toppings bar with a Cricut machine.
I am always making labels with my Cricut. Whether I'm labeling our school supplies (the backpack and water bottle are still going strong!, pantry bins, or art supplies.
All of these projects were made better by adding simple labels!
*This post contains affiliate links.
How to Make Food Labels for Party with a Cricut
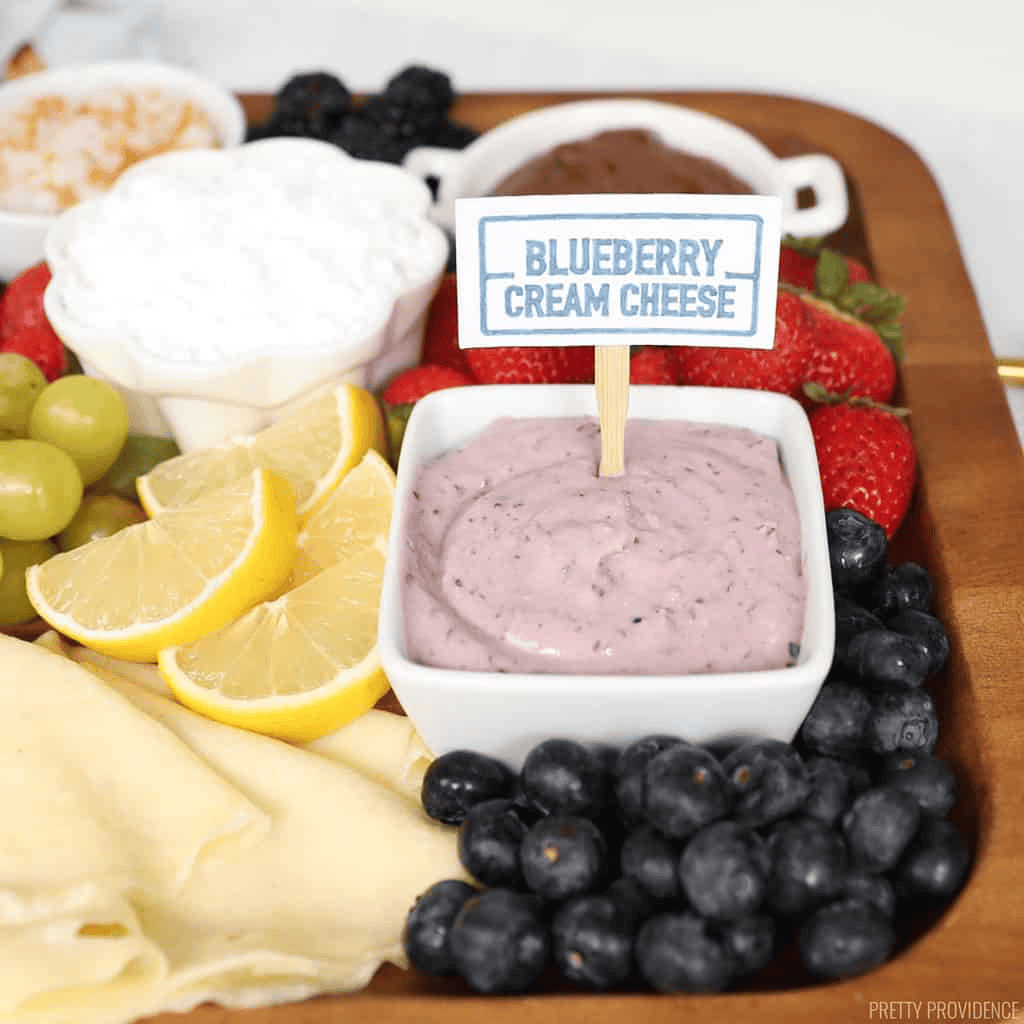
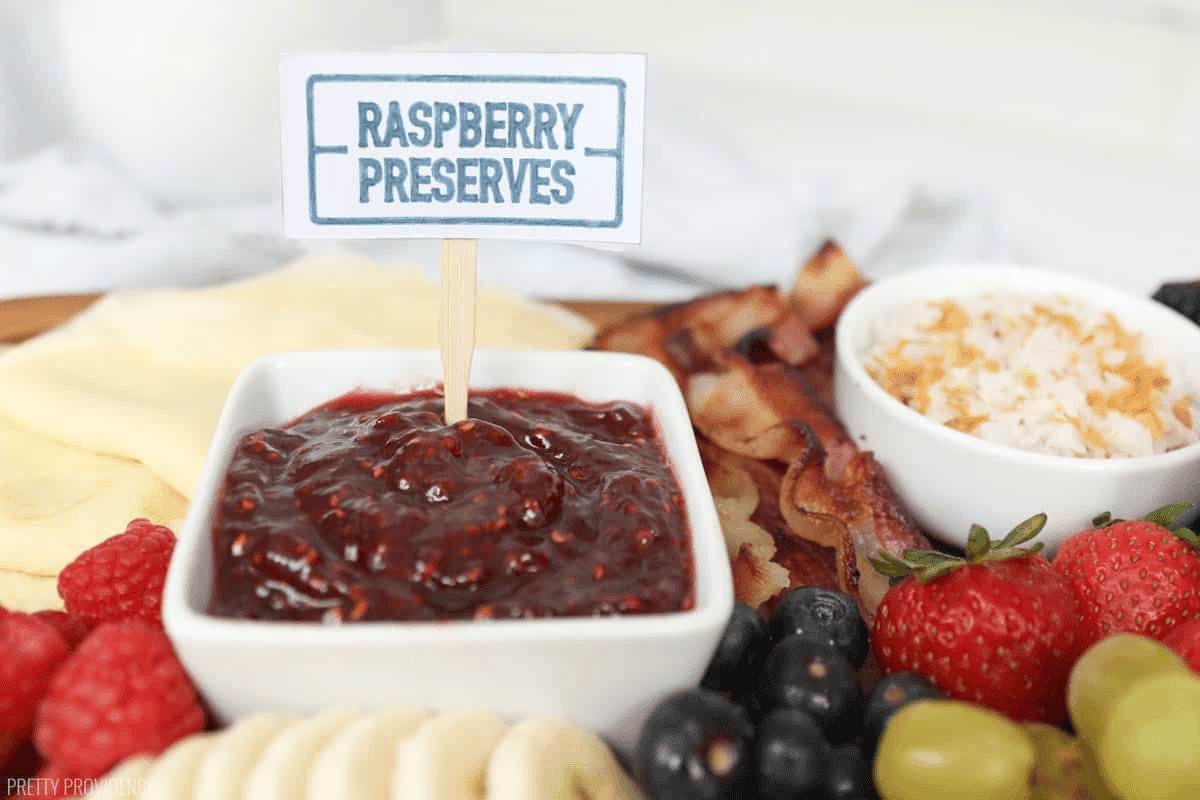
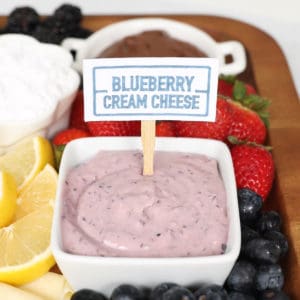
Today I want to share how I make food labels when hosting people. The food labels help people quickly and easily tell what the toppings or food options are.
It's especially helpful to have labels for guests who might have allergies or food intolerances.
Materials Needed
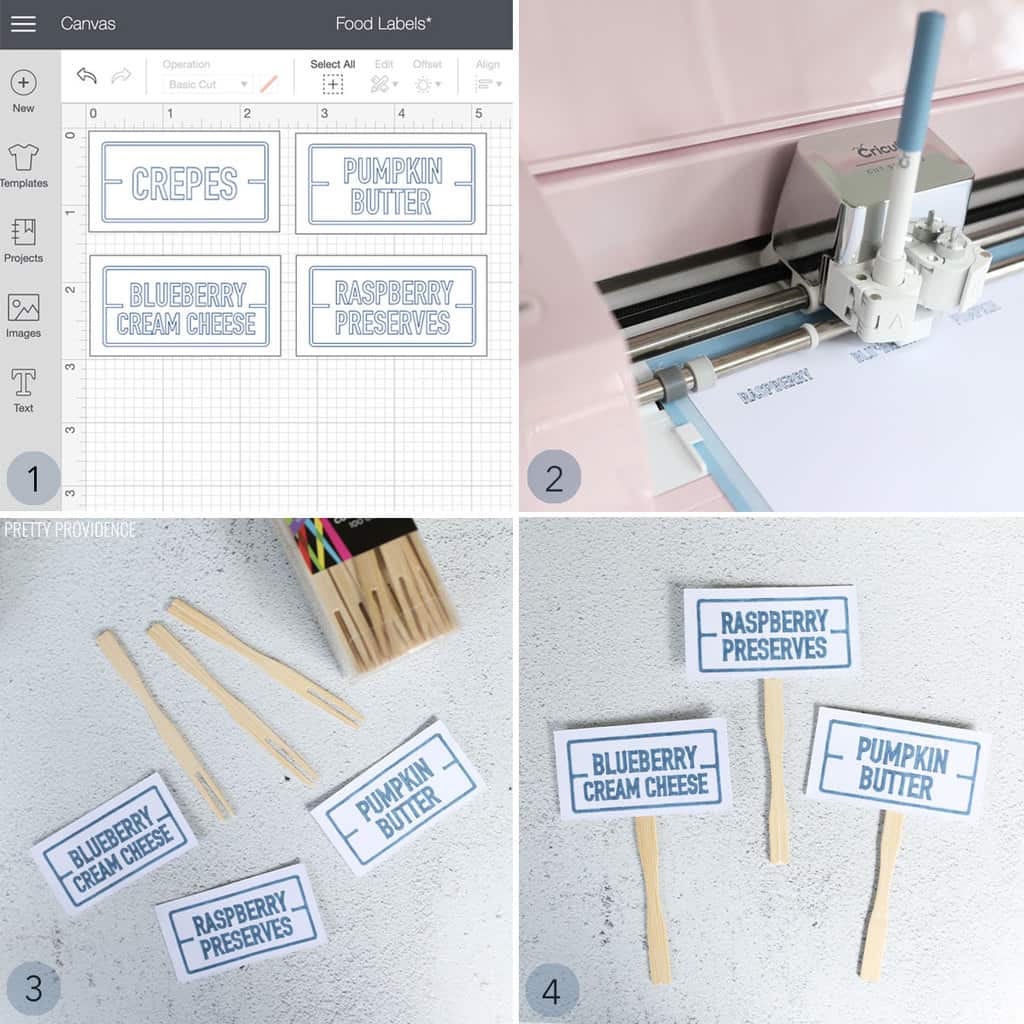
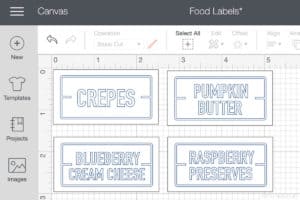
- Open Cricut Design Space and design your labels. You can use my template here if you want to make some that look like mine.
- Press cardstock onto a Lightgrip mat, load the machine with a Cricut fine point pen, and make sure your material setting is for cardstock. Follow the prompts in Design Space to draw and cut the labels.
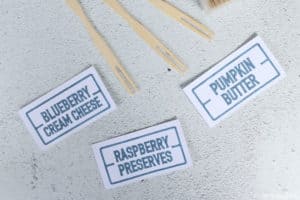
- Color in the outlined text that the machine does, if you want to. I like my text bolder which is why I colored them in.
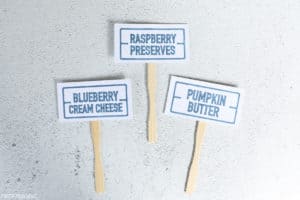
- Use tacky glue to add sticks to the back of each label. Glue a small piece of cardstock to the back to cover the stick if you want a cleaner look.
How to Make Different Labels with Cricut
You can check out our whole Cricut project page to see other ideas.
FAQ About Making Labels with Cricut
Which Cricut machine do I need to have to make labels?
You can use any Cricut machine to make labels out of card stock.
Cricut Maker, Maker 3, Explore, Explore Air 2, or Cricut Joy are all machines that can cut card stock and write with fine-point pens!
If you make these labels, we'd love to hear about it with a comment and positive review! They mean a lot!
How to Make Labels with Cricut
Equipment
- Cricut Machine - Explore Air 2 is what I used for this project
Materials
- Cricut Cardstock
- Tacky Glue
- Food Picks
Instructions
- Open Cricut Design Space and design your labels. You can use my template here if you want to make some that look like mine.

- Press cardstock onto a Lightgrip mat, load the machine with a Cricut fine point pen, and make sure your material setting is for cardstock. Follow the prompts in Design Space to draw and cut the labels.
- Color in the outlined text that the machine does, if you want to. I like my text bolder which is why I colored them in.
- Use tacky glue to add sticks to the back of each label. Glue a small piece of cardstock to the back to cover the stick if you want a cleaner look.